Scribus basics
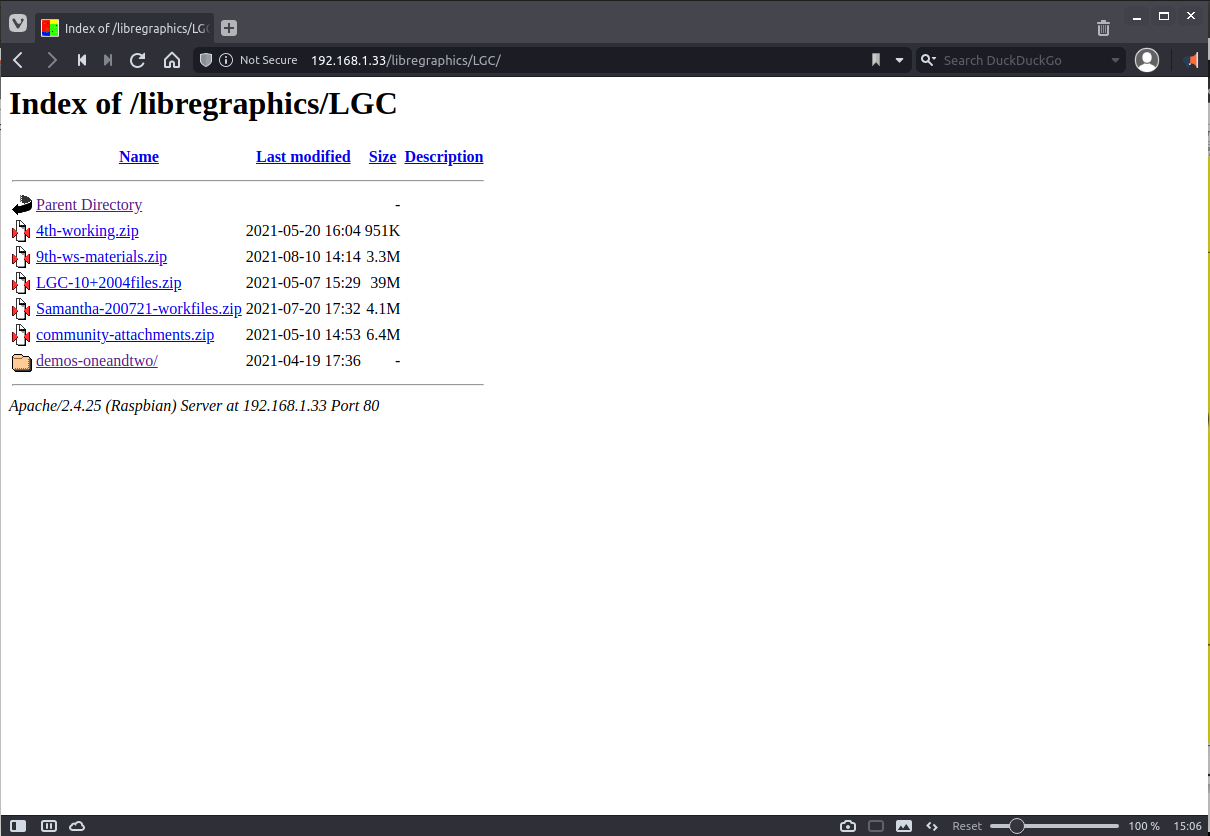 To start, please go to: http://commonbond.v-ac-uum.xyz/libregraphics/LGC/ and
download 9th-ws-materials.zip
To start, please go to: http://commonbond.v-ac-uum.xyz/libregraphics/LGC/ and
download 9th-ws-materials.zip
 After we unzip the files and extract them into a new folder, we can take a
look at all the files prepared for this session. There is a PDF file
that represents a finished document and in this tutorial we’ll
re-create pages 2&3 + 4&5 + 6&7.
After we unzip the files and extract them into a new folder, we can take a
look at all the files prepared for this session. There is a PDF file
that represents a finished document and in this tutorial we’ll
re-create pages 2&3 + 4&5 + 6&7.
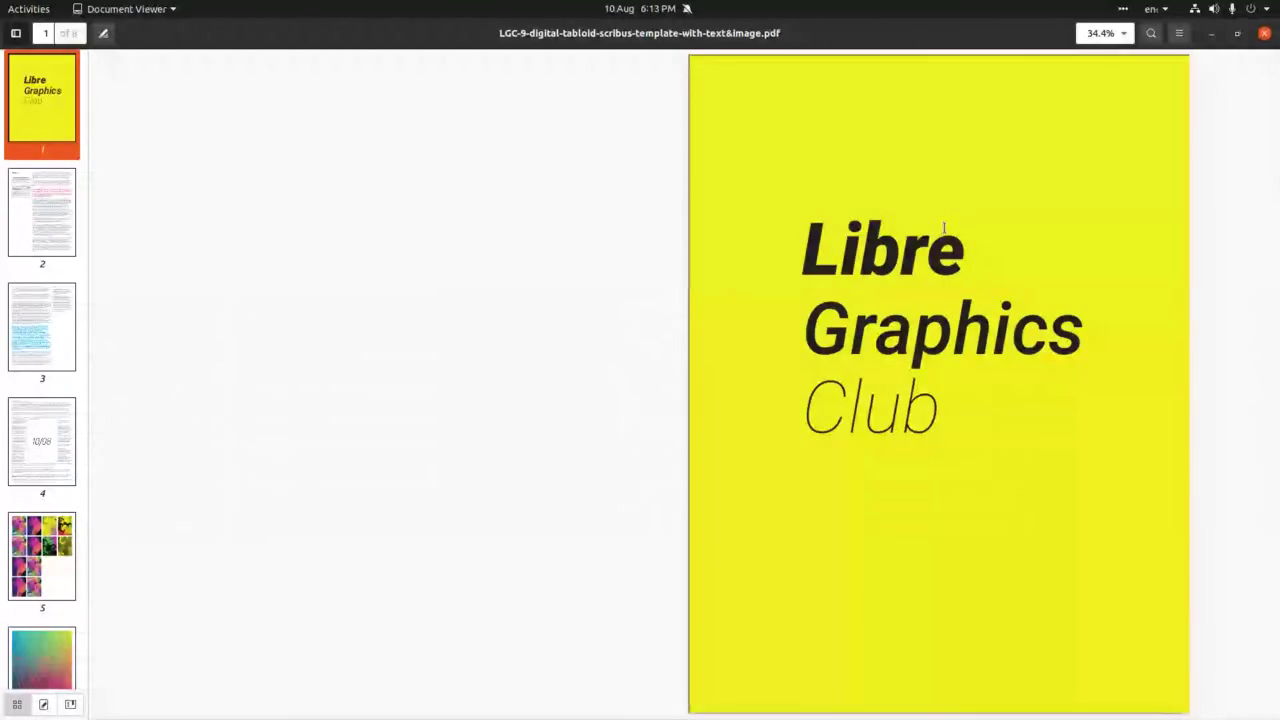
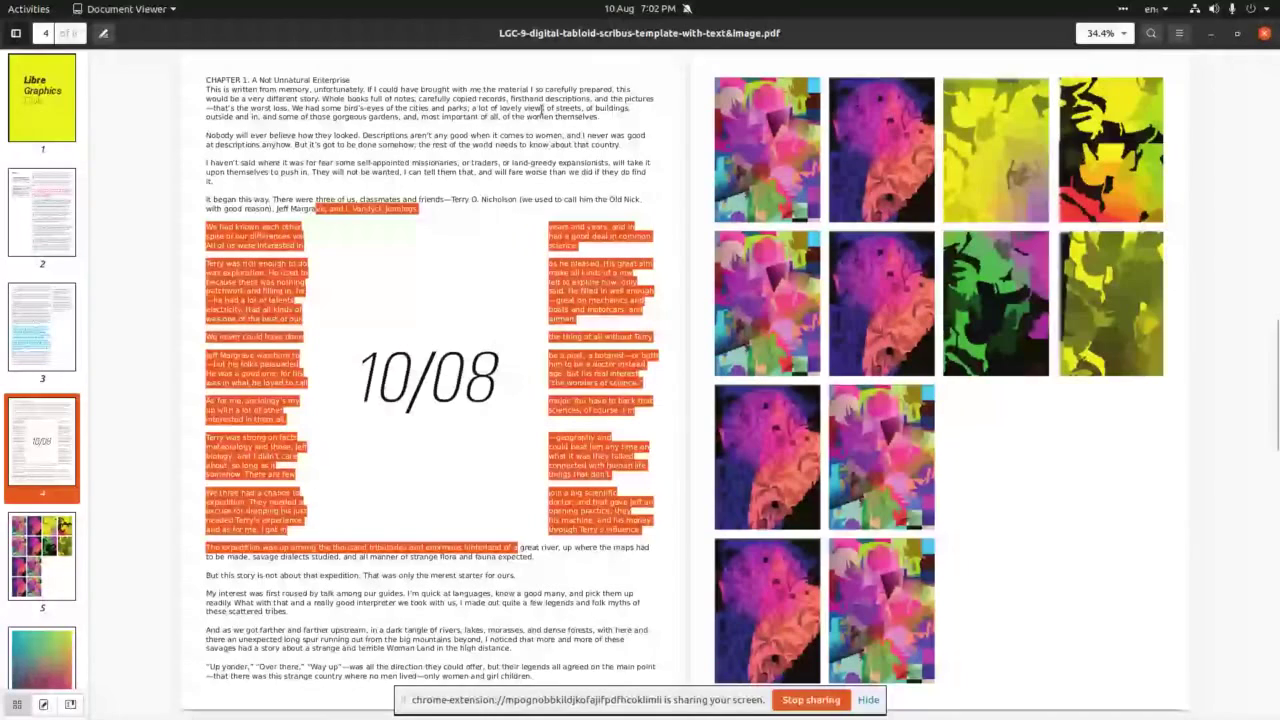
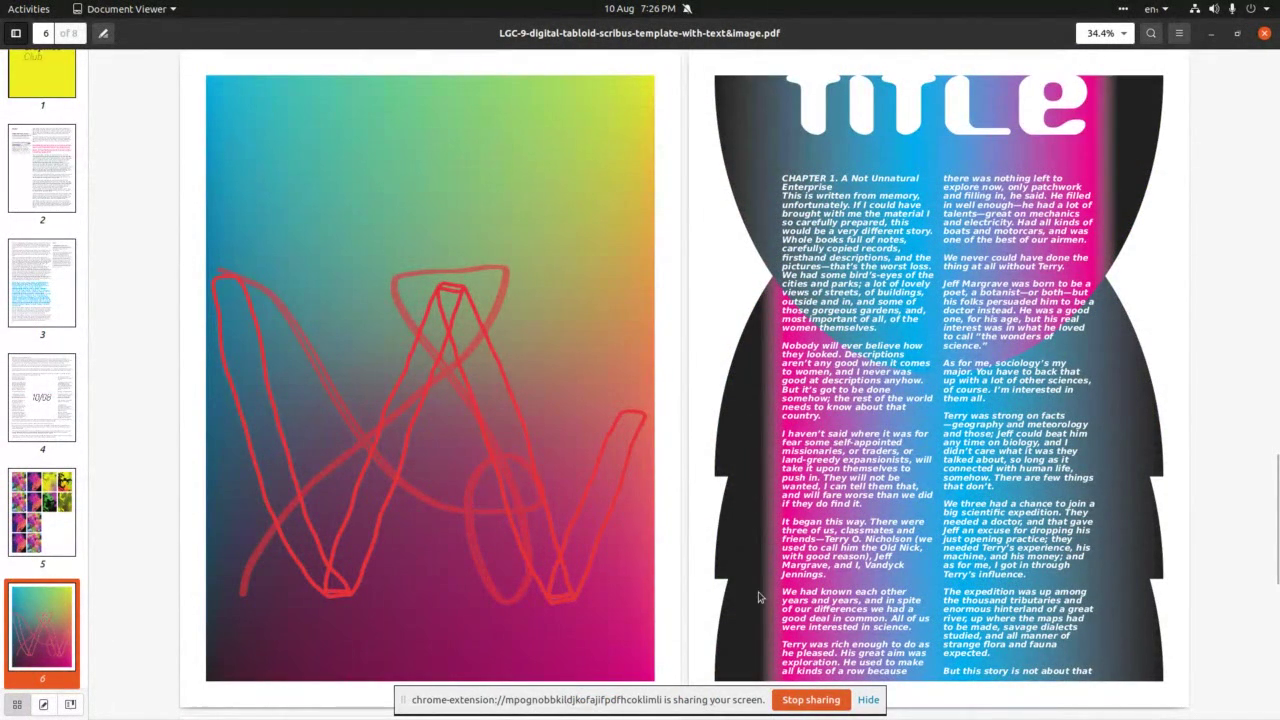
 This is how the finished .sla file looks like when opened in Scribus.
Please note this is made in Scribus 1.5.5 and will
not open in older versions (hence the PDF file).
This is how the finished .sla file looks like when opened in Scribus.
Please note this is made in Scribus 1.5.5 and will
not open in older versions (hence the PDF file).
 If you cannot open LGC-digital tabloid files, please open
digital-tabloid-template file form the unzipped folder as in this
picture, or go to newspaper.club and download their digital tabloid
template for Scribus: Newspaper club template.
If you cannot open LGC-digital tabloid files, please open
digital-tabloid-template file form the unzipped folder as in this
picture, or go to newspaper.club and download their digital tabloid
template for Scribus: Newspaper club template.
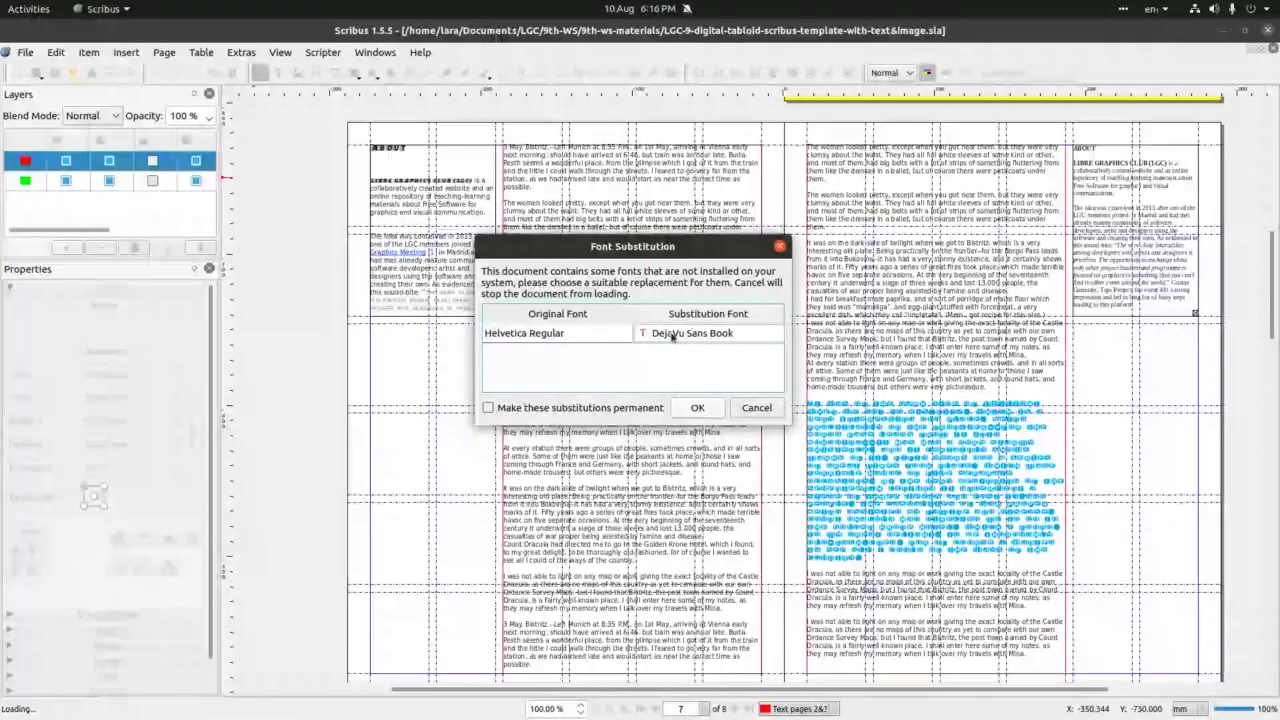 When you open that file, Scribus may inform you about missing fonts (as in
this case). If you’re happy with the change press ok and open file.
When you open that file, Scribus may inform you about missing fonts (as in
this case). If you’re happy with the change press ok and open file.
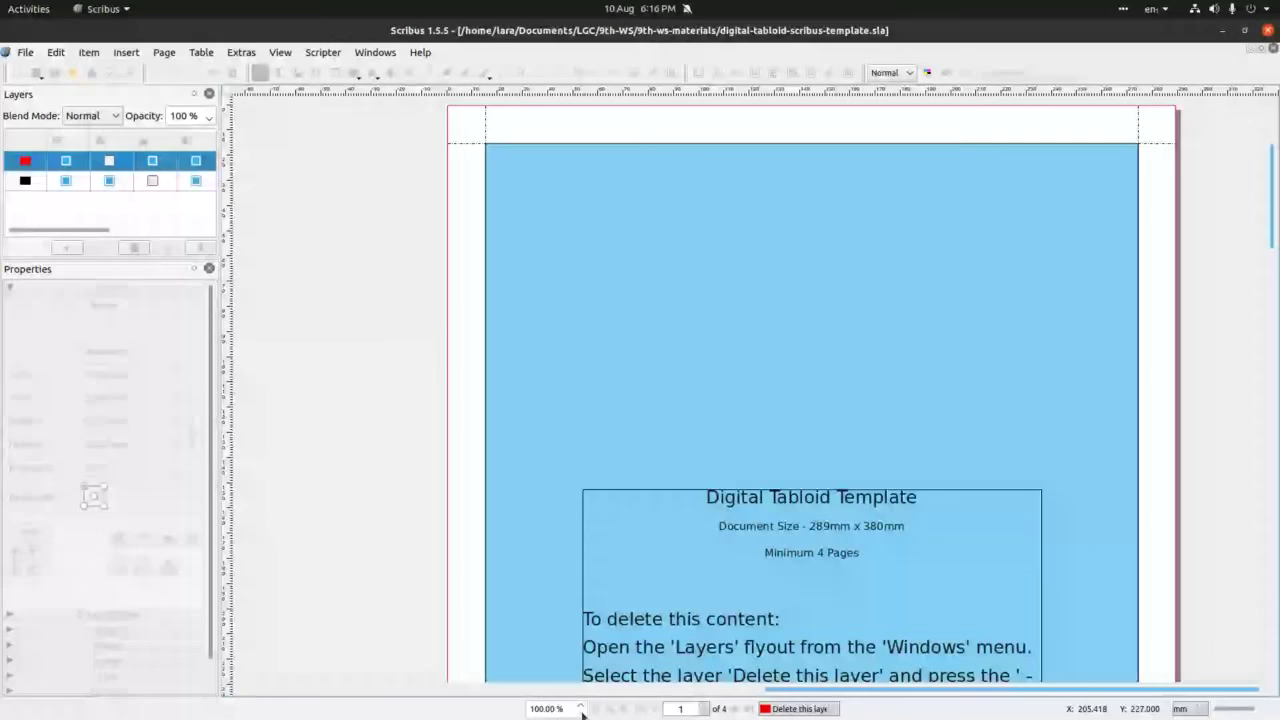 Here’s the digital tabloid template opened in Scribus.
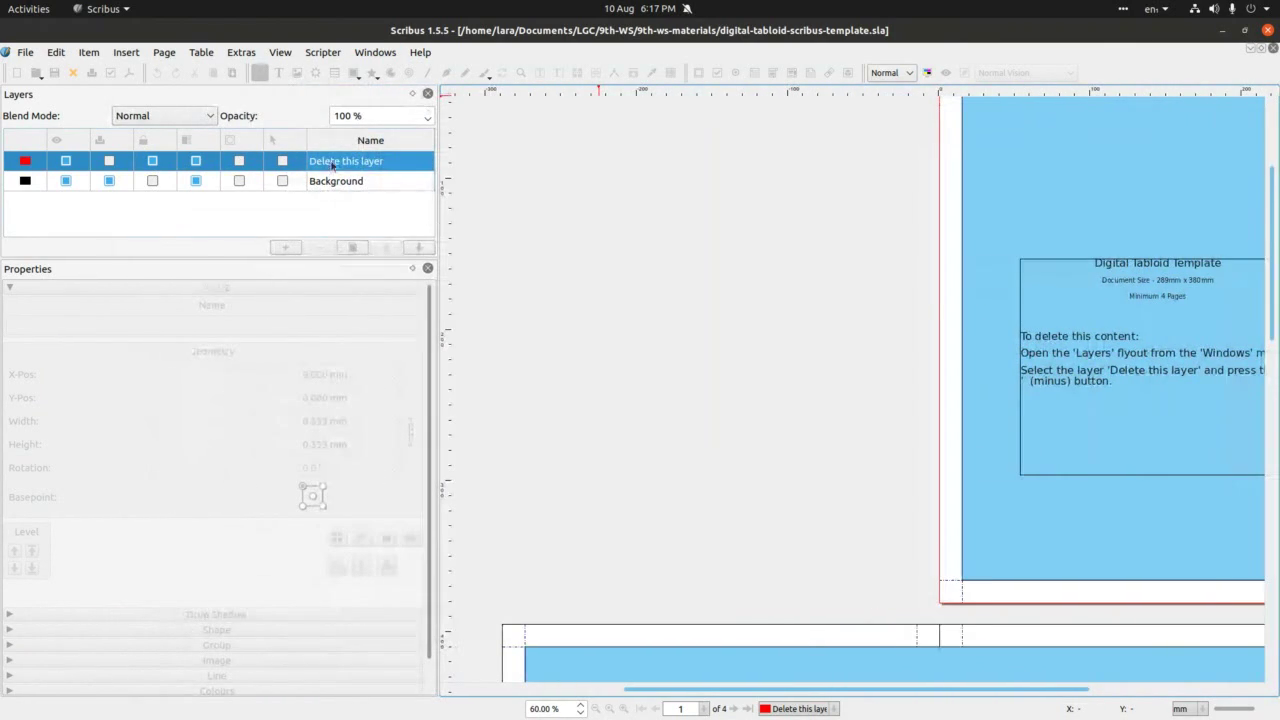 The first thing we’ll do here is to delete Newspaper club’s info
layer. Go to Windows>Layers to access & delete the layer.
The first thing we’ll do here is to delete Newspaper club’s info
layer. Go to Windows>Layers to access & delete the layer.
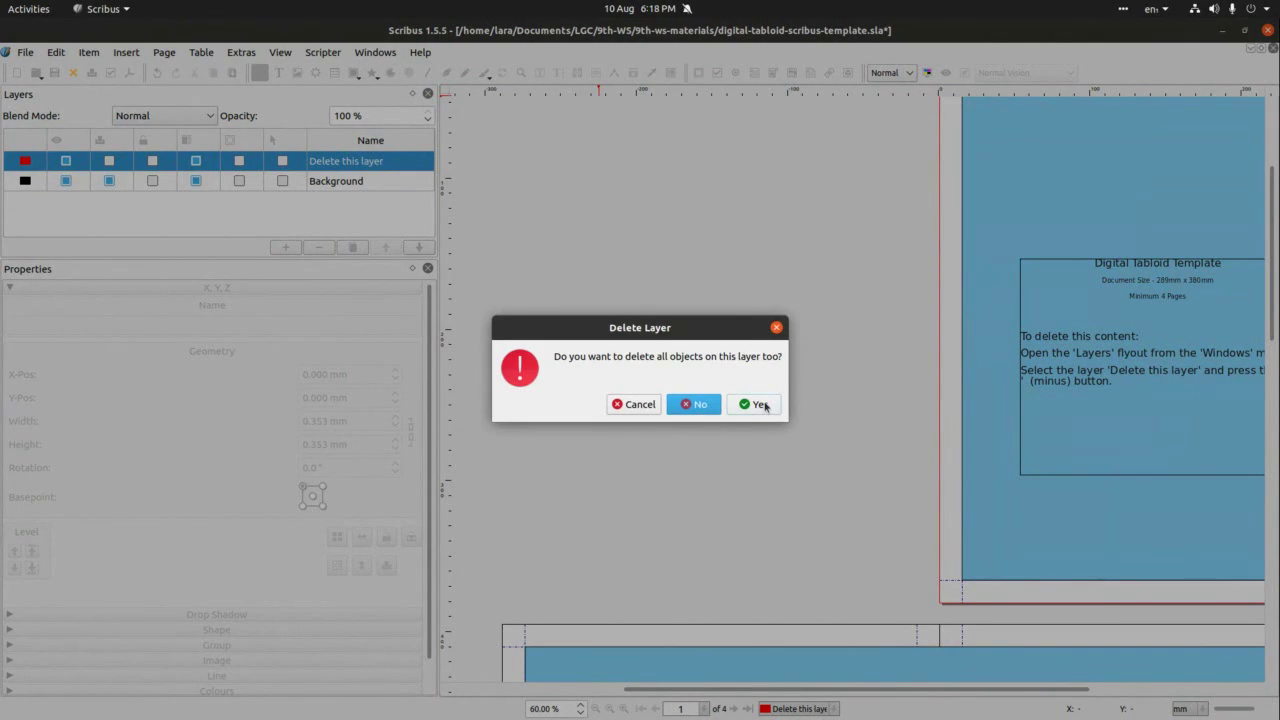 Once we selected the layer we are deleting, Scribus will check if this is
OK.
Once we selected the layer we are deleting, Scribus will check if this is
OK.
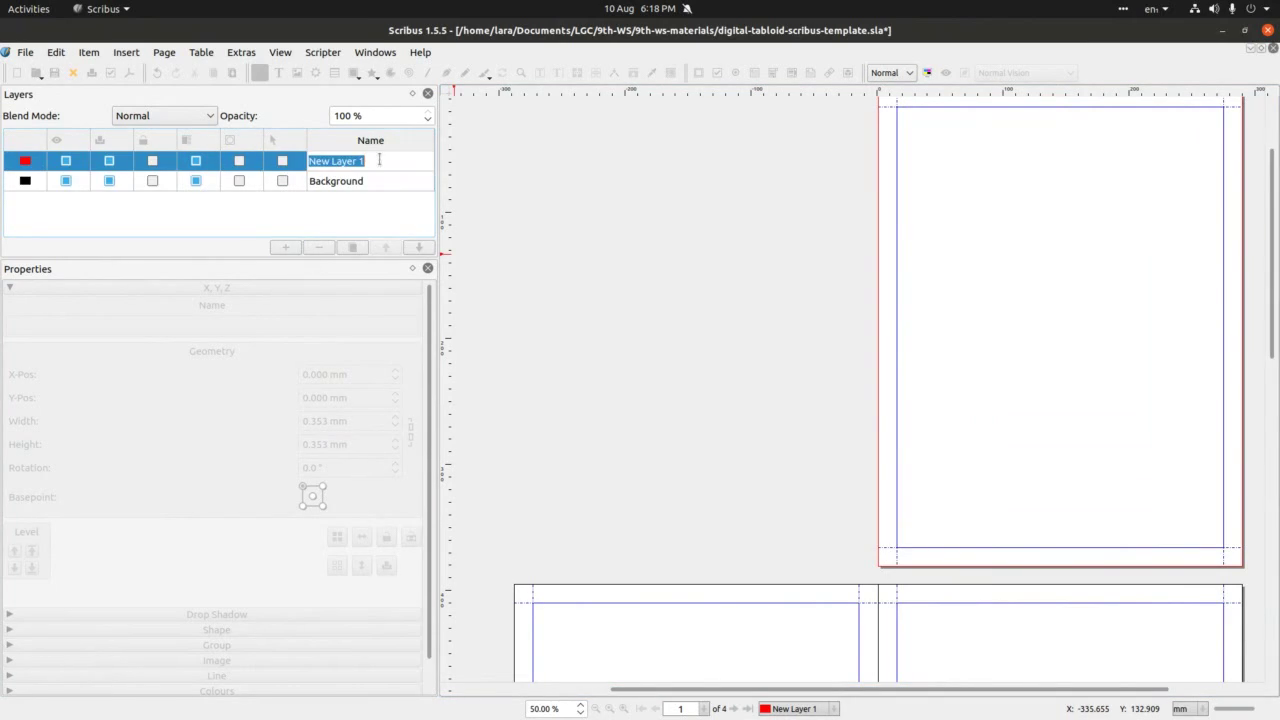 Now we’re ready to start. Add a new layer and name it in a way that is
easy to remember what is the content it contains. Today we’re
working on a small and simple document, but if you’re working on a
document with many pages and elements – the layers will come in
very handy.
Now we’re ready to start. Add a new layer and name it in a way that is
easy to remember what is the content it contains. Today we’re
working on a small and simple document, but if you’re working on a
document with many pages and elements – the layers will come in
very handy.
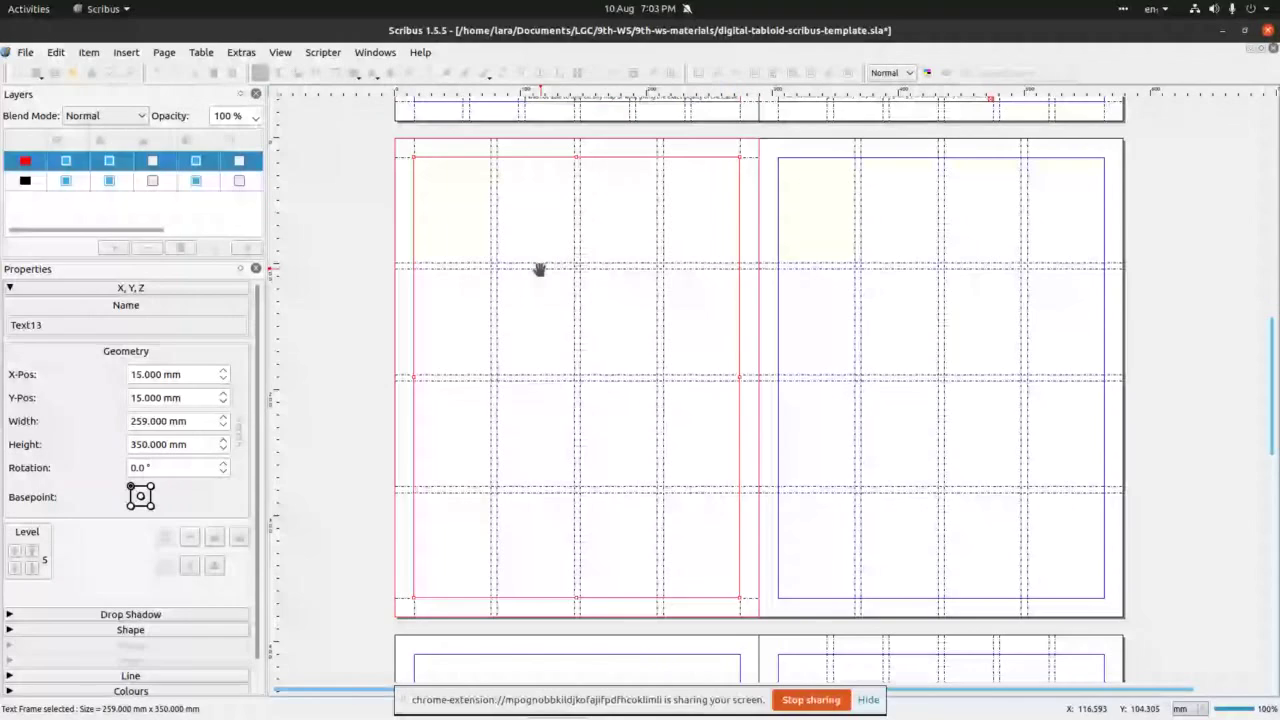
 The original digital tabloid template comes with 4 pages. The next step
is to insert more pages. To do this we go to Page>Insert and then
add 4 more pages. There are options to insert specific kinds of pages
– but this is for some other time.
The original digital tabloid template comes with 4 pages. The next step
is to insert more pages. To do this we go to Page>Insert and then
add 4 more pages. There are options to insert specific kinds of pages
– but this is for some other time.
 Here’s how the document with 8 pages looks when zoomed out.
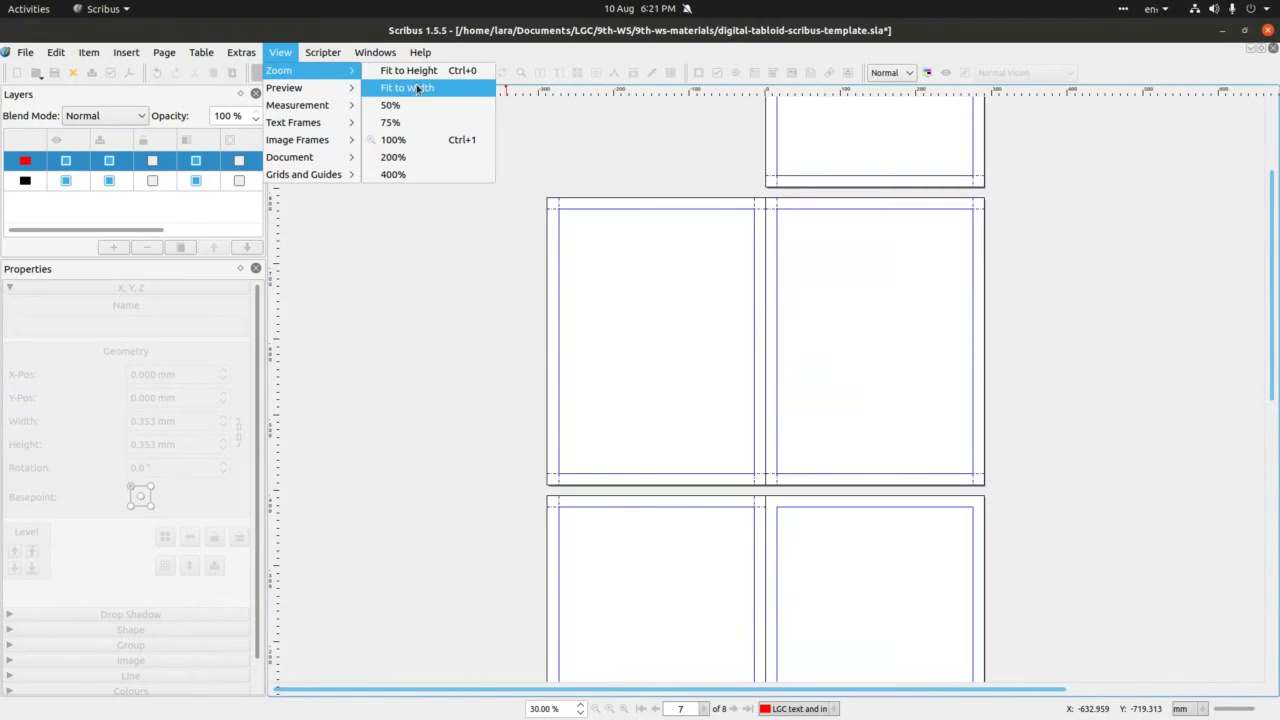 In order to see better what we’re working on, go to View>Zoom and
experiment with different options. For now, we’ll stick with Fit to
Height or Width.
In order to see better what we’re working on, go to View>Zoom and
experiment with different options. For now, we’ll stick with Fit to
Height or Width.
 The next step is to create a grid. Grid(s) help form and keep a geometry
of a page, which in turn helps with page composition balance,
harmony, contrast etc.
The next step is to create a grid. Grid(s) help form and keep a geometry
of a page, which in turn helps with page composition balance,
harmony, contrast etc.
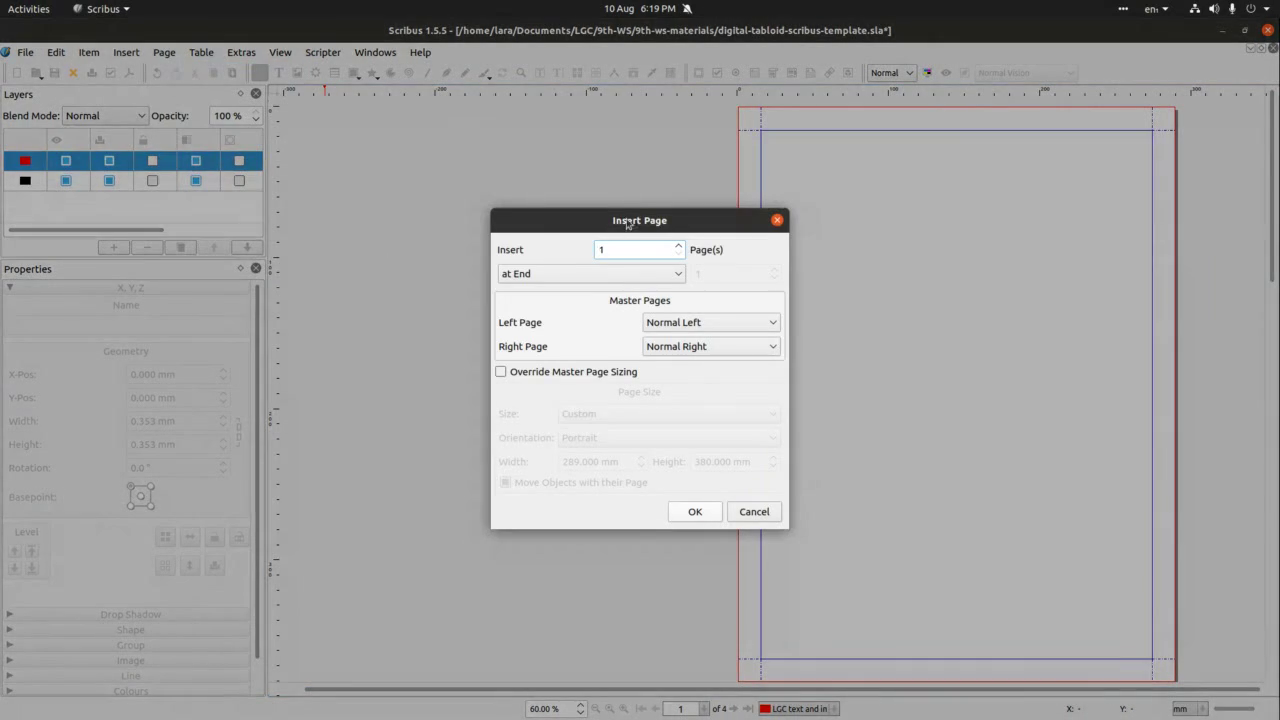
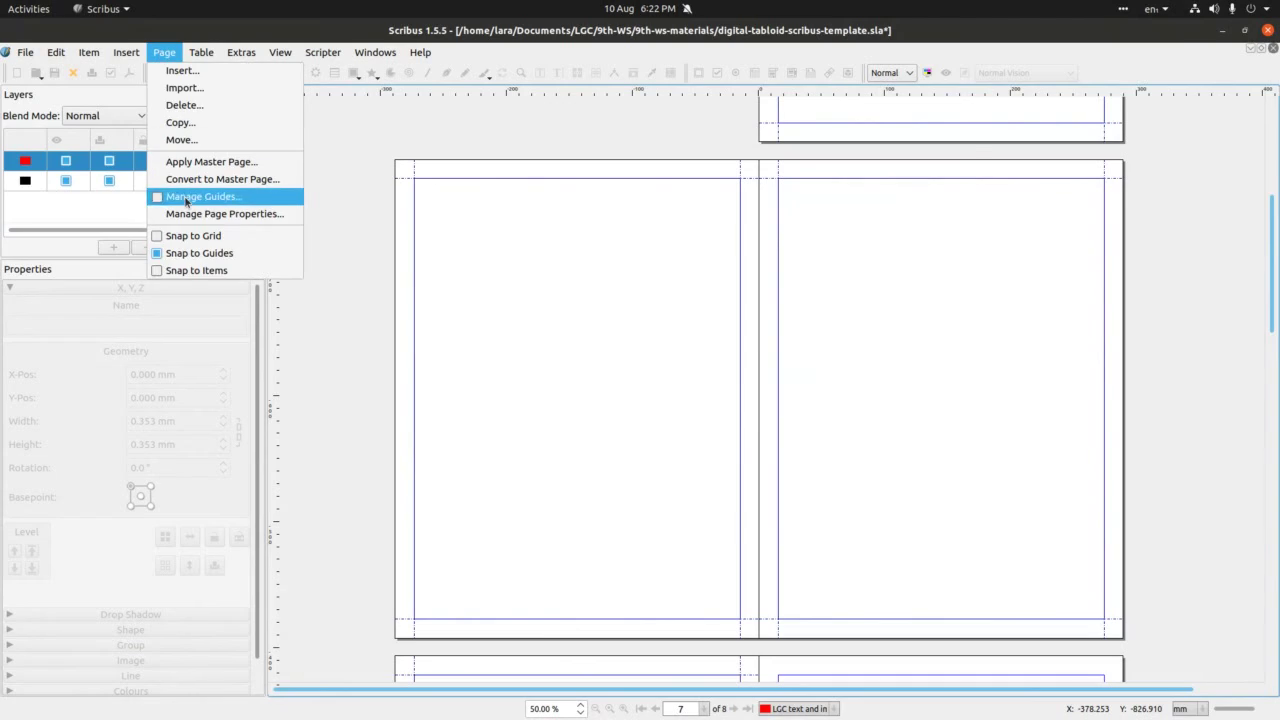
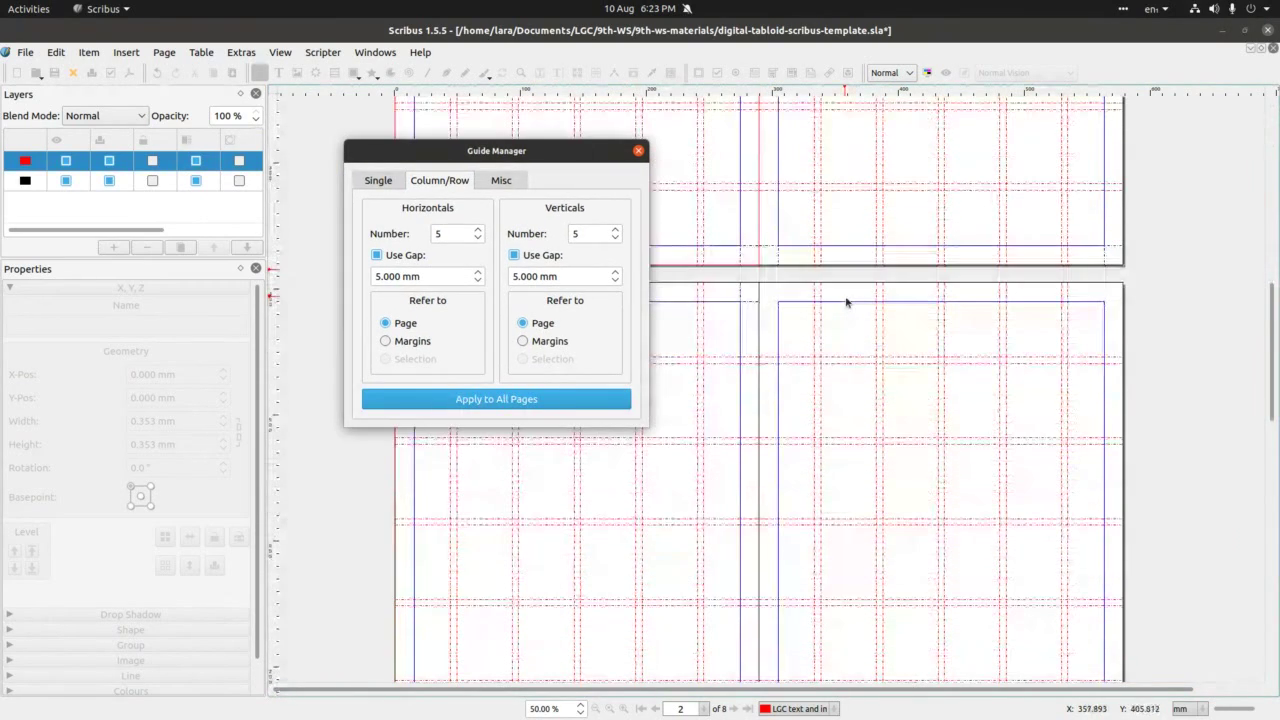 We’ll use Guides this time. Go to Page>Manage guides to open the panel
as in the image. Here we’ll chose second tab: Column/Row and add 5
to both Horizontals and Verticals, click on Use gaps and add 5 mm to
both. Lastly, we’ll click on Margins in the Refer to part of the
panel. Latly apply to all pages.
We’ll use Guides this time. Go to Page>Manage guides to open the panel
as in the image. Here we’ll chose second tab: Column/Row and add 5
to both Horizontals and Verticals, click on Use gaps and add 5 mm to
both. Lastly, we’ll click on Margins in the Refer to part of the
panel. Latly apply to all pages.
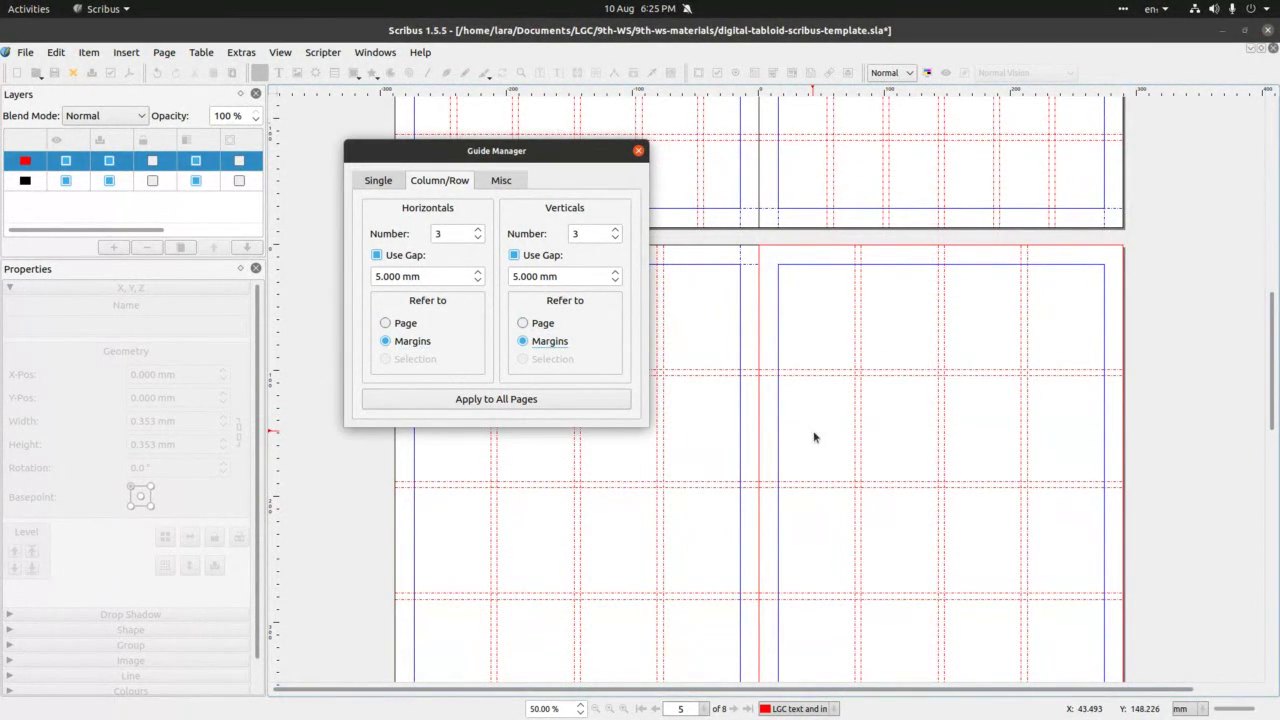 The good thing about this way of working is that Guide manager panel
allows us to apply different guides to different pages throughout the
document if we wish so. On the pages 4&5
we will change the guides to 3 Verticals and Horizontals – please
note, we need to select the page we work on to apply the changes.
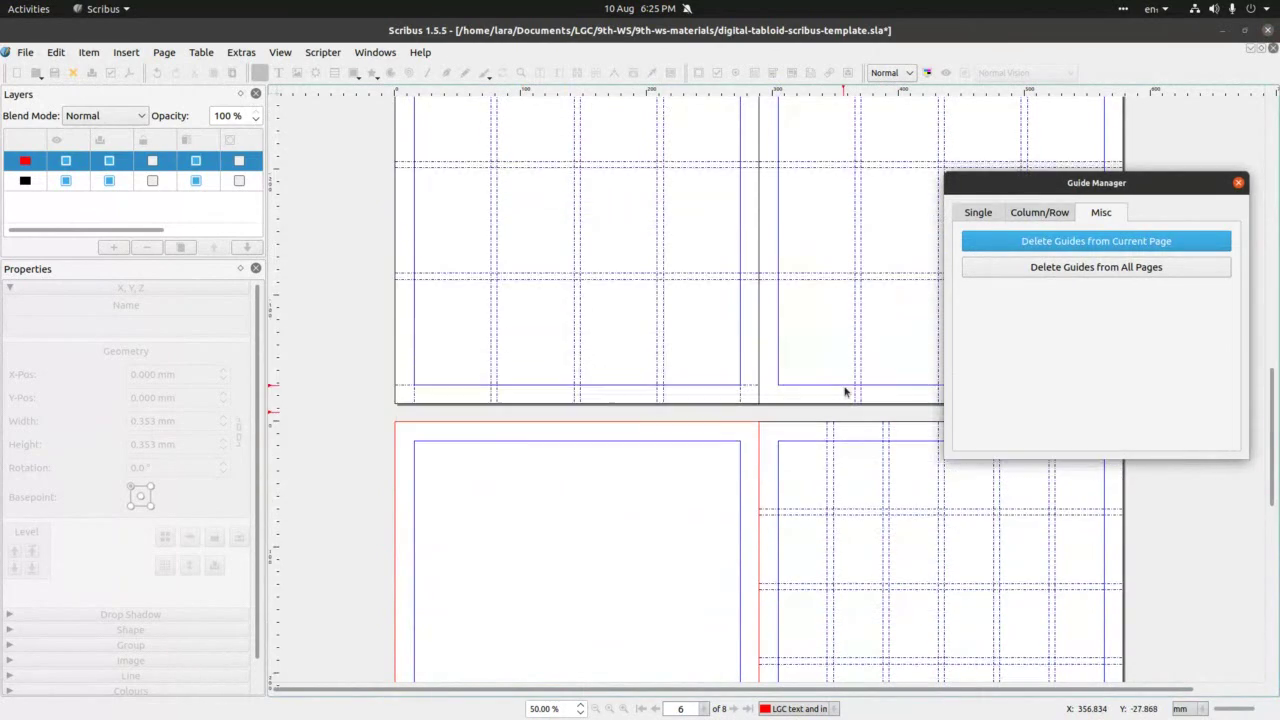
After we selected the page, we click on Misc tab to apply changes to
the page we selected.
The good thing about this way of working is that Guide manager panel
allows us to apply different guides to different pages throughout the
document if we wish so. On the pages 4&5
we will change the guides to 3 Verticals and Horizontals – please
note, we need to select the page we work on to apply the changes.
After we selected the page, we click on Misc tab to apply changes to
the page we selected.
 Like so.
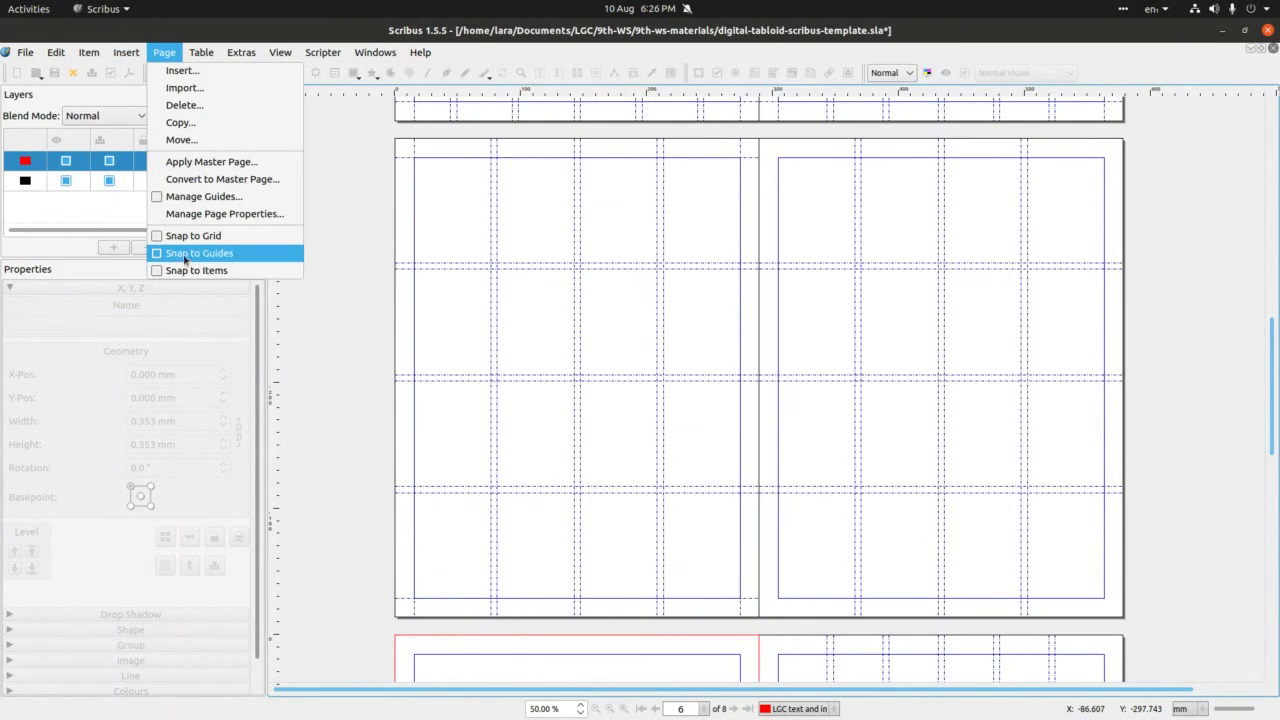 We now need to select Snap to Guides (Page>Snap to guides). This is
very useful function that enables easy positioning of images and
text.
We now need to select Snap to Guides (Page>Snap to guides). This is
very useful function that enables easy positioning of images and
text.
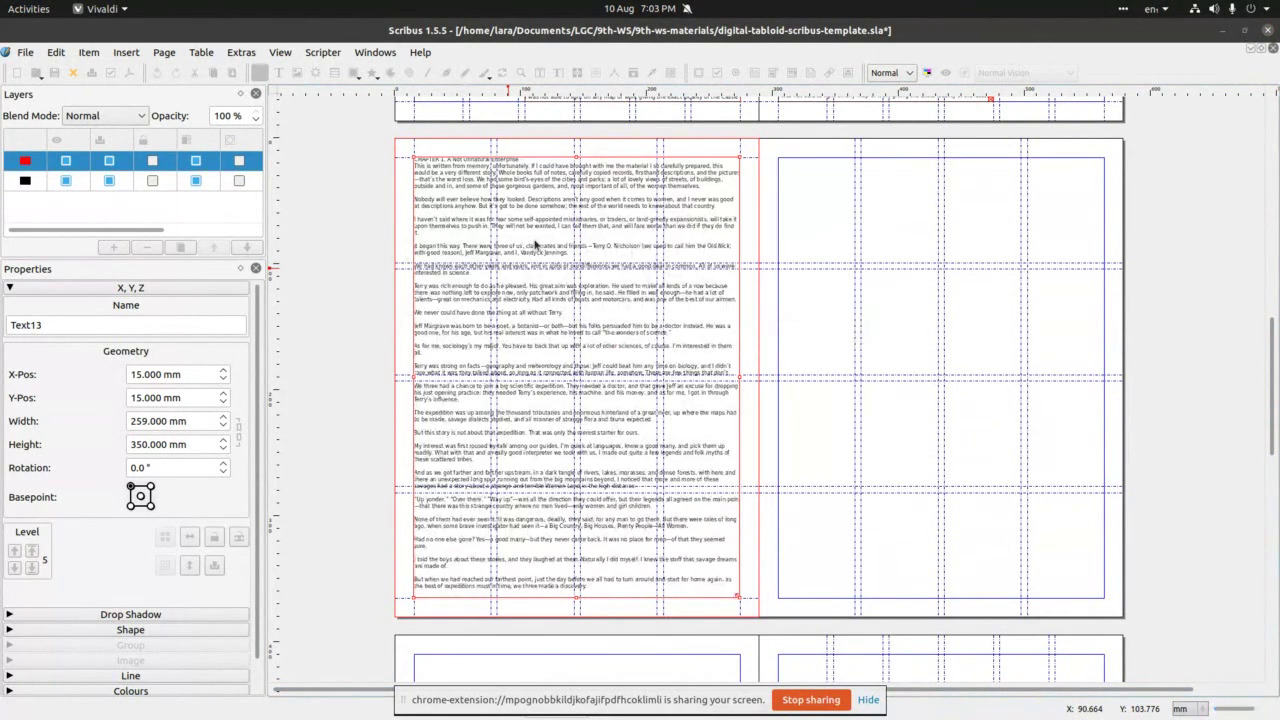
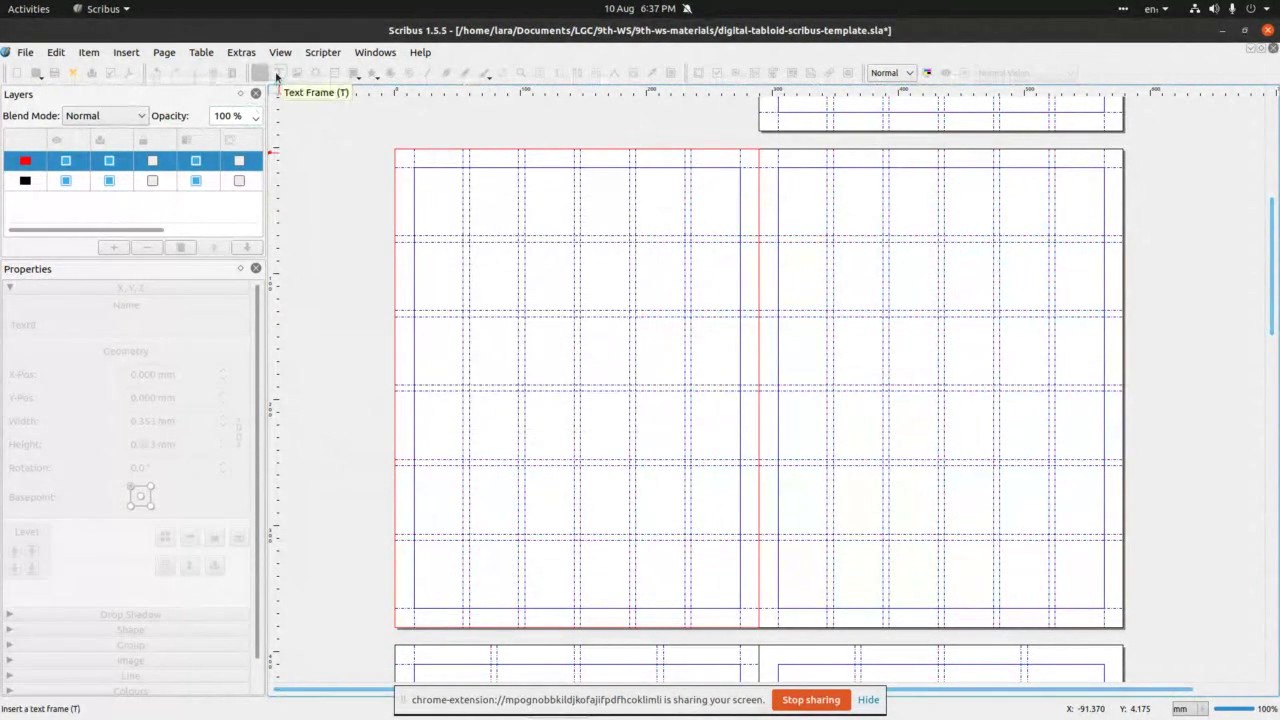 We’ll add text frame now. Click on the icon in the main Icon bar on the top
of Scribus – see image.
We’ll add text frame now. Click on the icon in the main Icon bar on the top
of Scribus – see image.
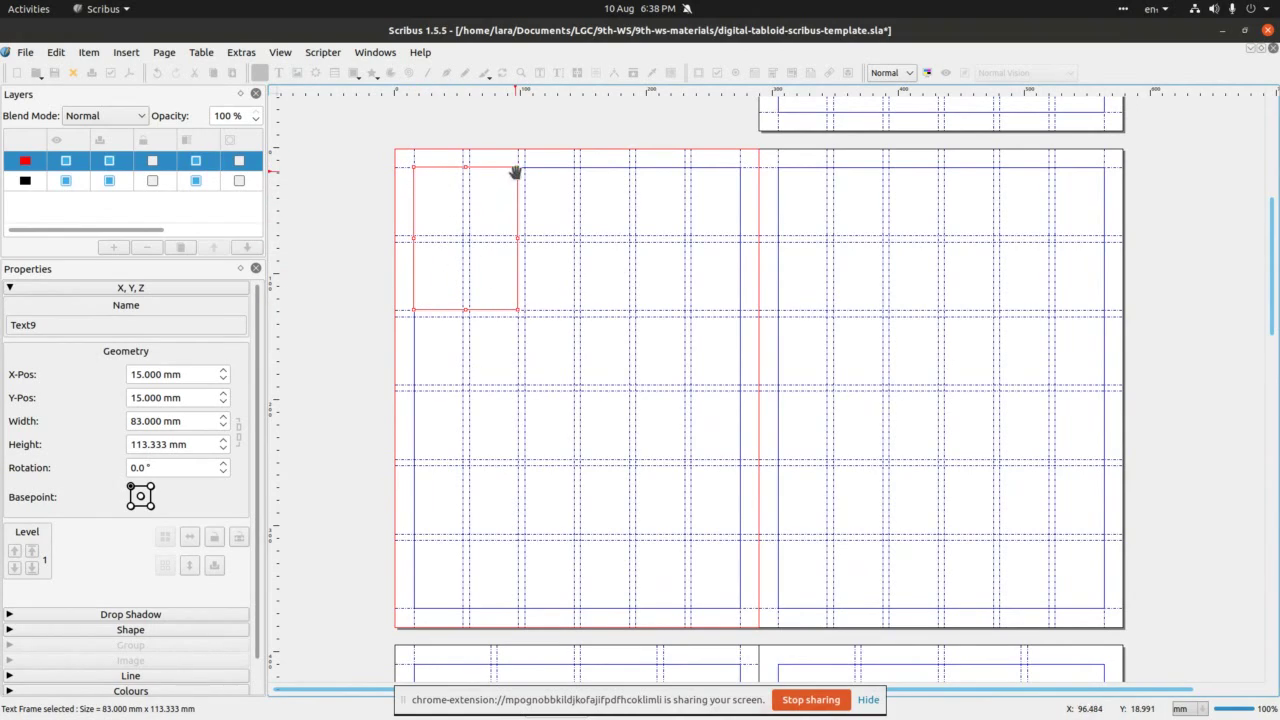 Then click on the page number 2 to left margin corner (blue line on the
page) and stretch across 4 frames of the grid we made earlier.
Then click on the page number 2 to left margin corner (blue line on the
page) and stretch across 4 frames of the grid we made earlier.
 Next, we repeat by clicking on the Text frame icon and across frames twds
the middle of the page as in the image.
Next, we repeat by clicking on the Text frame icon and across frames twds
the middle of the page as in the image.
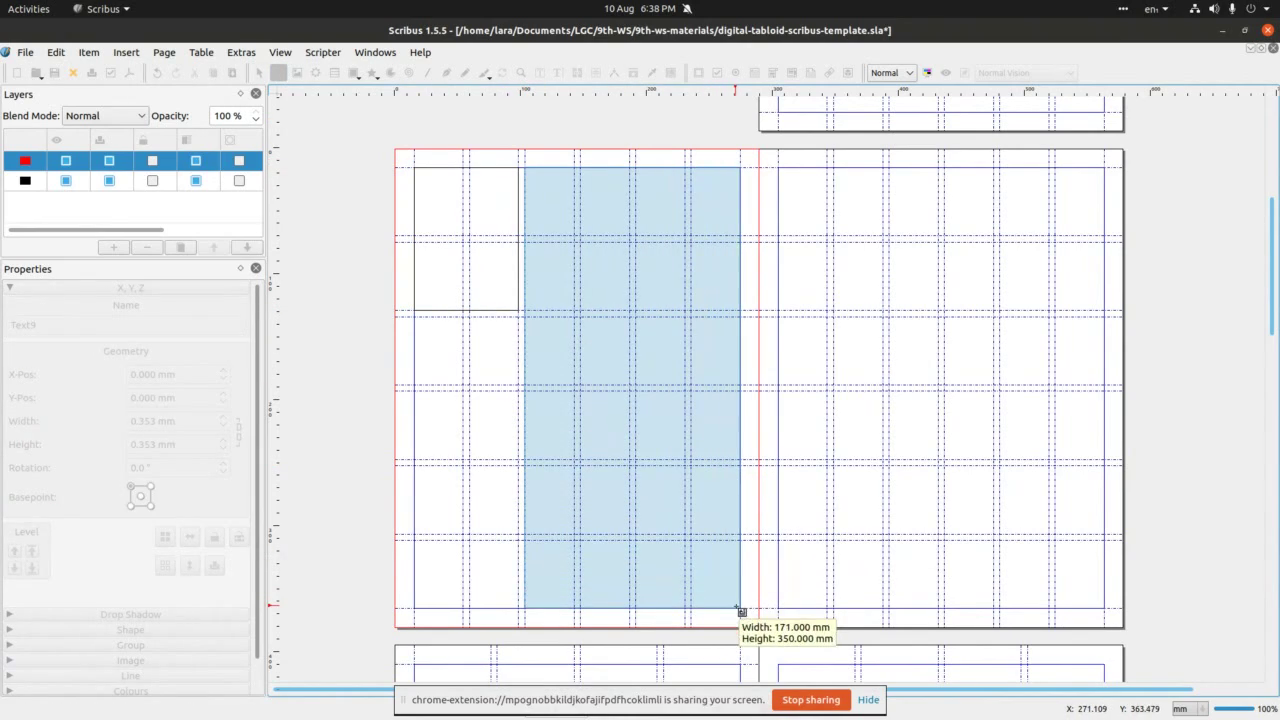
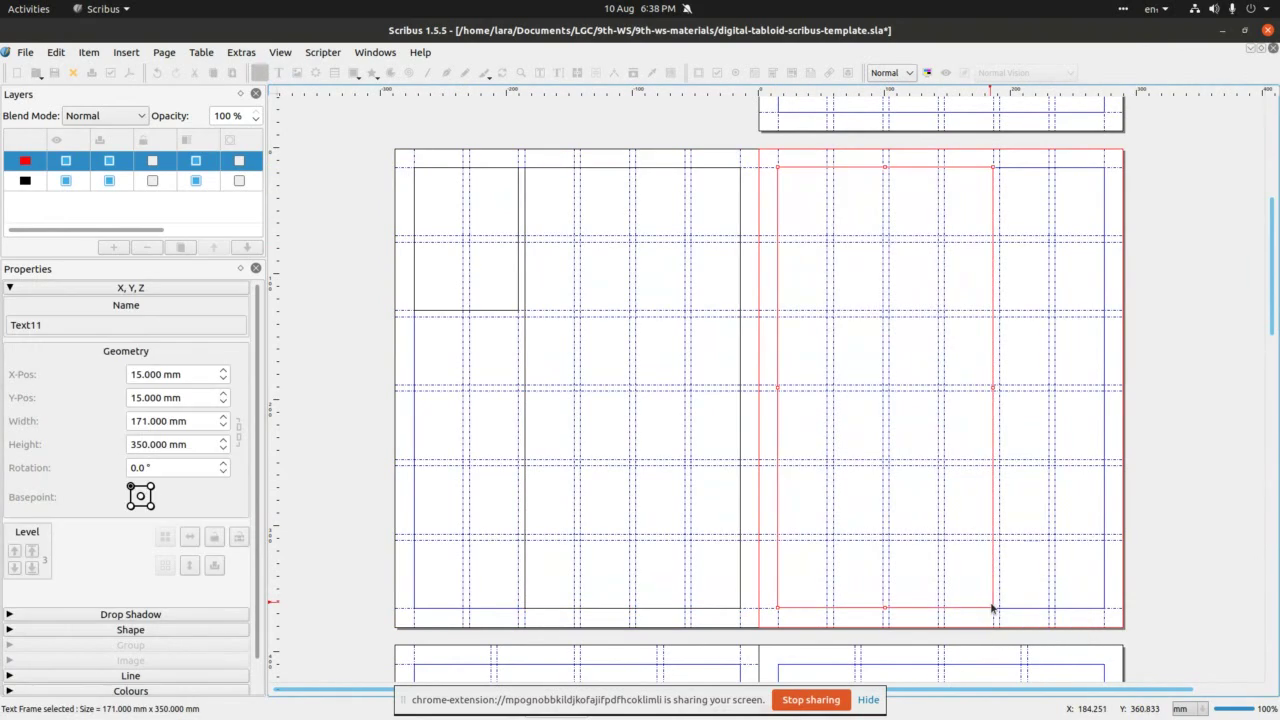 We repeat this on the page 3.
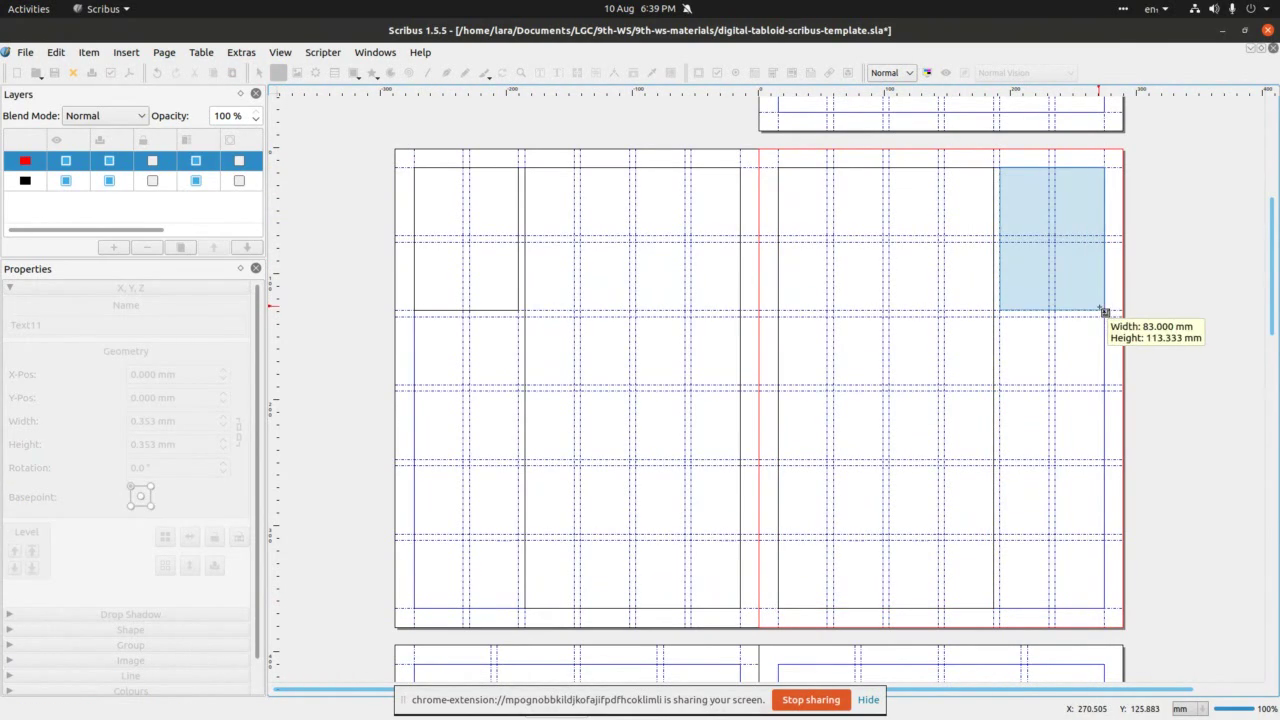 And finish by repeating the 4 frame in the top-right corner. We now made
4 text frames in a (vertically) symmetrical composition on pages 2&3.
And finish by repeating the 4 frame in the top-right corner. We now made
4 text frames in a (vertically) symmetrical composition on pages 2&3.
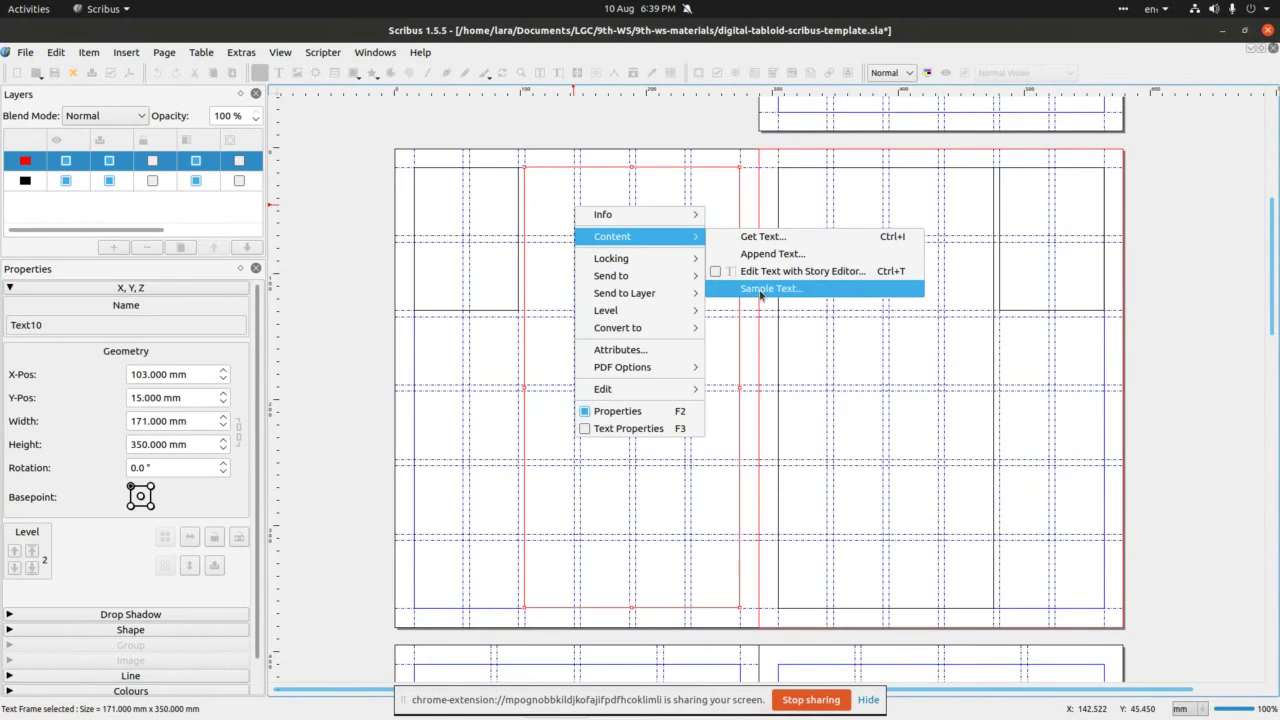 To add text into our text frames, we’ll right click on larger frame on
left page and select Content>Sample text. This will automatically
fill the text frame.
To add text into our text frames, we’ll right click on larger frame on
left page and select Content>Sample text. This will automatically
fill the text frame.
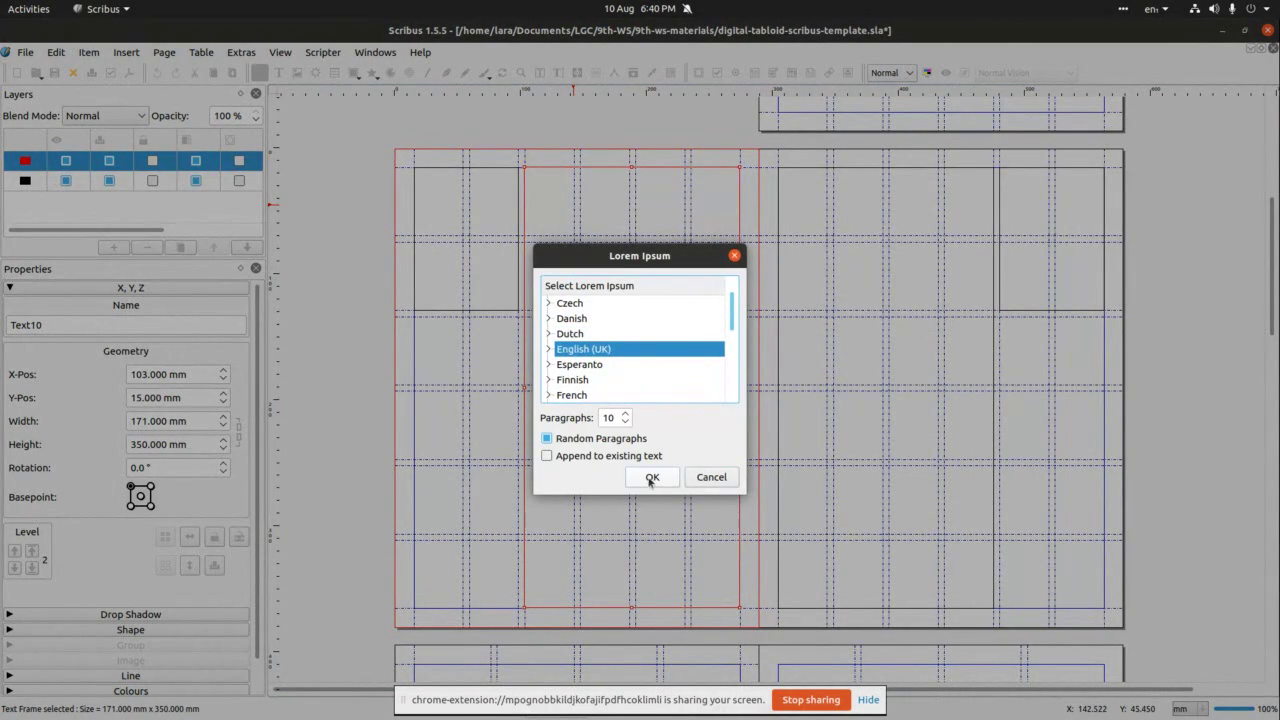 Scribus offers a number of languages to choose from.
 Once we select the language and click OK, sample text fills the frame. The
text may require some work, like spreading the paragraphs – this
you can do as in any text editing software – click on the text and
hit enter/return on your keyboard.
Once we select the language and click OK, sample text fills the frame. The
text may require some work, like spreading the paragraphs – this
you can do as in any text editing software – click on the text and
hit enter/return on your keyboard.
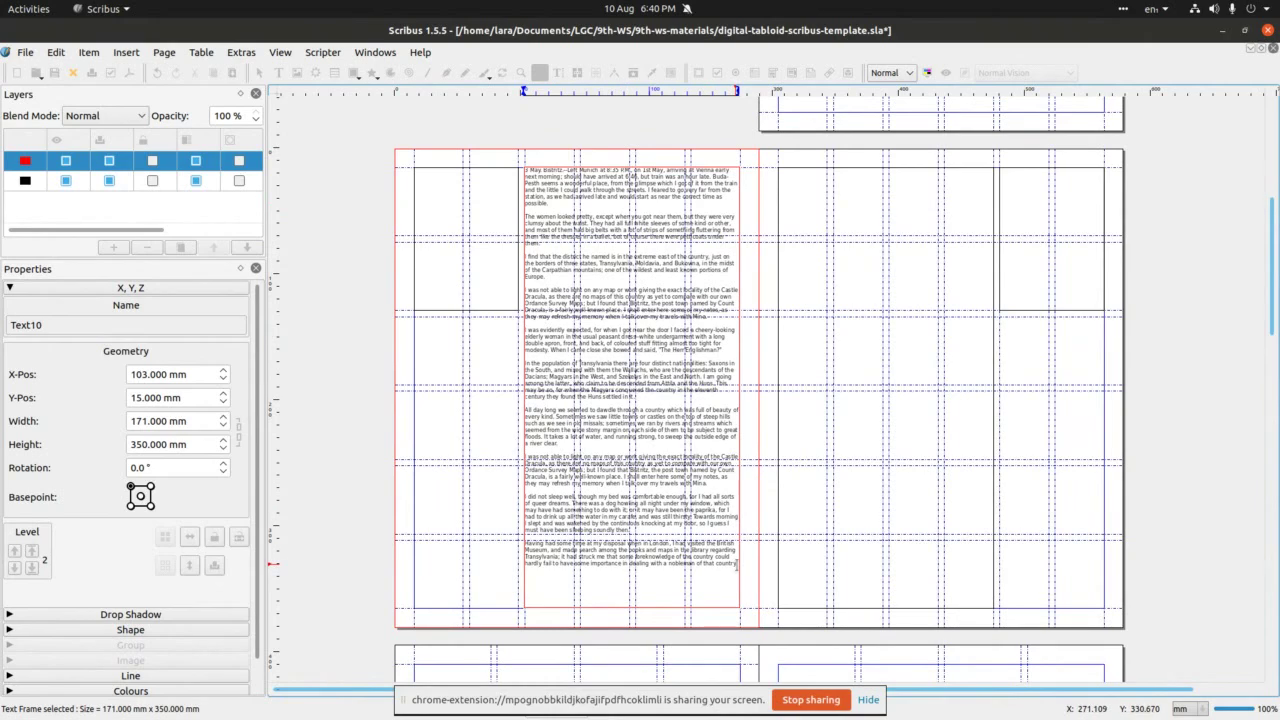
 In this case, sample text does not fill the whole box, so we’ll select
a segment of the text and copy/paste it to be able to experiment with
text flow from one frame to another.
In this case, sample text does not fill the whole box, so we’ll select
a segment of the text and copy/paste it to be able to experiment with
text flow from one frame to another.
 Once we pasted the text, we’ll click on the Link Text Frames icon (as in
the image) with the text filled frame selected. Then we click on the
area of the frame in which we want the text to ‘flow’ into. In
this case this is the larger text frame on page 3.
Once we pasted the text, we’ll click on the Link Text Frames icon (as in
the image) with the text filled frame selected. Then we click on the
area of the frame in which we want the text to ‘flow’ into. In
this case this is the larger text frame on page 3.
 Like so.
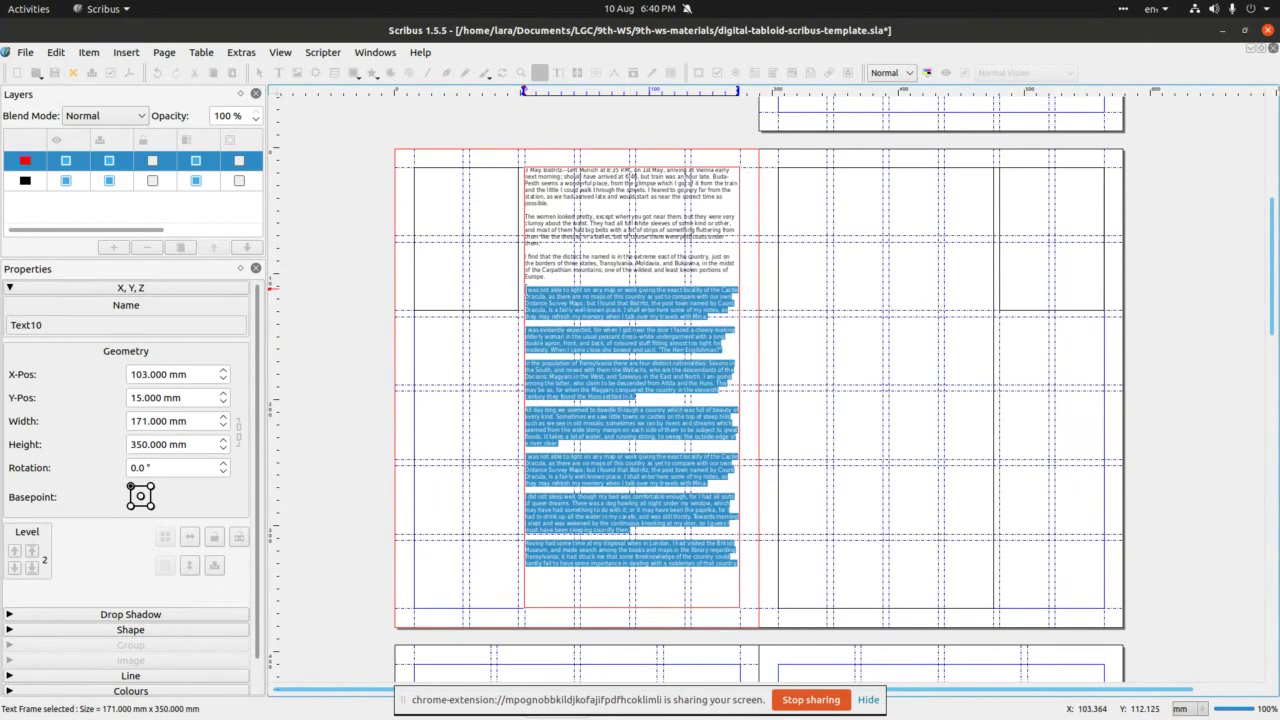
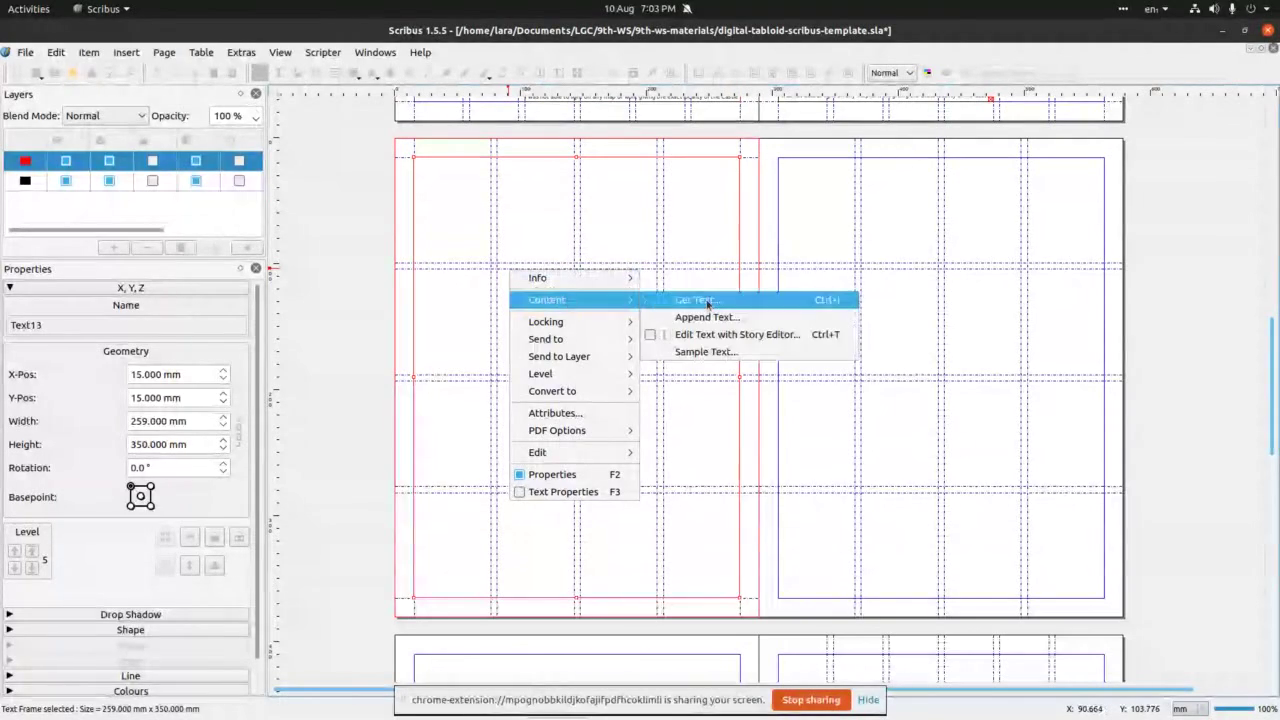
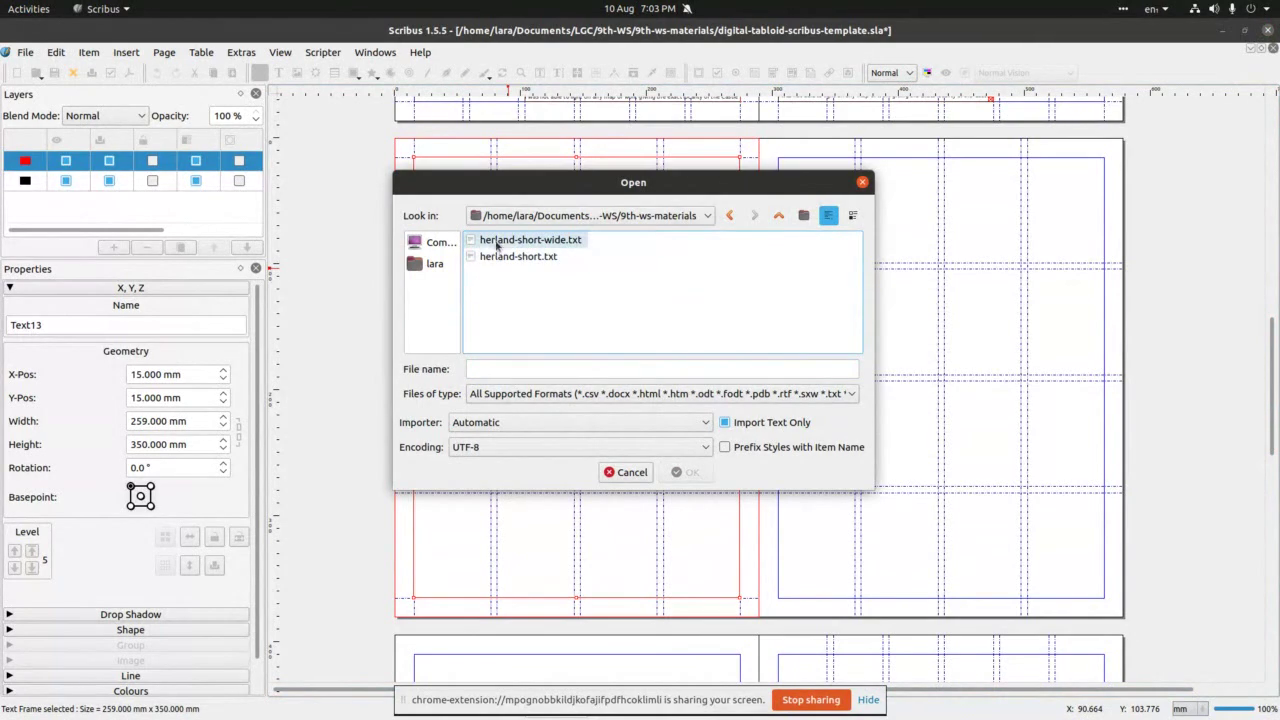
 We’ll now get text from an external file. Select smaller text frame on page
2 (right page) and right-click to access the Content>Get text
panel.
We’ll now get text from an external file. Select smaller text frame on page
2 (right page) and right-click to access the Content>Get text
panel.
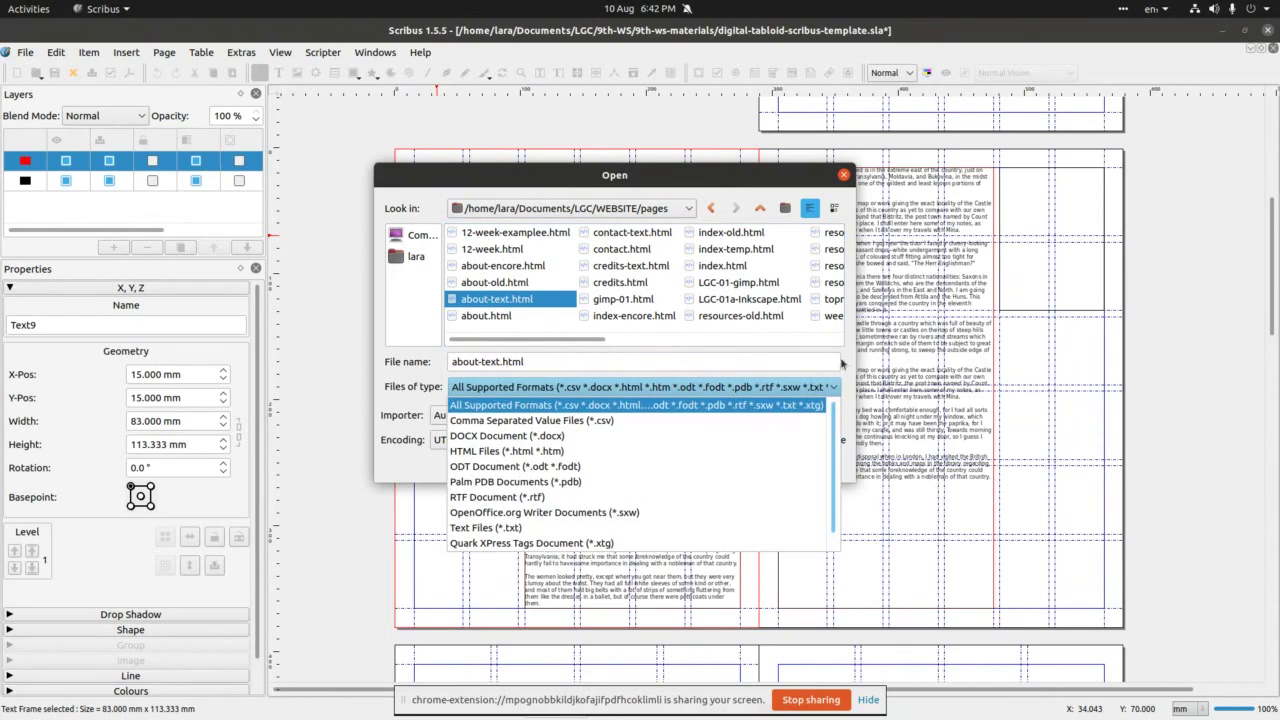 Scribus
allows us to insert text form many different file types. In this case
we’ll insert an html file.
Scribus
allows us to insert text form many different file types. In this case
we’ll insert an html file.
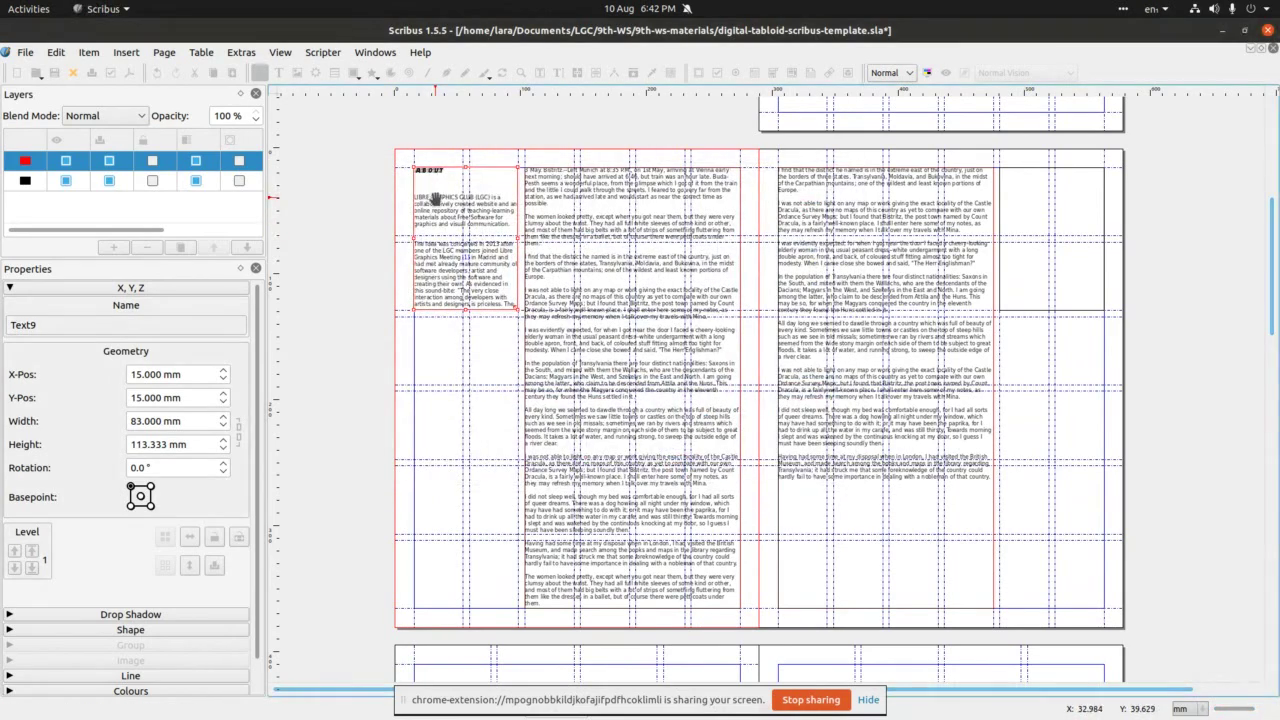 Like so.
 For the right text frame we’ll insert an ODT (open office text file)
file. Right-click on the text frame and select Content>Get text.
For the right text frame we’ll insert an ODT (open office text file)
file. Right-click on the text frame and select Content>Get text.
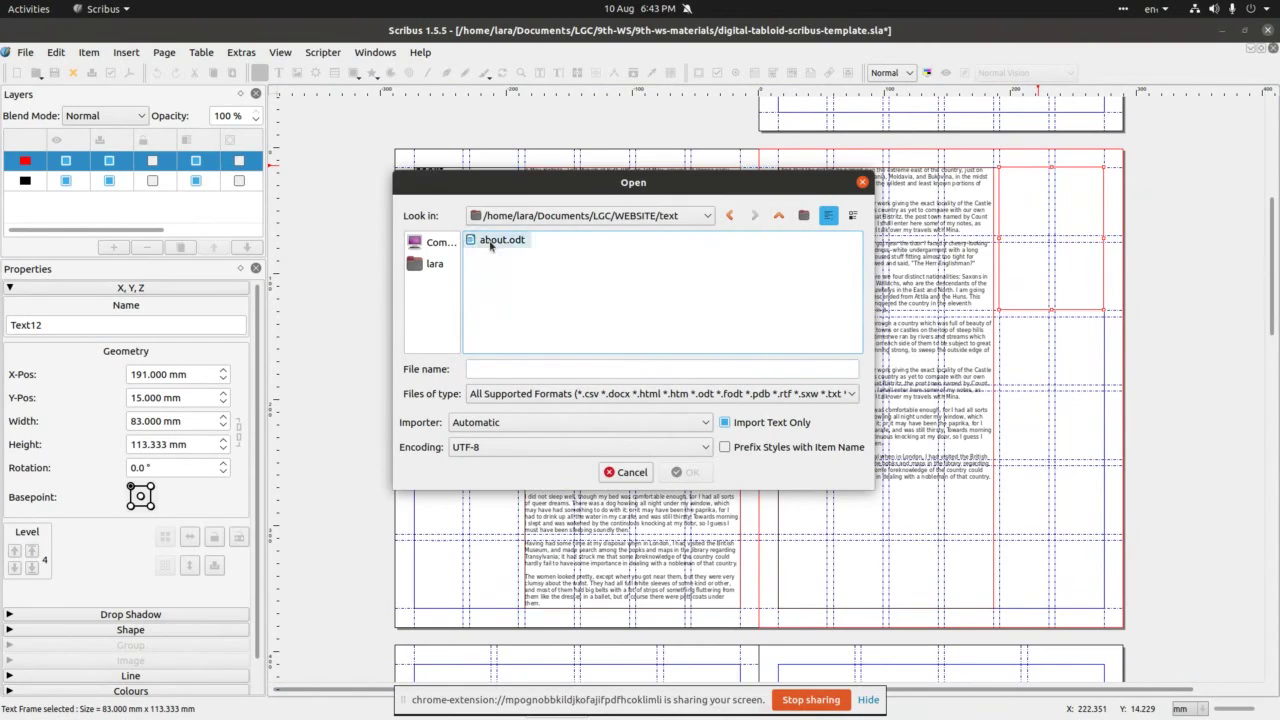 Find an about.odt file in the downloaded folder, select it an click OK.
 Here we are, all text frames are now filled with text.
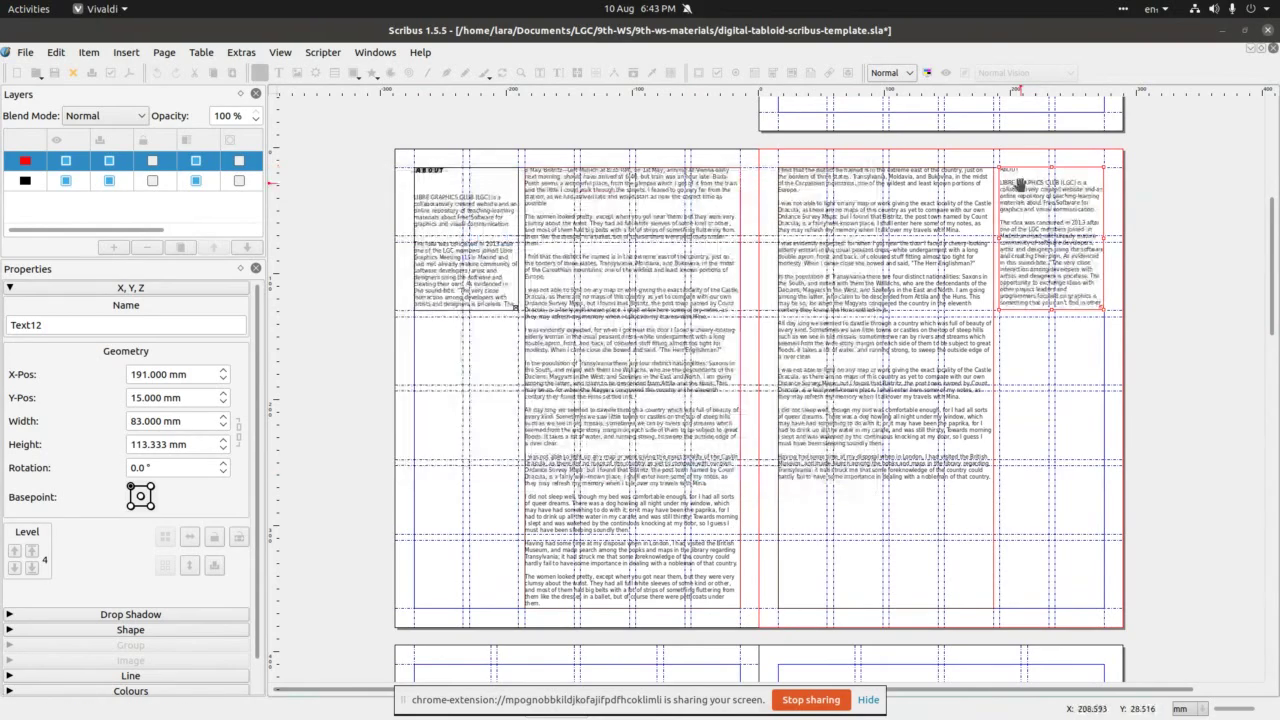
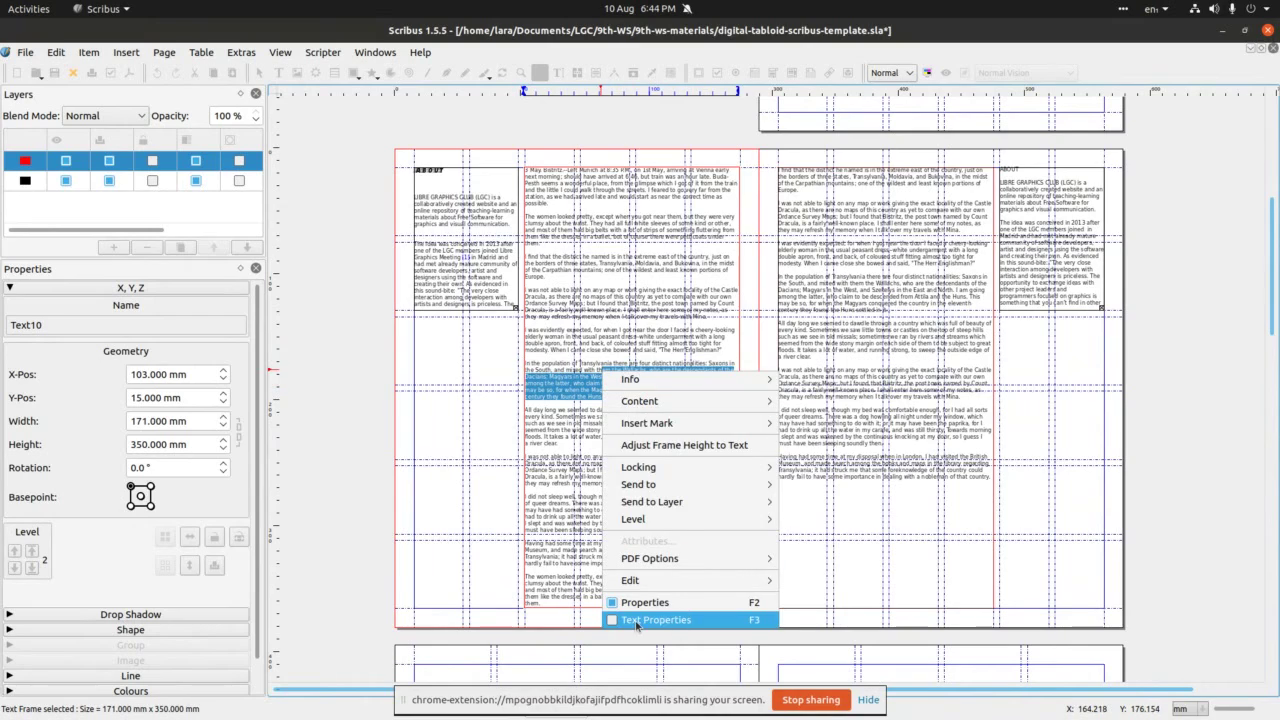 The next thing we’ll do here is to edit the text – change colour,
size and font type. Select part of the text, right-click on it and
select either Properties or Text properties (depending on Scribus
version we have).
The next thing we’ll do here is to edit the text – change colour,
size and font type. Select part of the text, right-click on it and
select either Properties or Text properties (depending on Scribus
version we have).
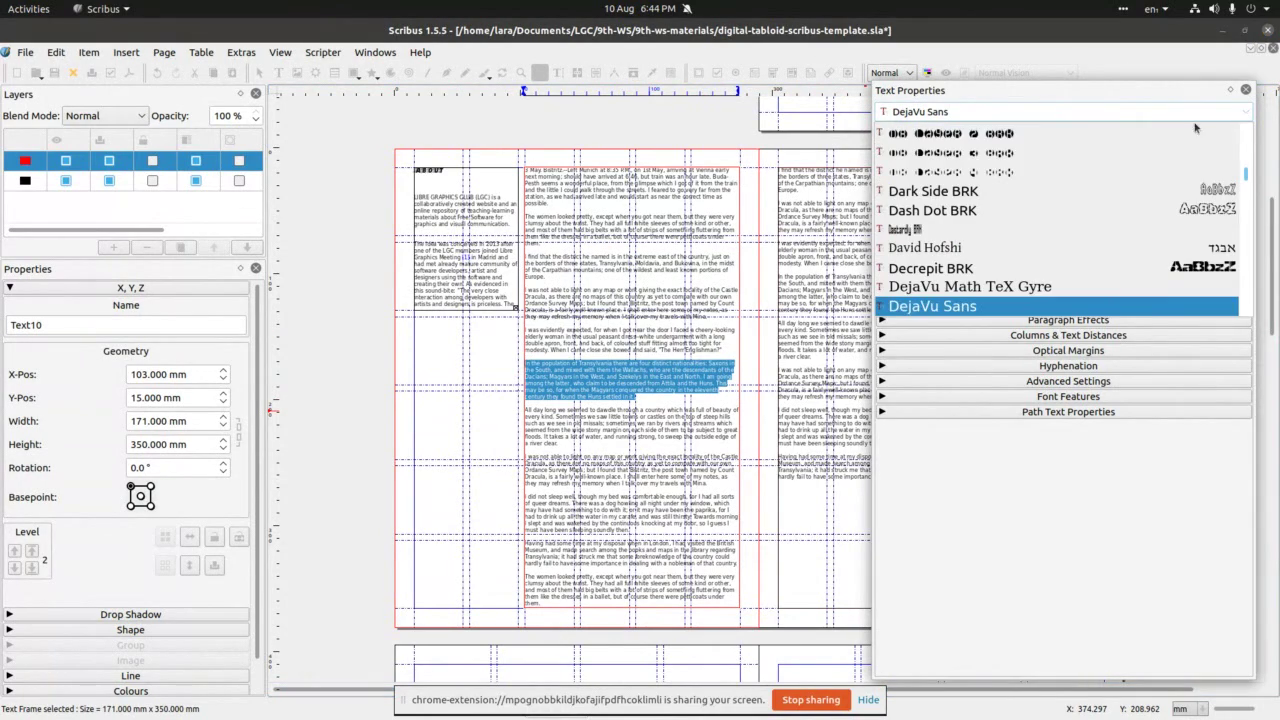
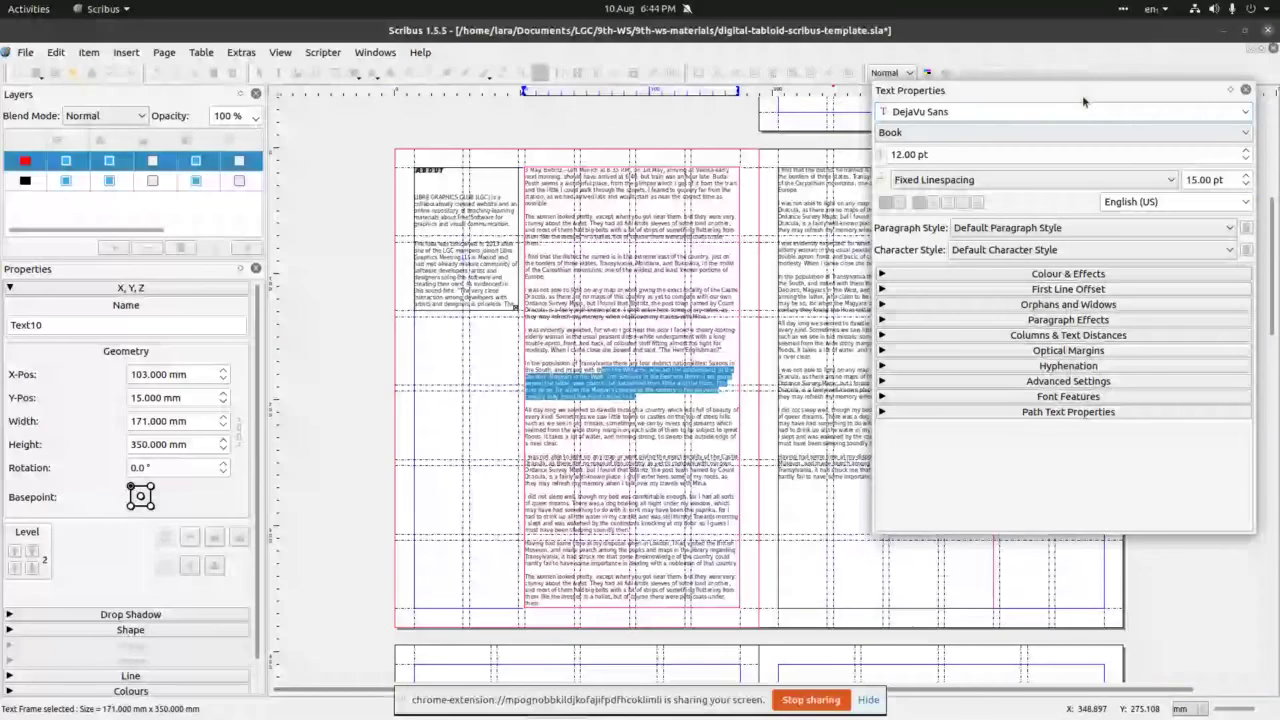 Text properties, or properties, will allow you to change a wide range of
text properties. For now, lets change font type by clicking at the
top of the panel.
Text properties, or properties, will allow you to change a wide range of
text properties. For now, lets change font type by clicking at the
top of the panel.
 Like so.
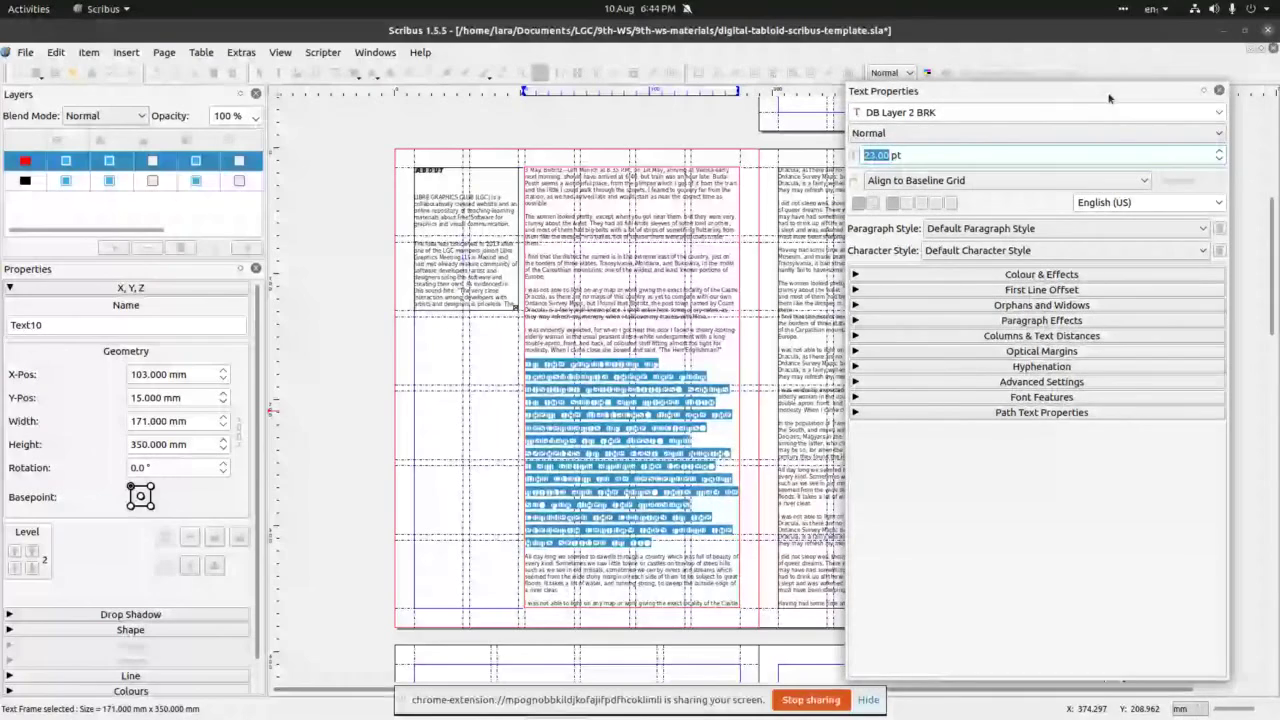 Then we’ll change font size.
 Then, we’ll change colour.
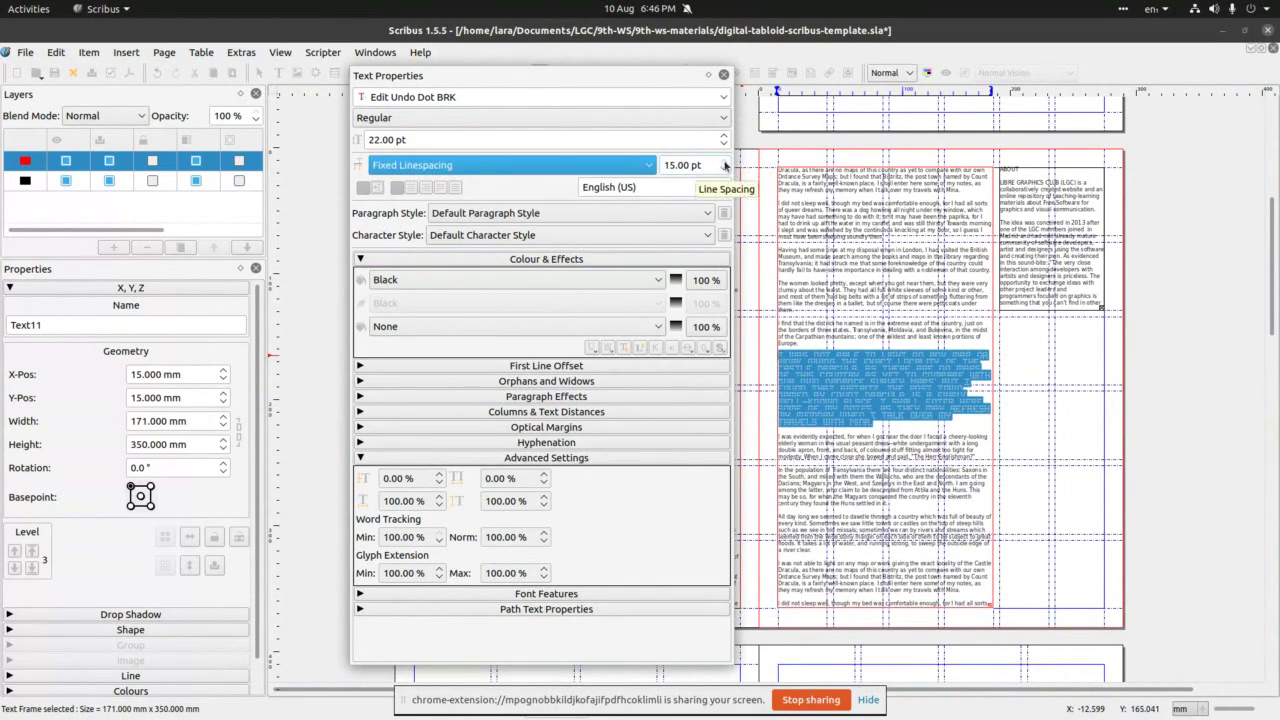 And experiment with linespace.
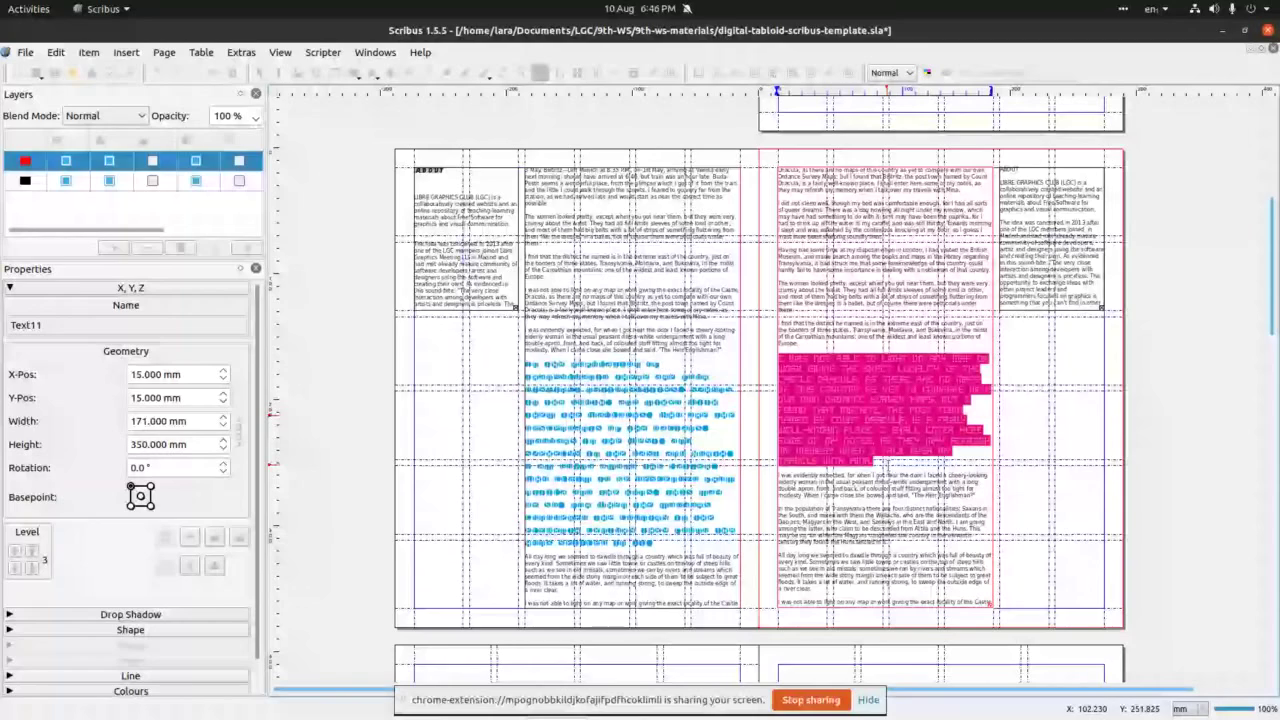 When we’re happy with changes we made, save file :-) Actually, save file
as often as possible – computers crash, and we don’t want to lose
work we’ve done so far.
When we’re happy with changes we made, save file :-) Actually, save file
as often as possible – computers crash, and we don’t want to lose
work we’ve done so far.
 Here’s screenshot of Windows>Text properties – just in-case.
 The next thing we’ll do is to play with text and image and to make a
grid of images. This we’ll do on pages 4&5, so lets scroll down
your document in Scribus.
The next thing we’ll do is to play with text and image and to make a
grid of images. This we’ll do on pages 4&5, so lets scroll down
your document in Scribus.
 Here we are on pages 4&5. Remember we made a different grid there at
the beginning.
Here we are on pages 4&5. Remember we made a different grid there at
the beginning.
 We’ll select Text frame either form Icon bar or via Insert>Text frame in
the main menu. Then click and drag across page no 4 (left page) and
when happy with the frame, right-click to add text. This time we’ll
use .txt file form the folder – Content>Get text>choose
herland-short-wide.txt form the folder.
We’ll select Text frame either form Icon bar or via Insert>Text frame in
the main menu. Then click and drag across page no 4 (left page) and
when happy with the frame, right-click to add text. This time we’ll
use .txt file form the folder – Content>Get text>choose
herland-short-wide.txt form the folder.
 Like so.
 Here we are with text inserted into the frame. If happy with how text
looks, proceed to the next step, if not, feel free to edit text as we
did in previous steps.
Here we are with text inserted into the frame. If happy with how text
looks, proceed to the next step, if not, feel free to edit text as we
did in previous steps.
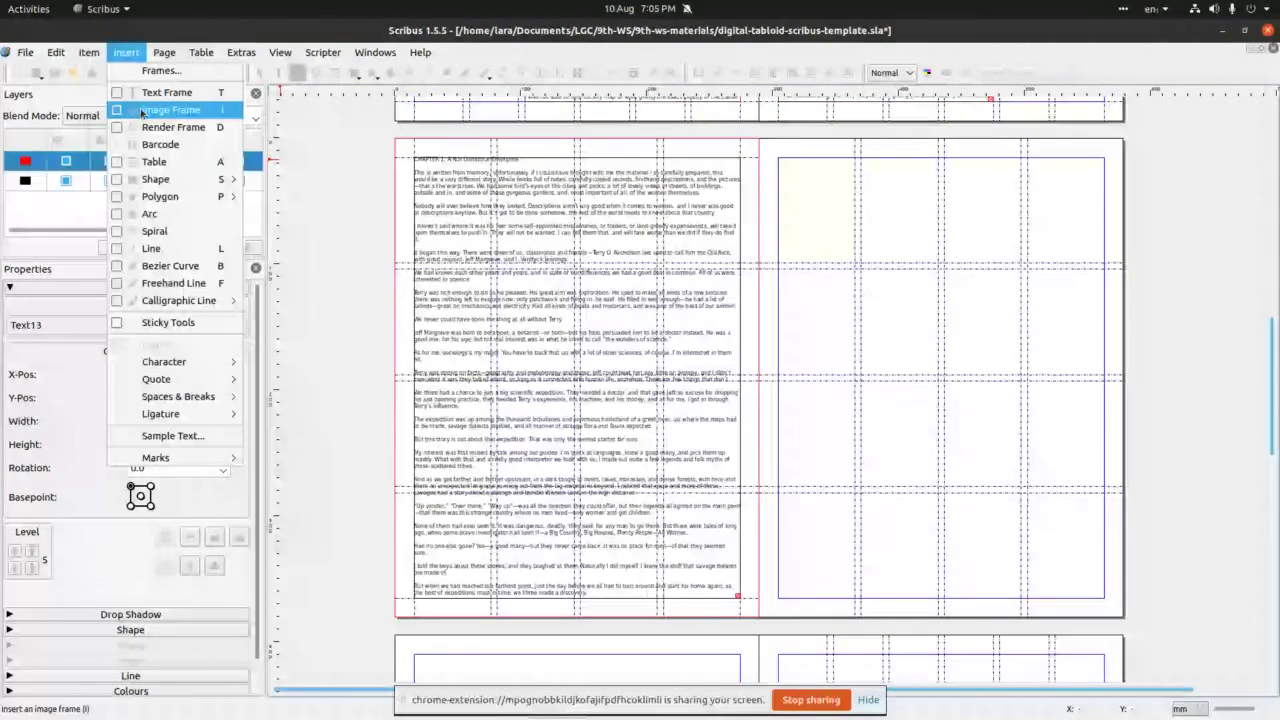 The next thing we do is to to insert image frame – this is done either
via Insert>Image frame or via Icon bar – the Image frame icon is
to the right of Text Frame.
The next thing we do is to to insert image frame – this is done either
via Insert>Image frame or via Icon bar – the Image frame icon is
to the right of Text Frame.
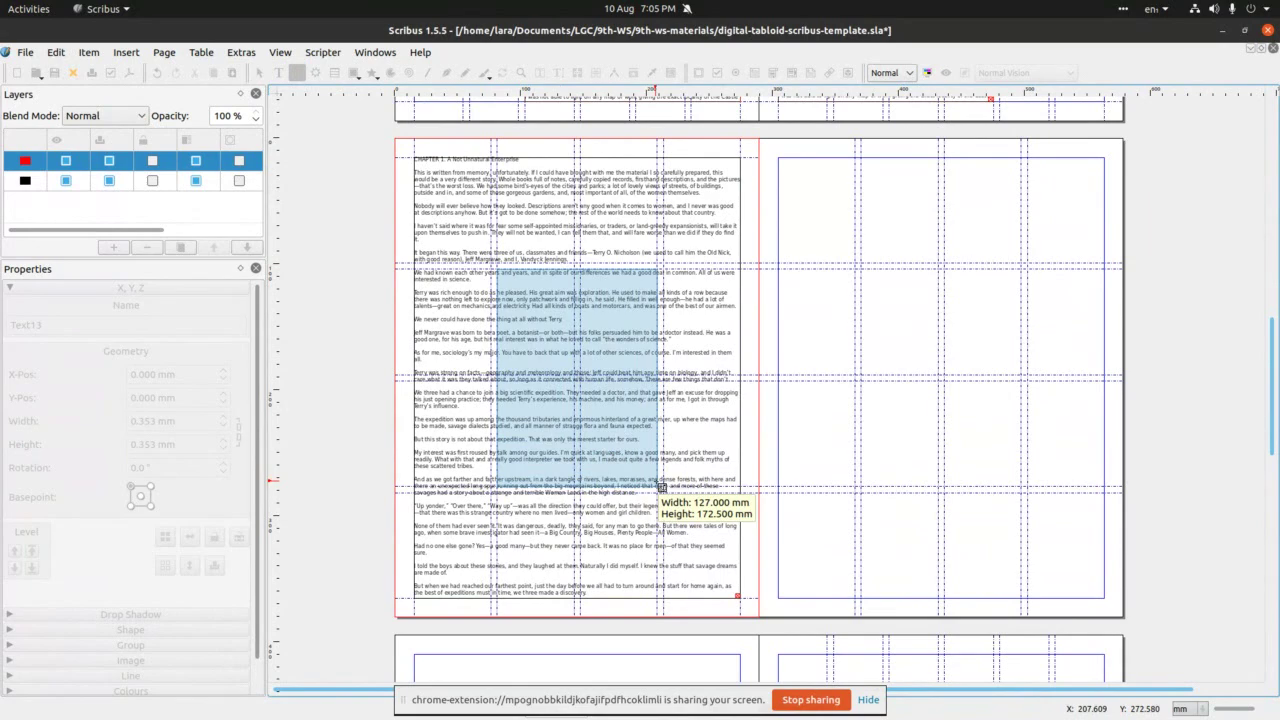 Then we click on the top left corner of the middle of grid frames and
stretch to the bottom-left side.
Then we click on the top left corner of the middle of grid frames and
stretch to the bottom-left side.
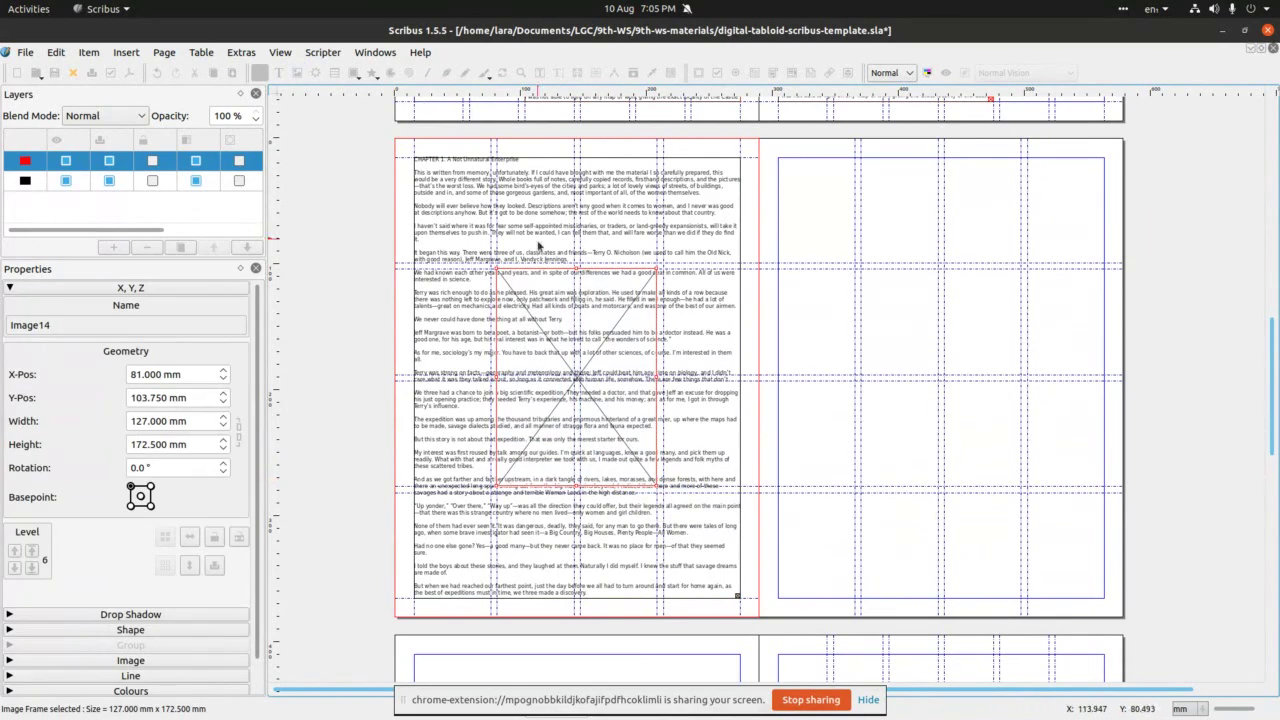 Here's the image frame on top of the text frame.
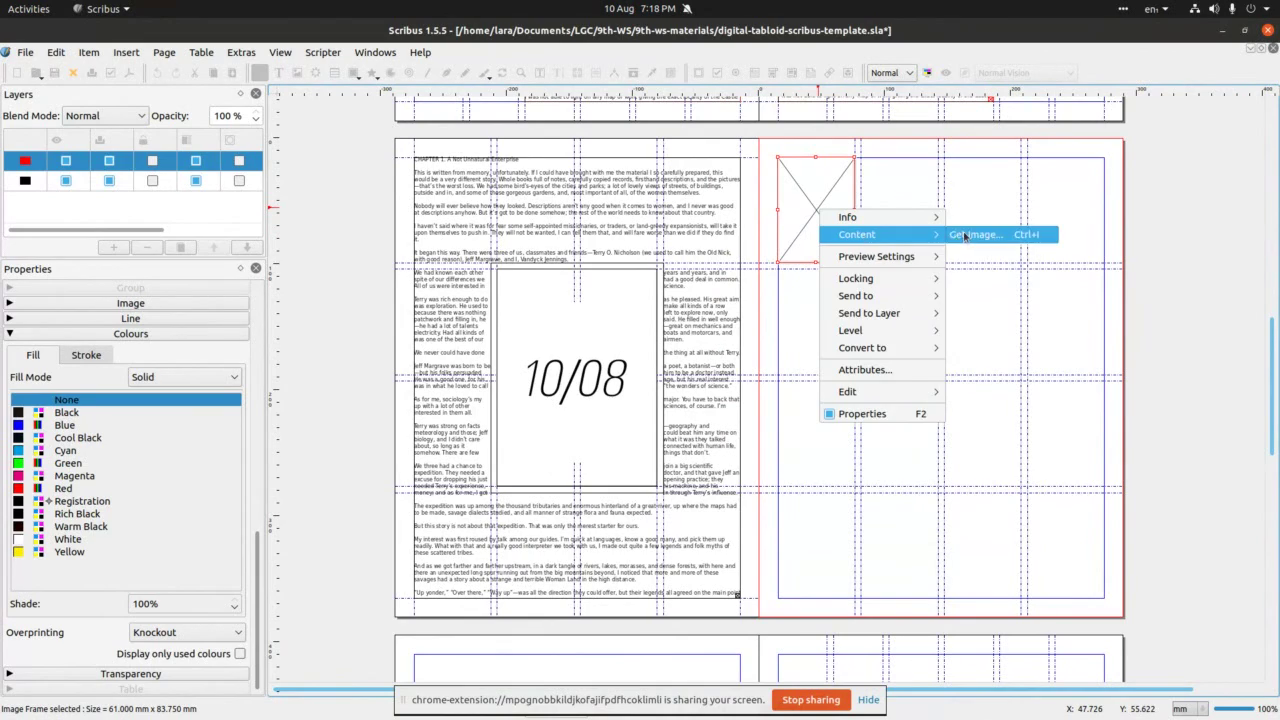
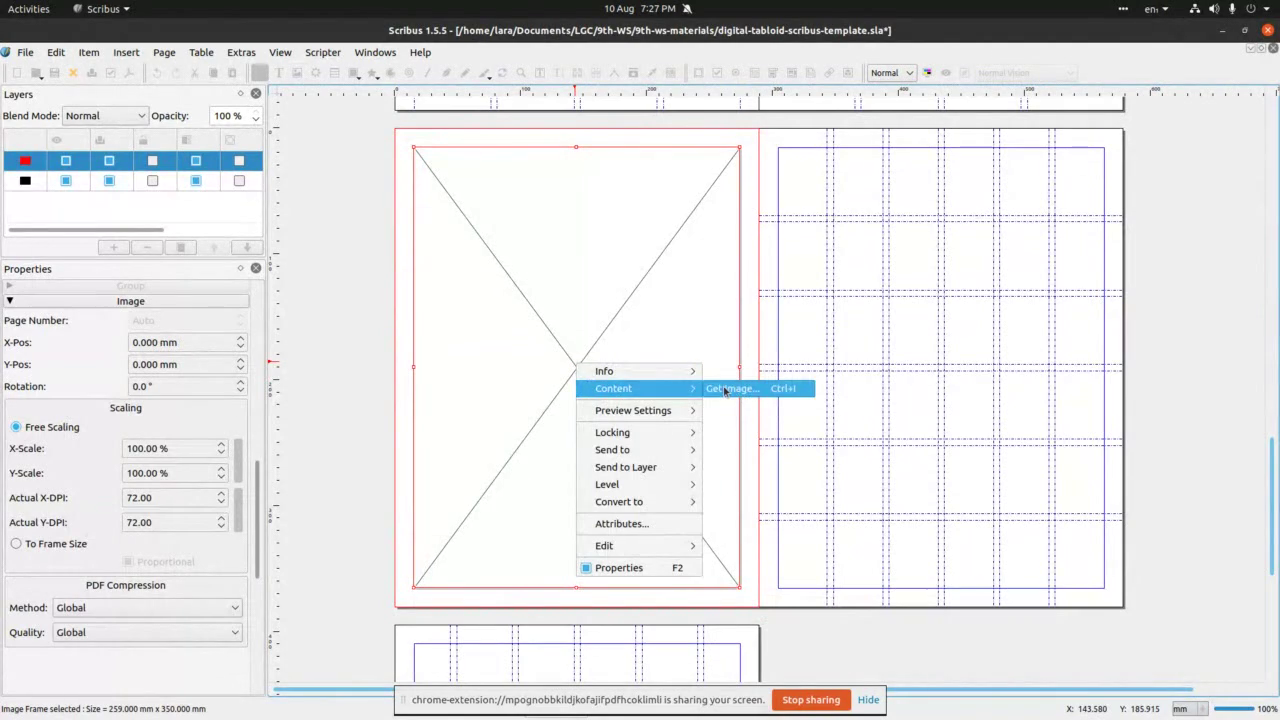
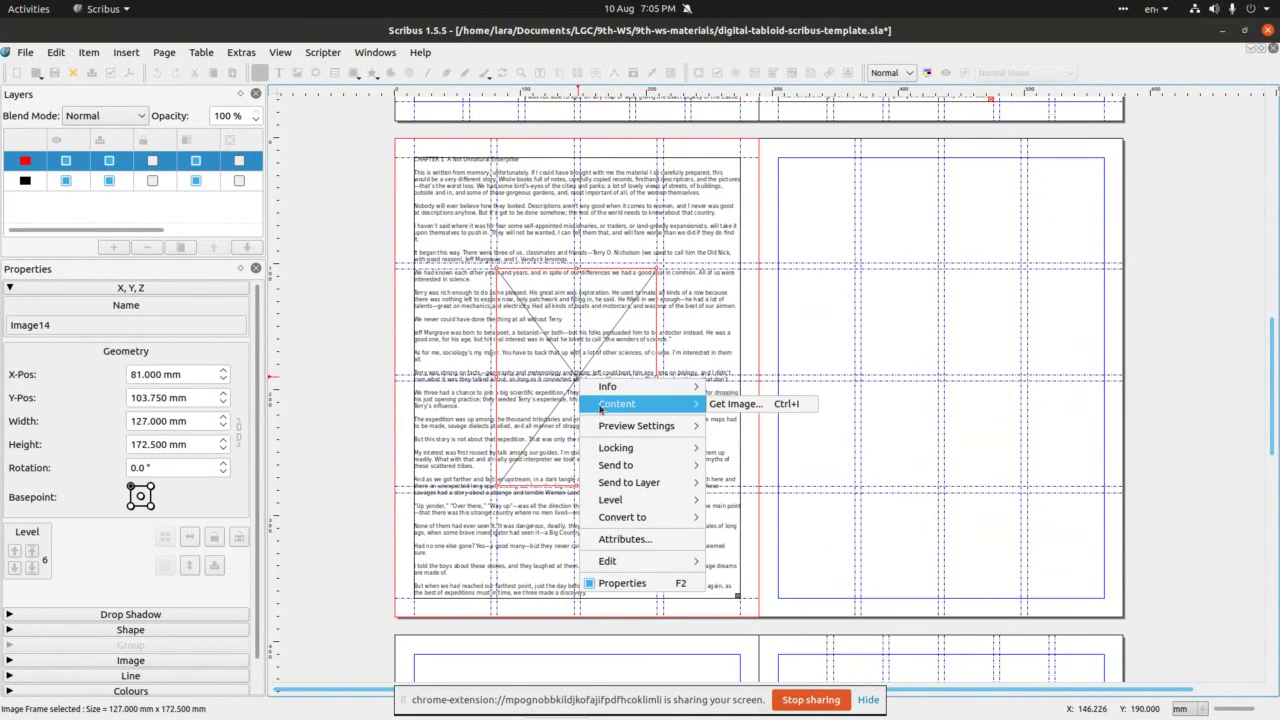 As with text frames, to insert image into the frame right-click on the
highlighted frame and select Content>Get image.
As with text frames, to insert image into the frame right-click on the
highlighted frame and select Content>Get image.
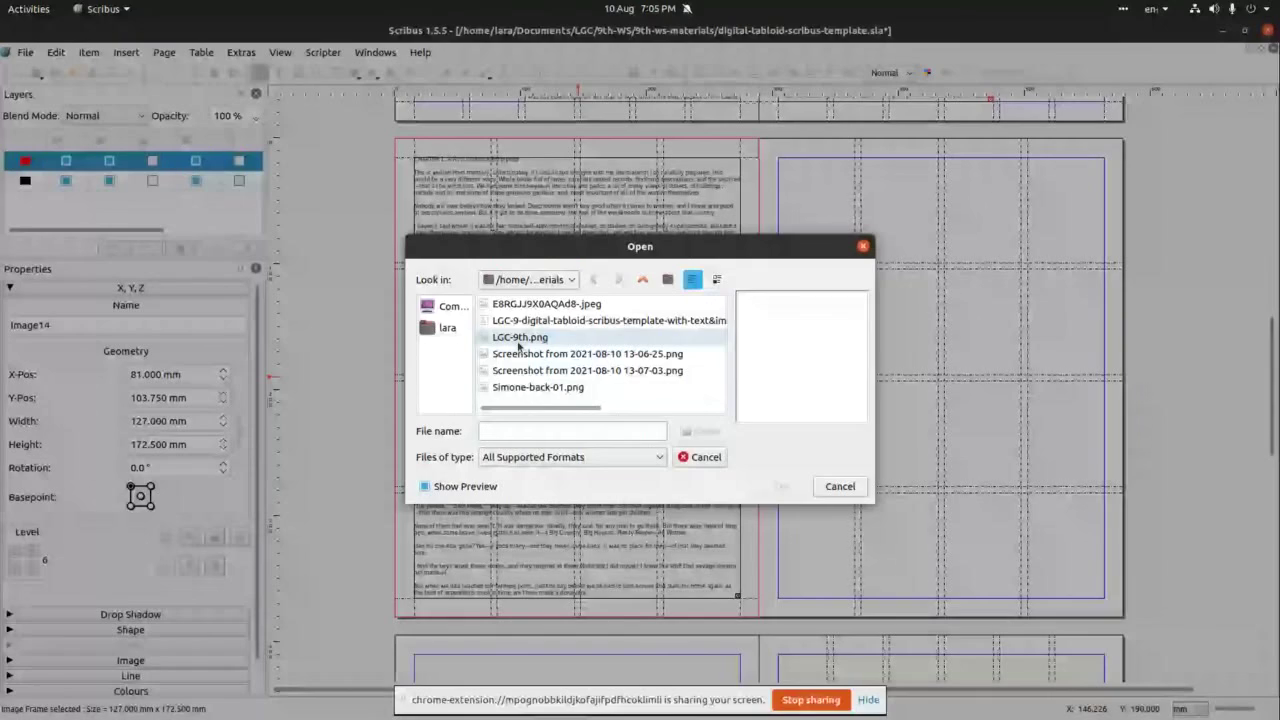 This will lead us to file manager panel where we select LGC-9th.png (or
any other image you’d like to experiment with).
This will lead us to file manager panel where we select LGC-9th.png (or
any other image you’d like to experiment with).
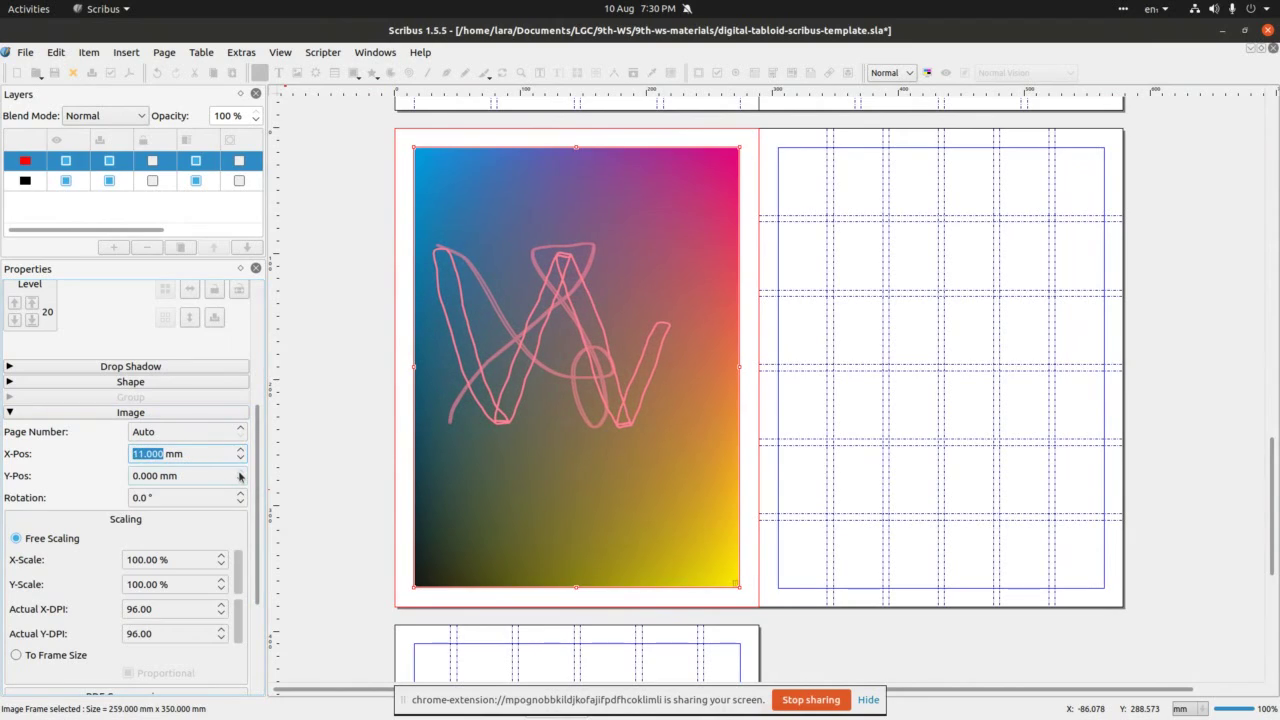
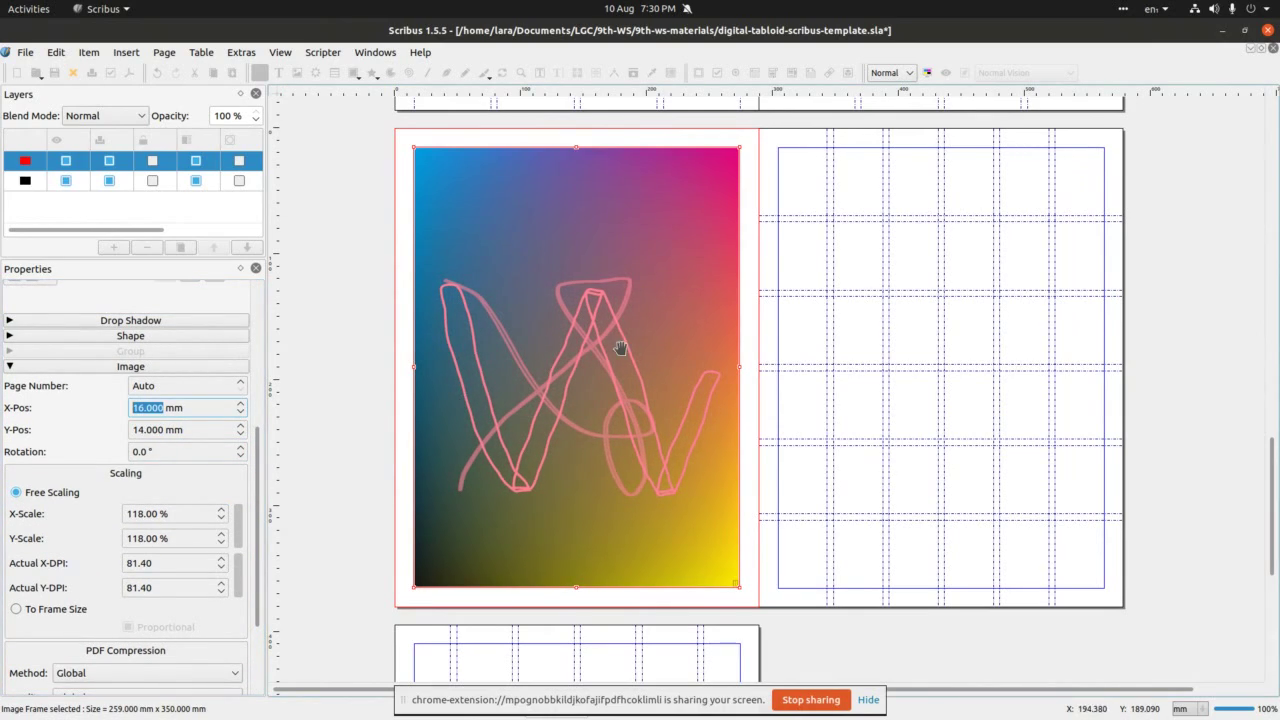
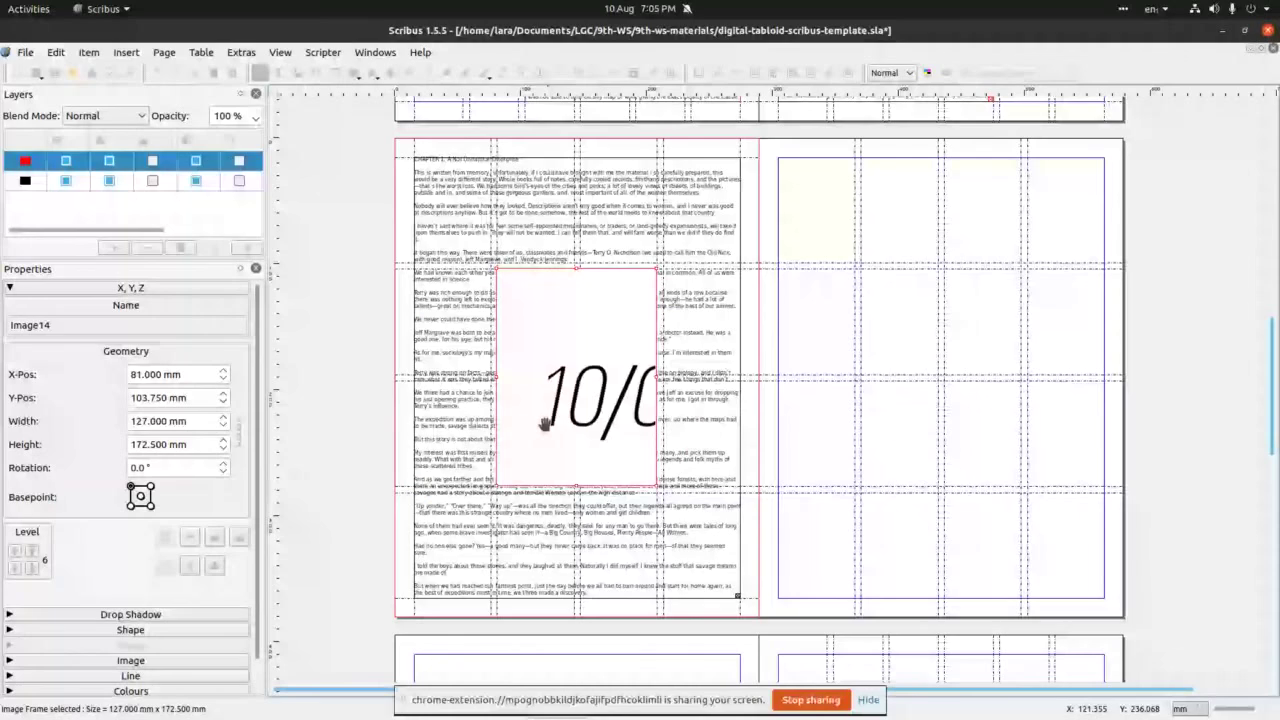 With image inserted, we may need to change its size and position.
 This we do via Windows>Properties.
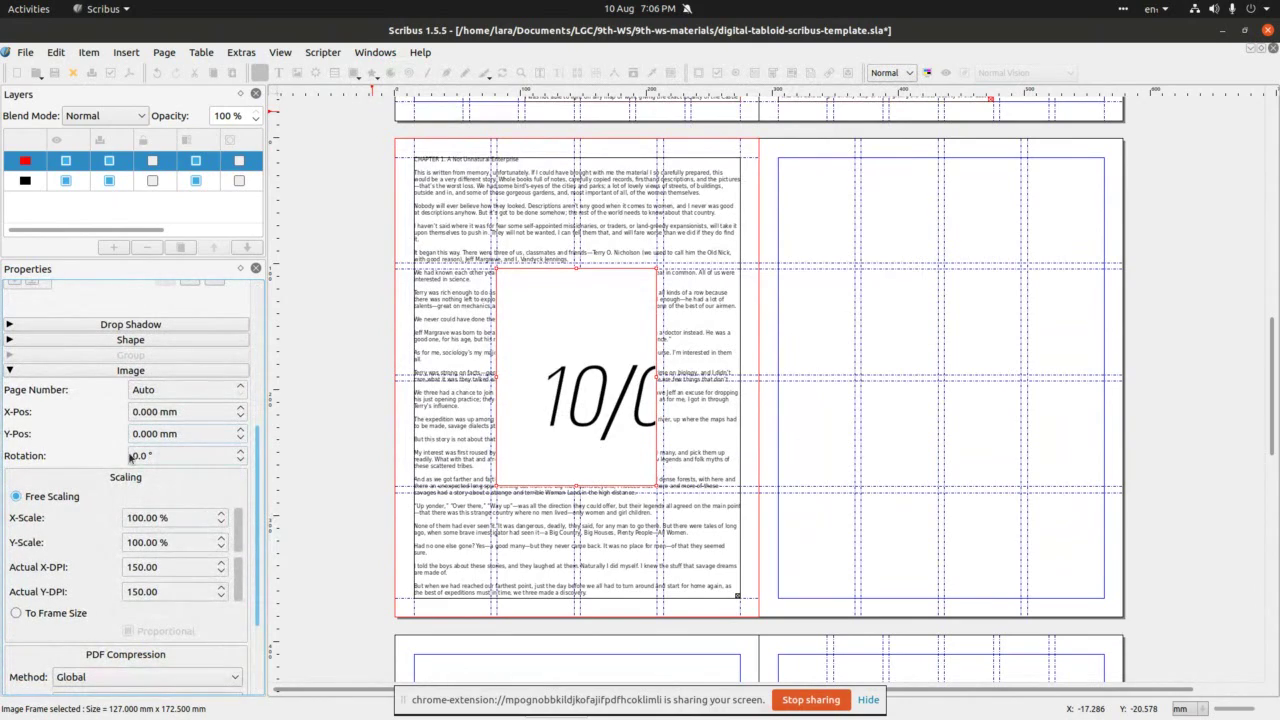 Once properties panel is open, we can access are labelled Image (drop down
menu) that allows us to change X&Y position, rotate the image as
well as work on scale of the image.
Once properties panel is open, we can access are labelled Image (drop down
menu) that allows us to change X&Y position, rotate the image as
well as work on scale of the image.
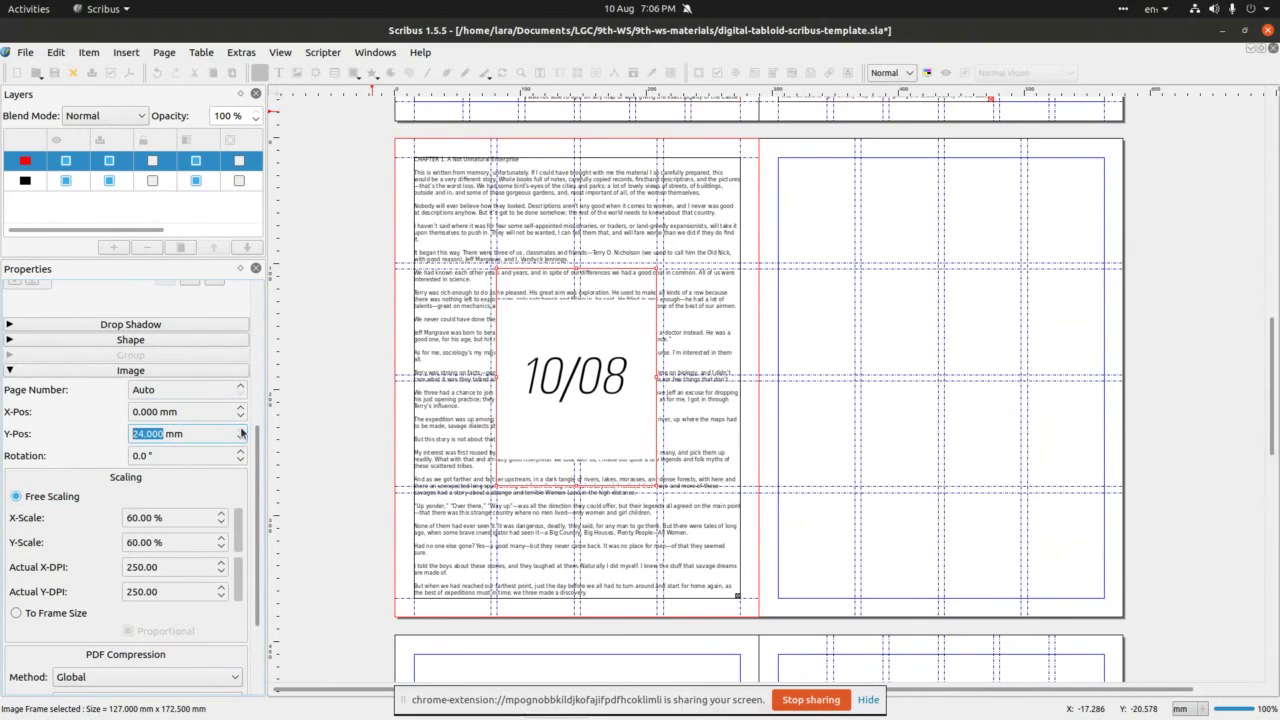 In this case we scaled image by 60% and changed value of Y position to
move image in centre of the page.
In this case we scaled image by 60% and changed value of Y position to
move image in centre of the page.
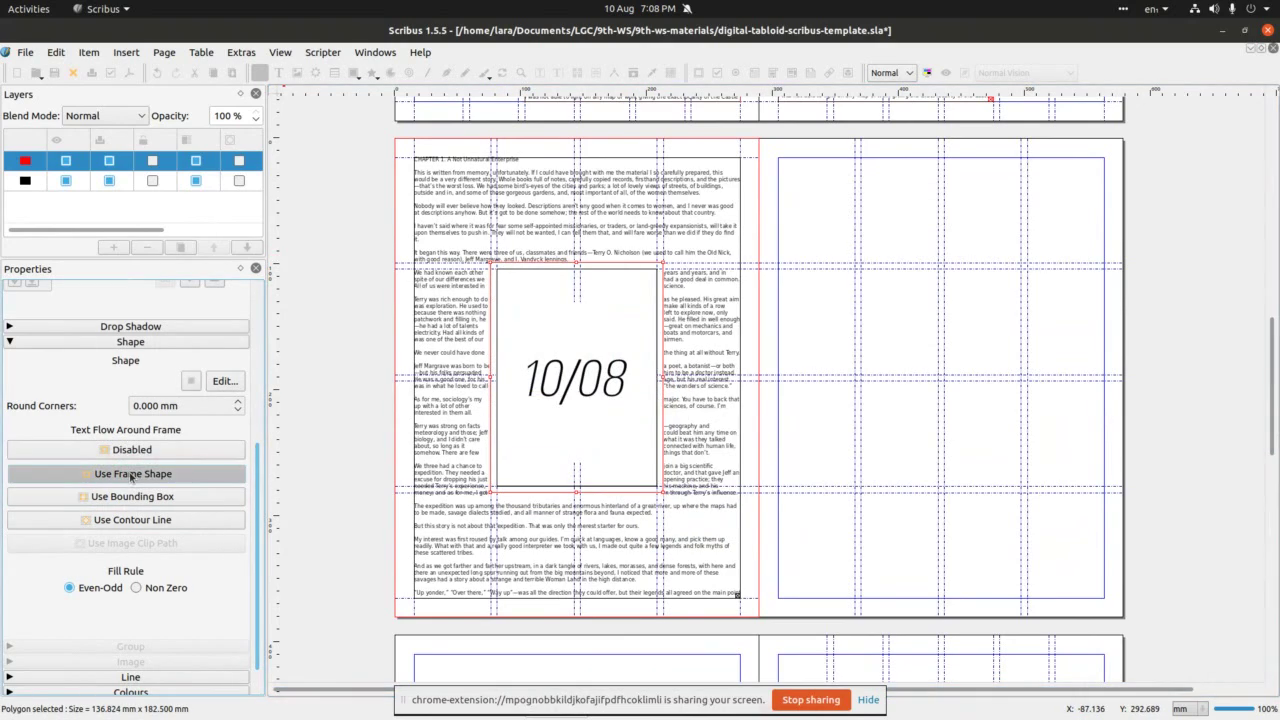
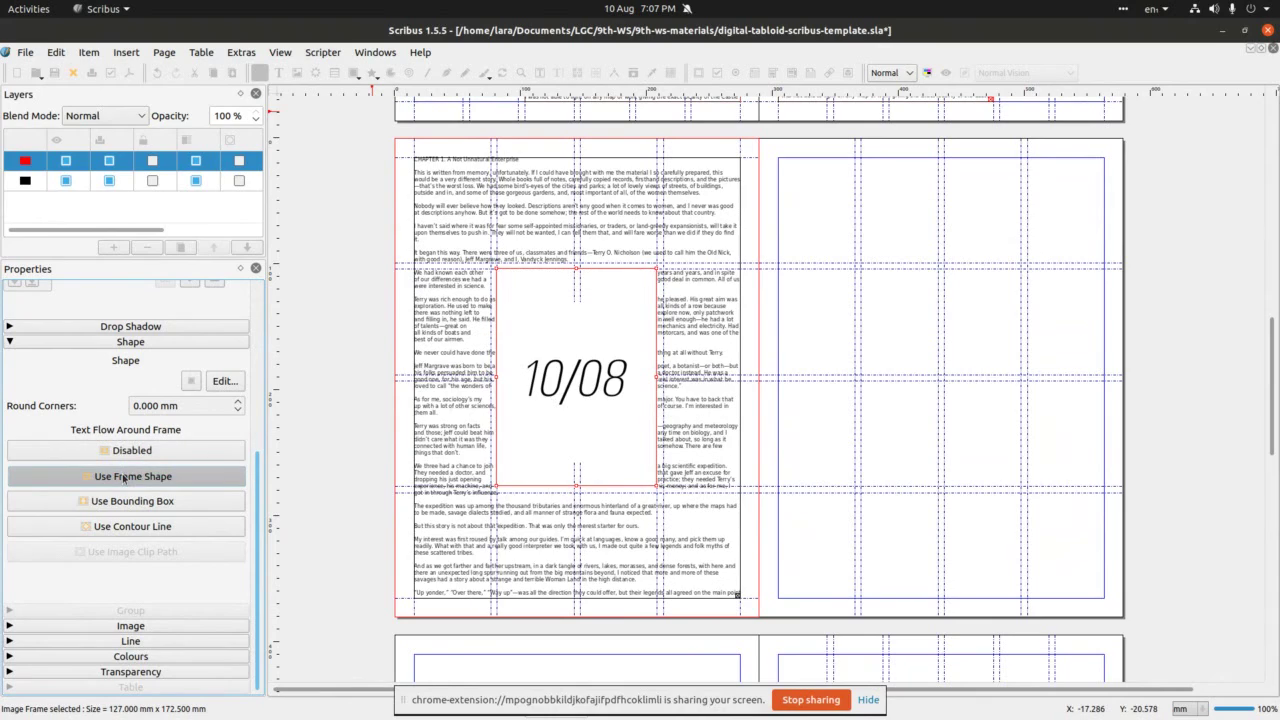 The next thing we’ll do is to make text go around the image. Select
image (frame) first, then go to Shape area on the Properties panel
and change Text Flow form disabled to Use Frame Shape as in the
image.
The next thing we’ll do is to make text go around the image. Select
image (frame) first, then go to Shape area on the Properties panel
and change Text Flow form disabled to Use Frame Shape as in the
image.
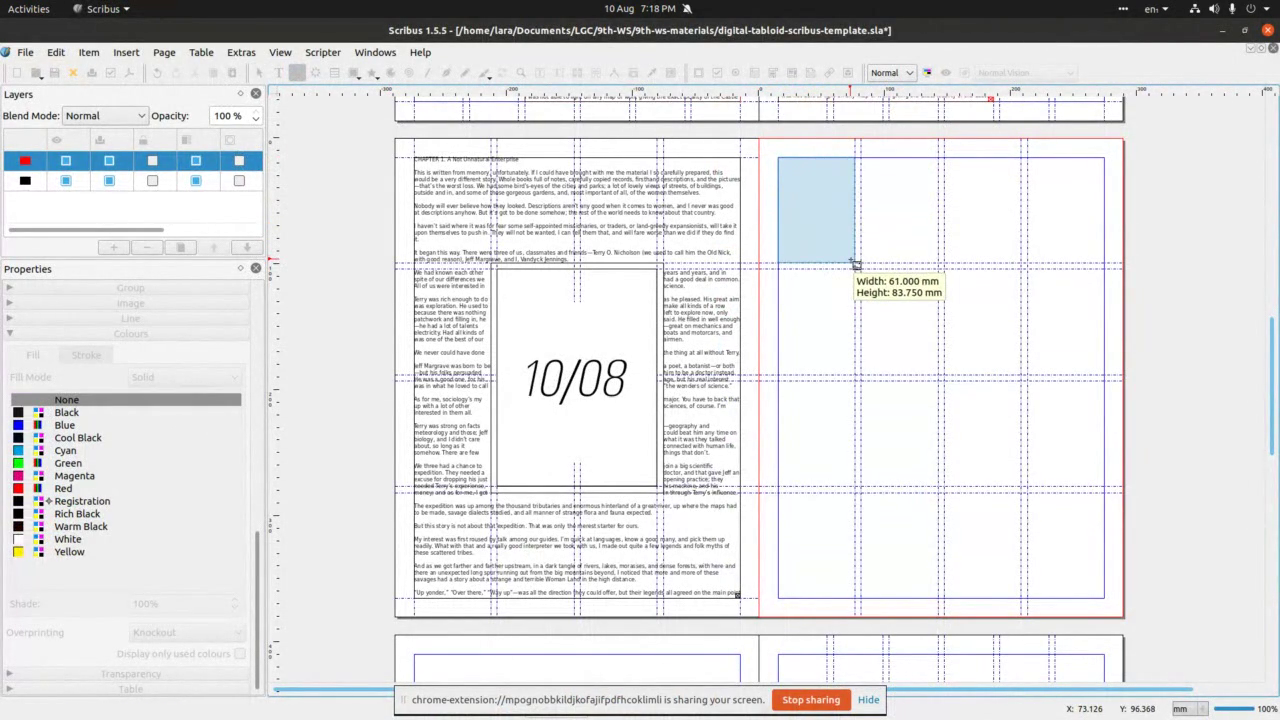
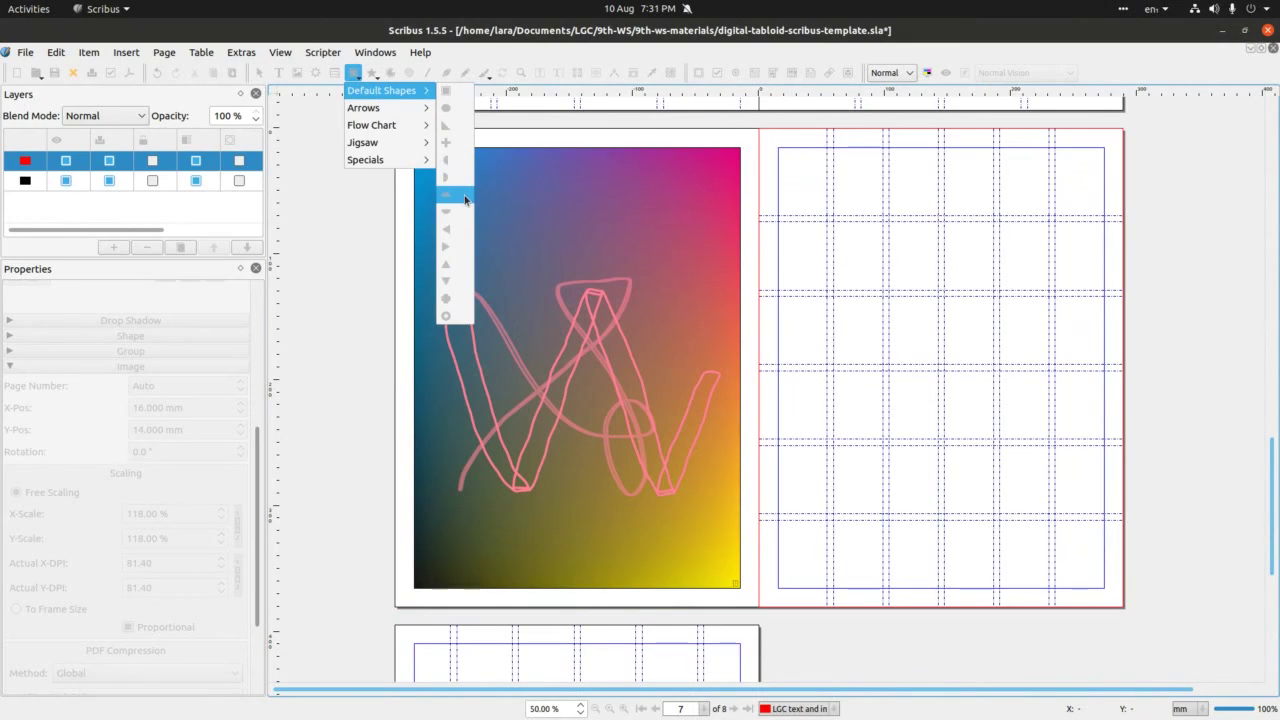
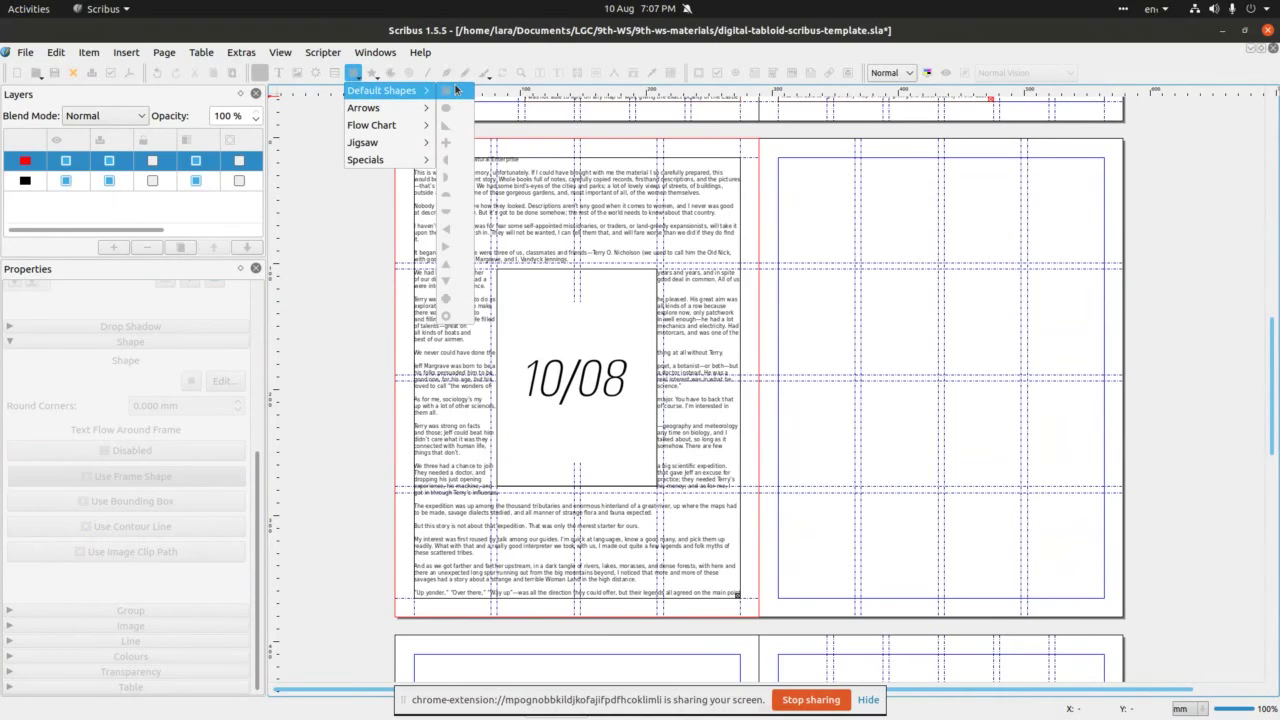 As text is still too close to the image, we’ll add an rectangle to
align with outer gap around the image. Go to Insert>Shape>Default
shapes and select rectangle, or via the Shapes icon on the Icon bar
as in this image.
As text is still too close to the image, we’ll add an rectangle to
align with outer gap around the image. Go to Insert>Shape>Default
shapes and select rectangle, or via the Shapes icon on the Icon bar
as in this image.
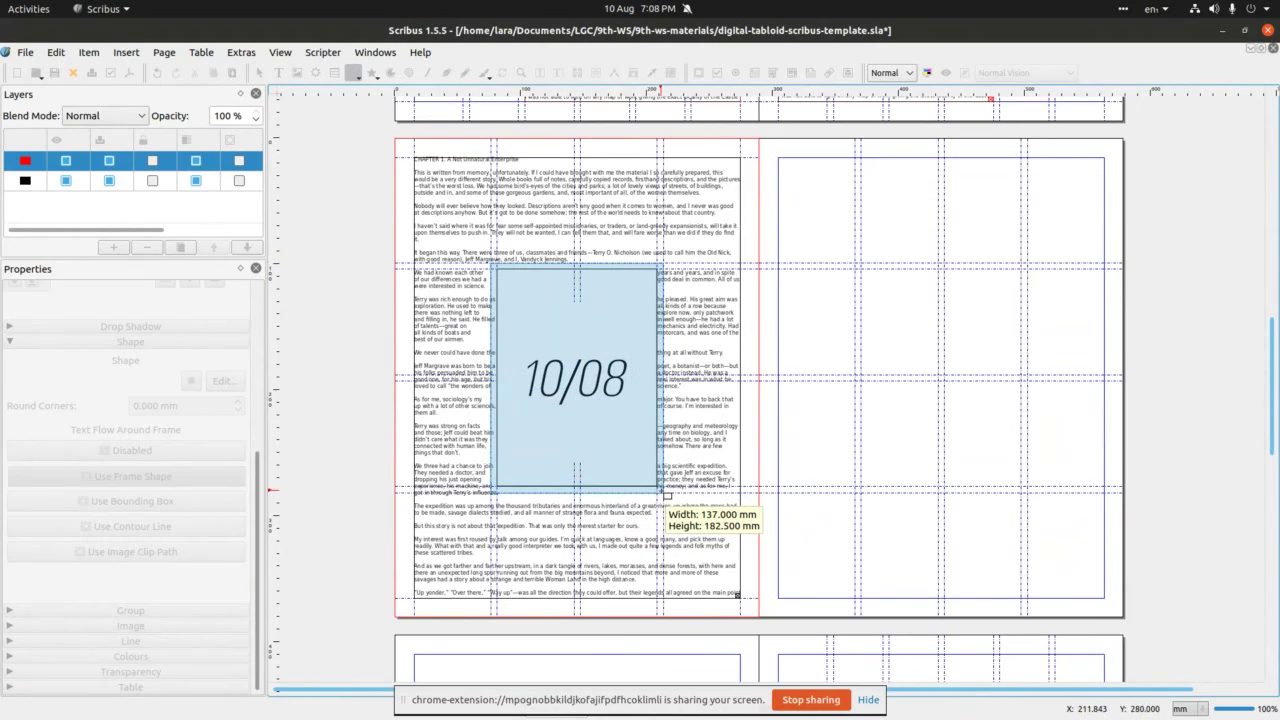 Then click on the page at the top-left corner to align with the outer gap
line and stretch across to the bottom-right corner.
Then click on the page at the top-left corner to align with the outer gap
line and stretch across to the bottom-right corner.
 With rectangle selected, go to properties, select Shape and Use Frame
Shape. Text will now from around the outer frame.
With rectangle selected, go to properties, select Shape and Use Frame
Shape. Text will now from around the outer frame.
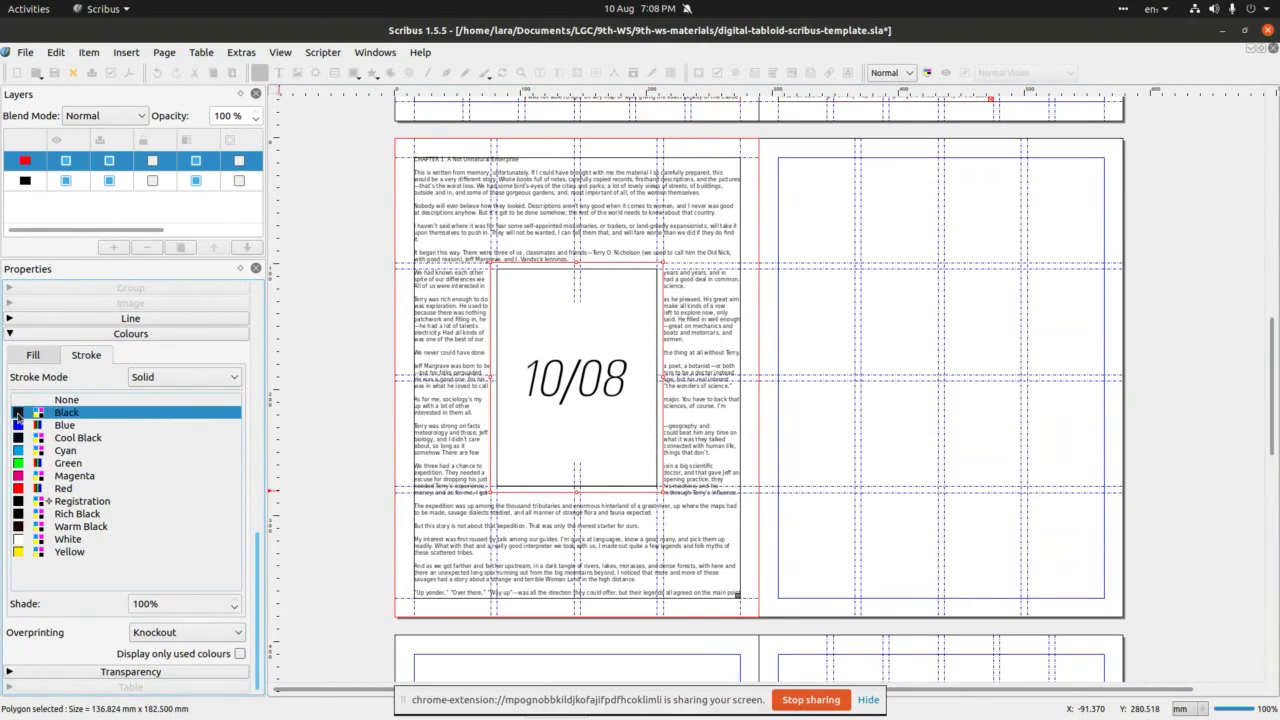 Last thing to do here is to change colour of stroke of the rectangle shape
(Scribus’s default). Select the shape and select Colours in the
Properties panel. Here, select Stroke tab and change colour form
Black to None.
Last thing to do here is to change colour of stroke of the rectangle shape
(Scribus’s default). Select the shape and select Colours in the
Properties panel. Here, select Stroke tab and change colour form
Black to None.
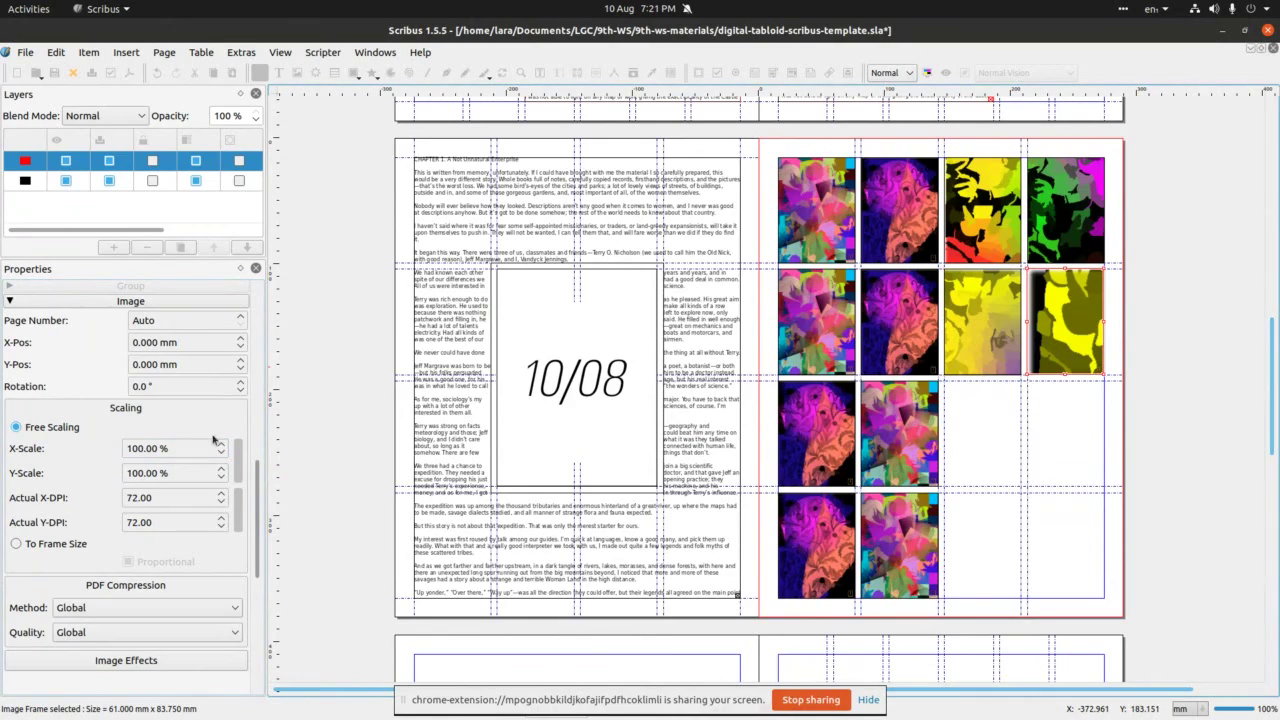
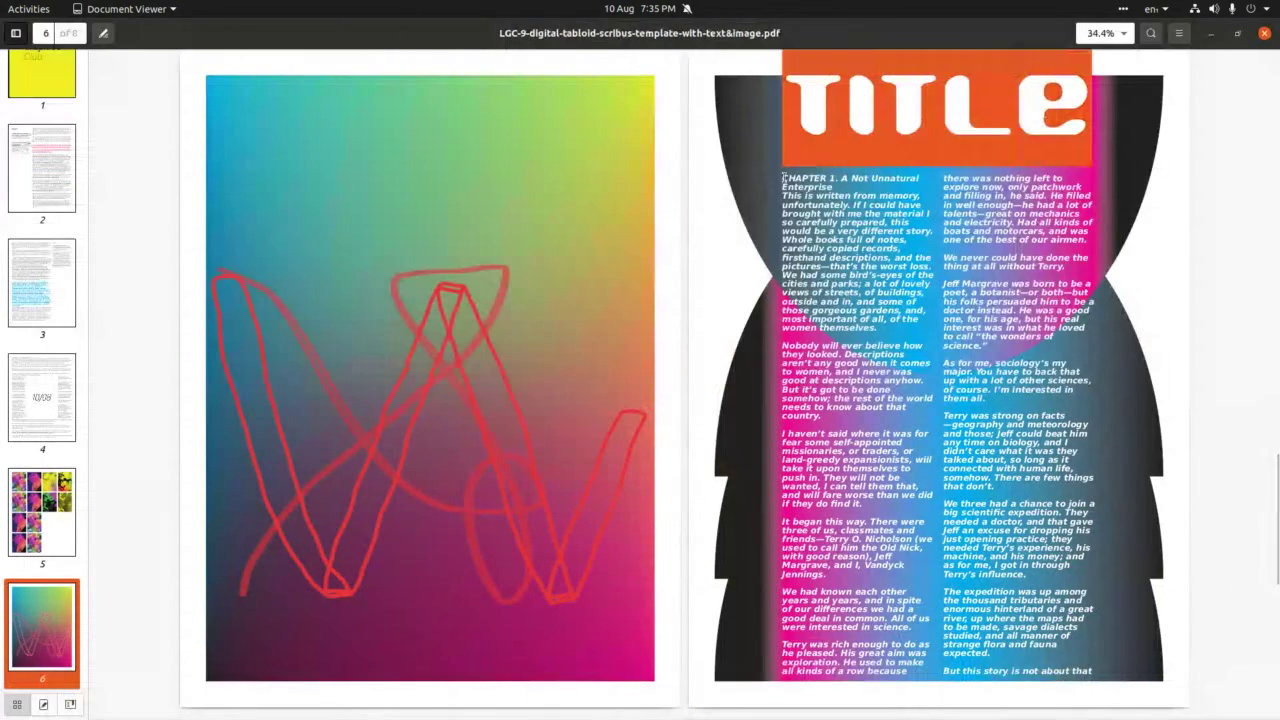
 Next we’ll make a grid of images as on the right side of this image.
 We’re now on page 5. To select it, click anywhere on the page and you’ll
see it highlighted with red outline. To
add images on this page, we click on Image frame icon or go to
Insert>Image frame to access the tool. Then, click on the top-left
frame of the grid and stretch arccos to the bottom-right corner.
We’re now on page 5. To select it, click anywhere on the page and you’ll
see it highlighted with red outline. To
add images on this page, we click on Image frame icon or go to
Insert>Image frame to access the tool. Then, click on the top-left
frame of the grid and stretch arccos to the bottom-right corner.
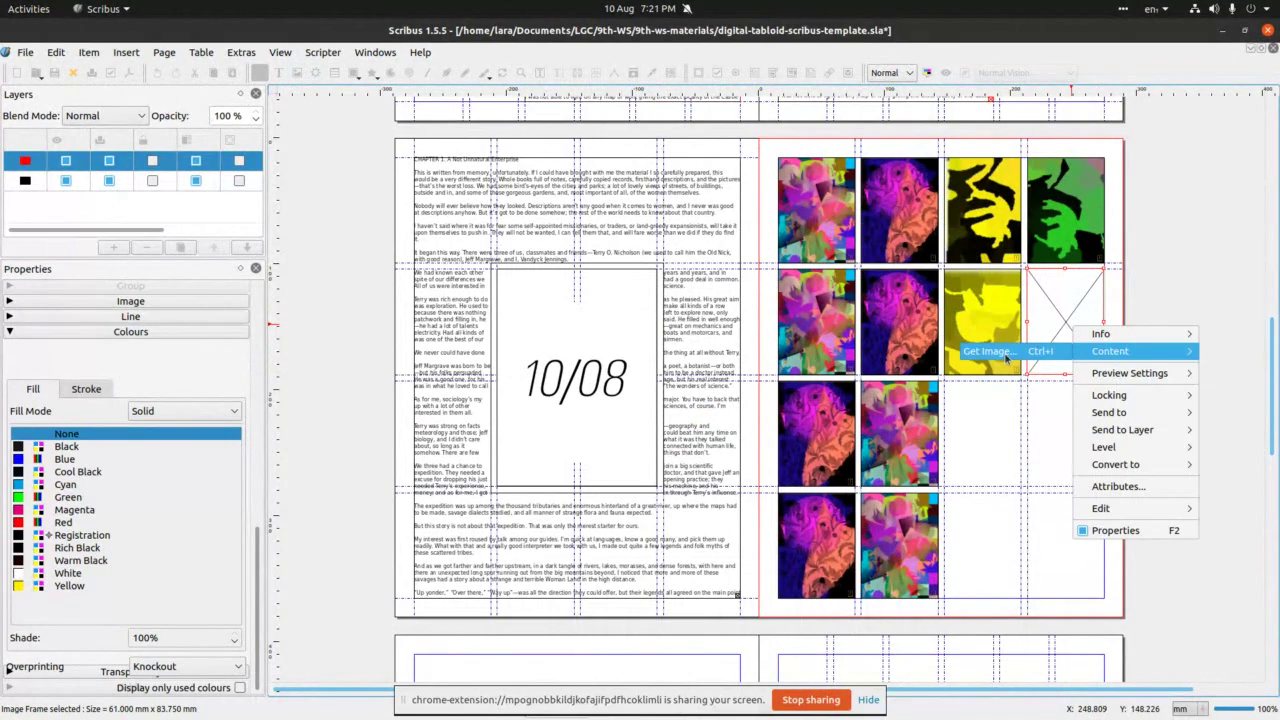
 Right-click on the newly inserted image frame and select Content>Get image.
 This will open file manager window where you select one of the two
screenshots form the downloaded folder and click OK.
This will open file manager window where you select one of the two
screenshots form the downloaded folder and click OK.
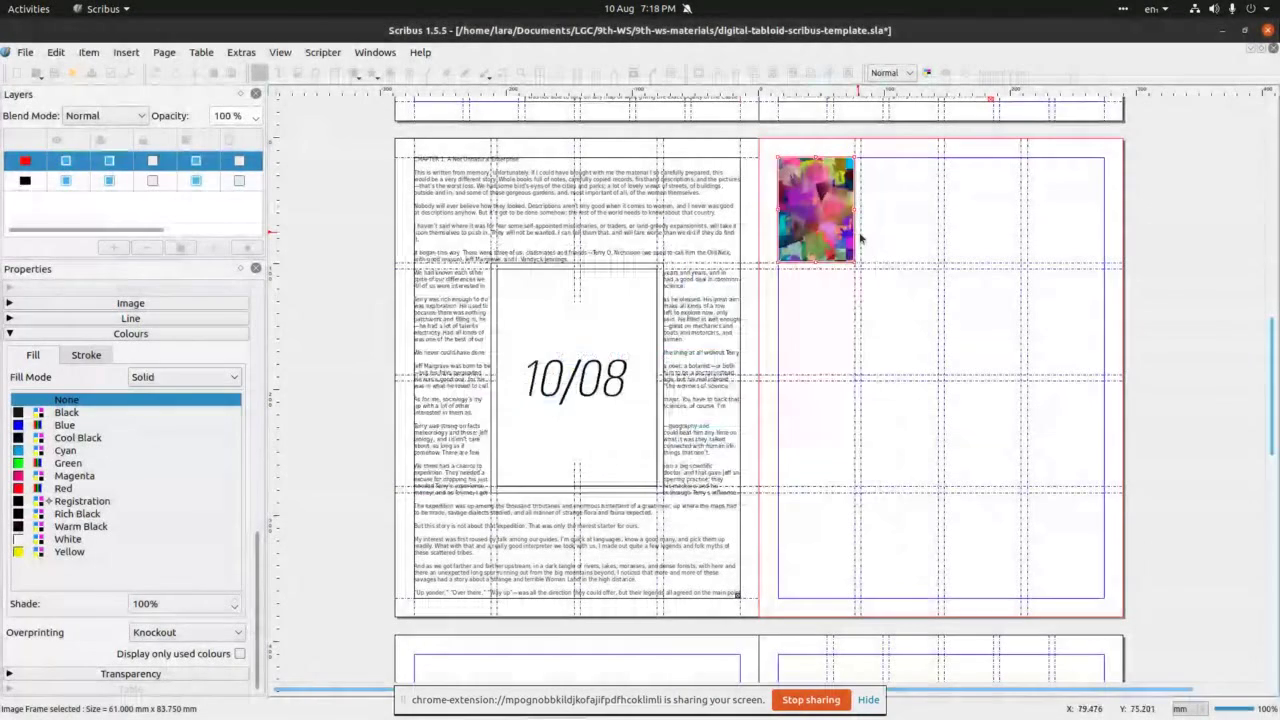 Here’s the first inserted image.
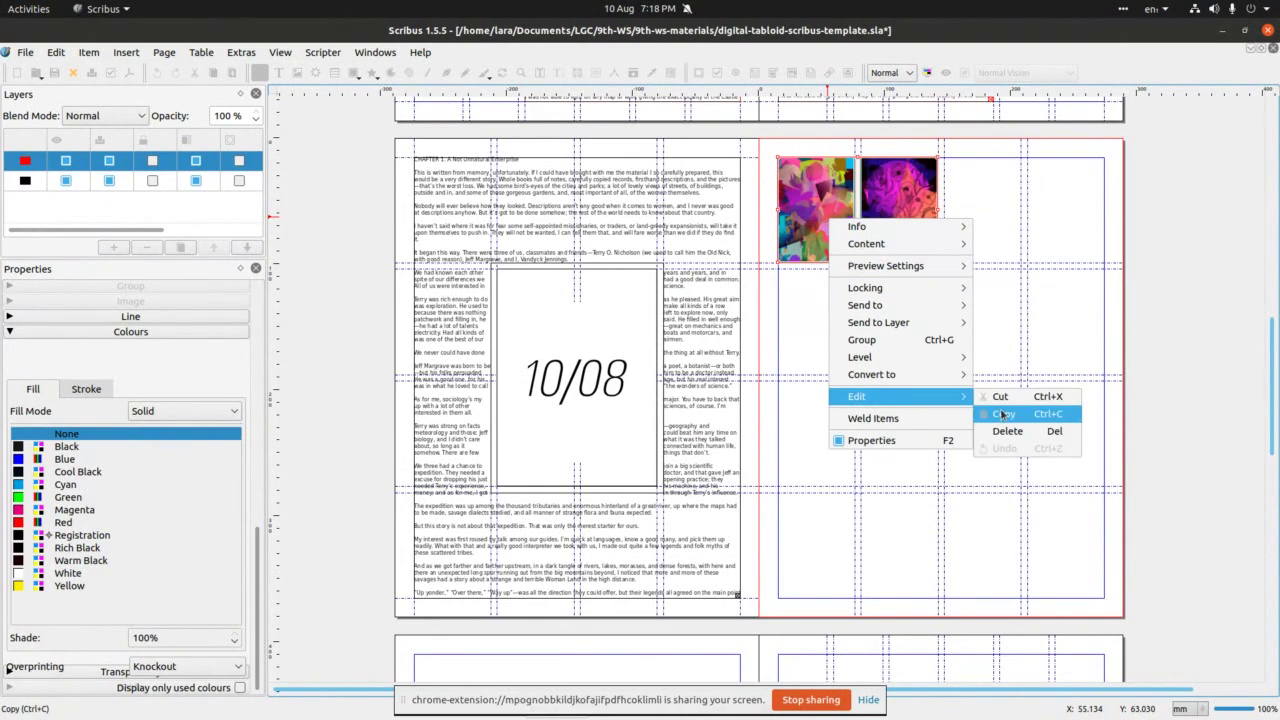
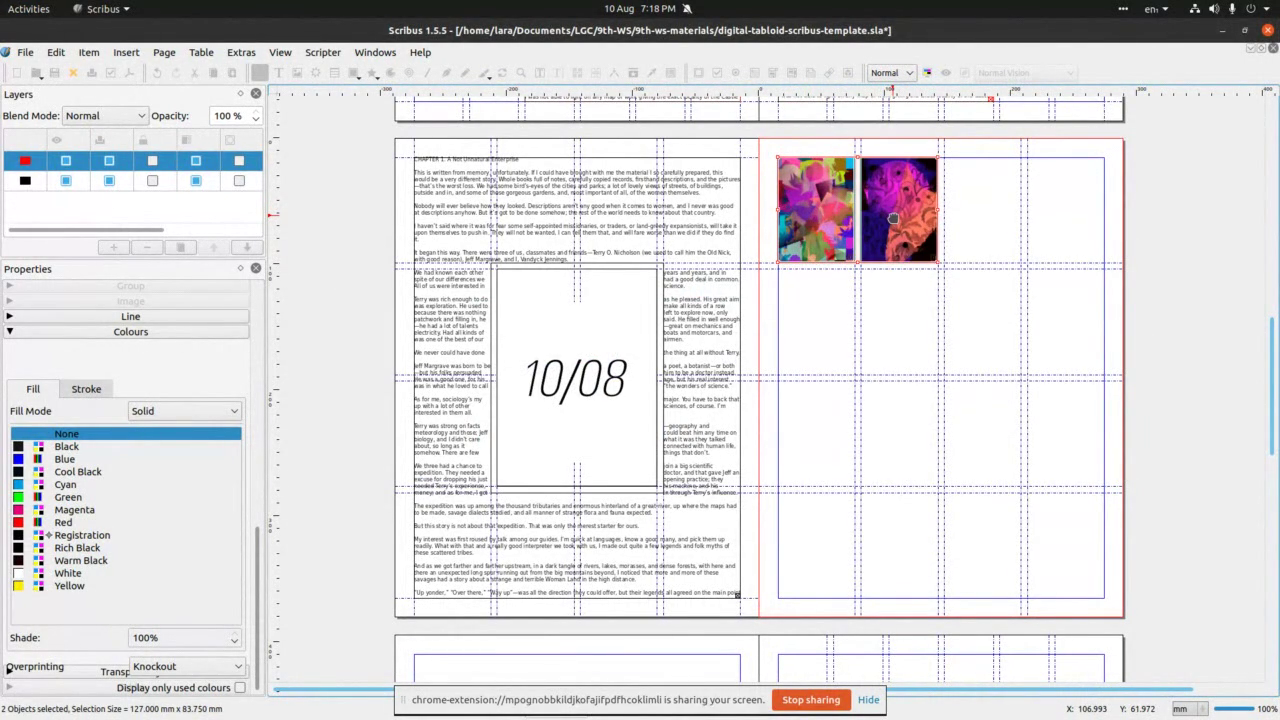 We repeat the process for the image frame next to it. When both images
in place, we select them both and copy (ctrl+c or right click to
access the panel to copy).
We repeat the process for the image frame next to it. When both images
in place, we select them both and copy (ctrl+c or right click to
access the panel to copy).
 Like so.
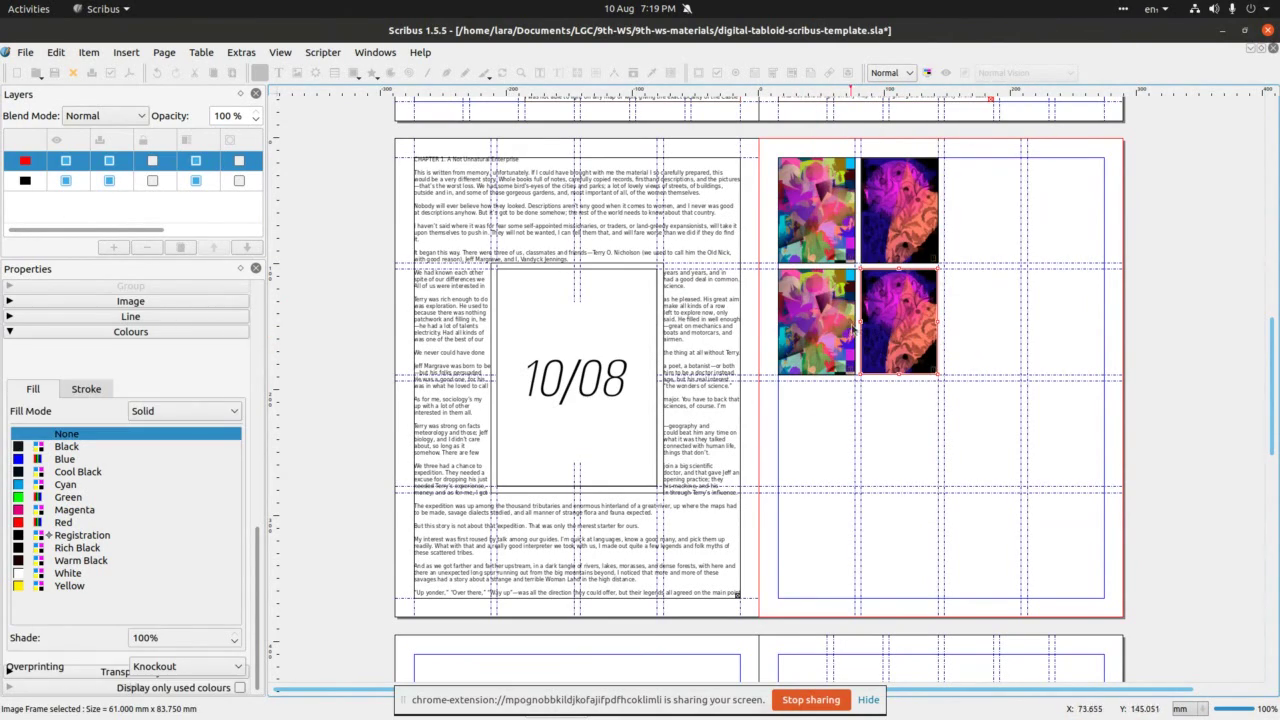 Then we paste them in the two grid frames immediately bellow the original
images. Images can be dragged to the place or by using arrows on a a
keyboard. In any case ‘snapping to guides’ is helping position
images directly on the guides – so we don’t have to worry about
alignment.
Then we paste them in the two grid frames immediately bellow the original
images. Images can be dragged to the place or by using arrows on a a
keyboard. In any case ‘snapping to guides’ is helping position
images directly on the guides – so we don’t have to worry about
alignment.
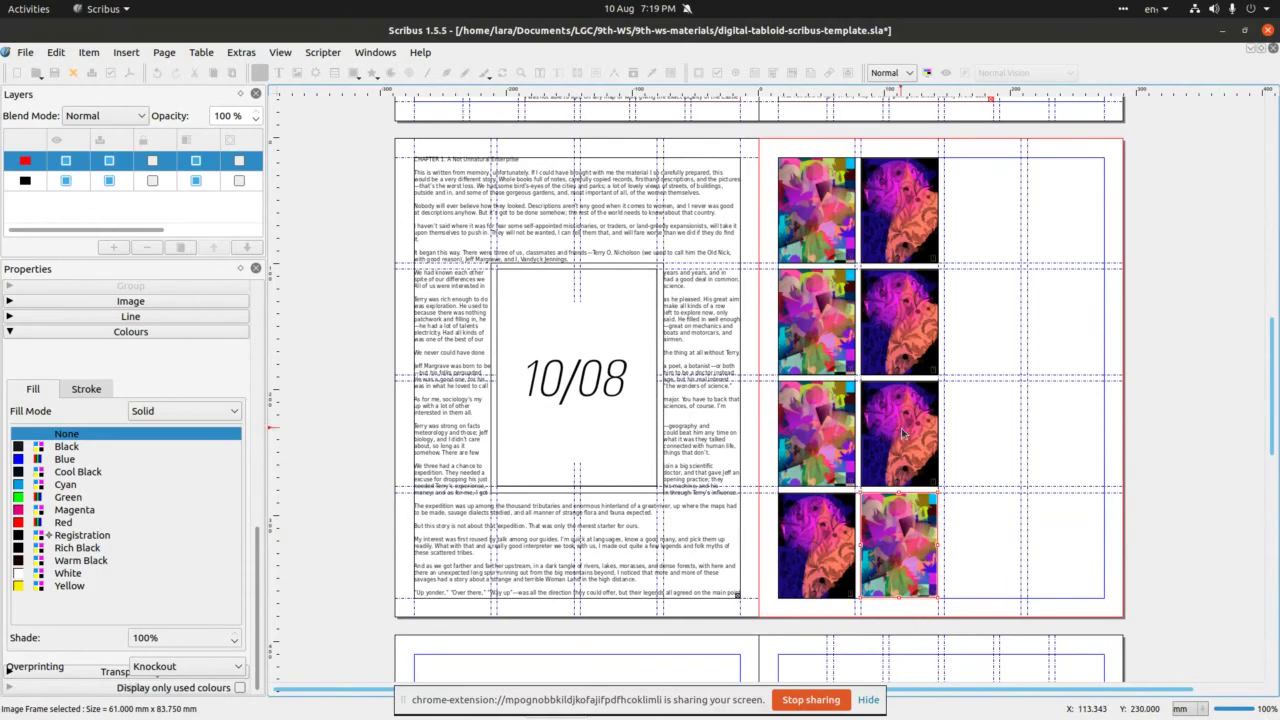 Repeat copy/paste process for the remaining frames below as in the image.
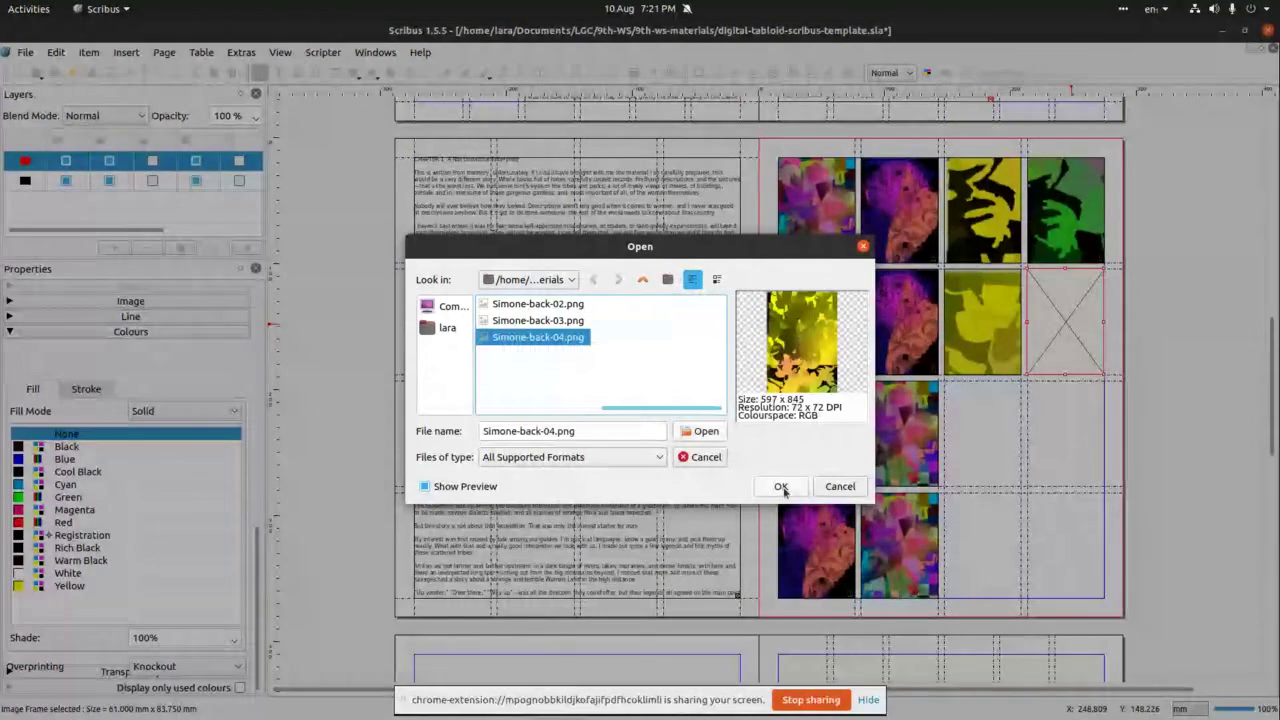
 To finish this page (or experiment further), we insert Image frames as
before and get images Simone-back-01.png to Simone-back-04.png form
the folder.
To finish this page (or experiment further), we insert Image frames as
before and get images Simone-back-01.png to Simone-back-04.png form
the folder.
 Like so.
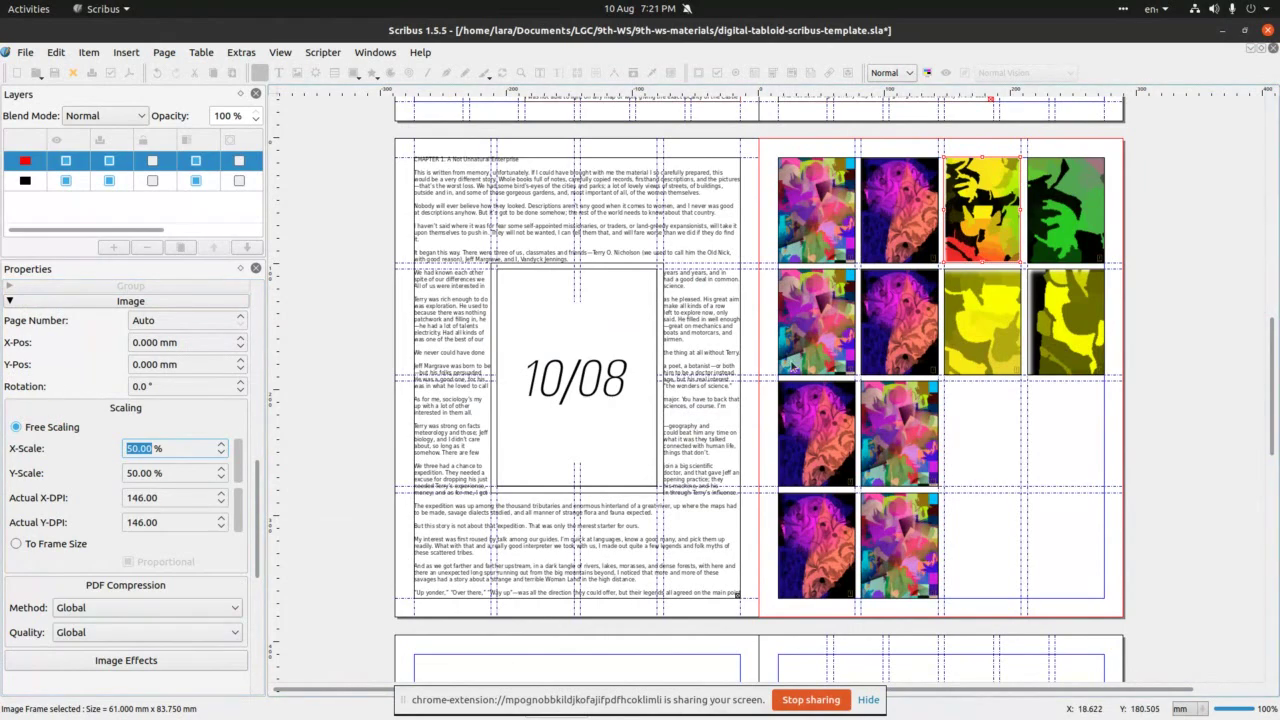 These images are little larger then the frames, so we co to Properties
panel>Image area and scale to the size that works for this
composition.
These images are little larger then the frames, so we co to Properties
panel>Image area and scale to the size that works for this
composition.
 And that's it. If you don’t like this composition, feel free to re
arrange any way it works for your design.
And that's it. If you don’t like this composition, feel free to re
arrange any way it works for your design.
 The last thing we’ll do in this sequence is to insert an SVG file to
page 6 and play with Shape and Colour on page 7 as seen here in the
PDF file.
The last thing we’ll do in this sequence is to insert an SVG file to
page 6 and play with Shape and Colour on page 7 as seen here in the
PDF file.
 On page 6 we removed all guides and will insert image across the whole
page – margin to margin.
On page 6 we removed all guides and will insert image across the whole
page – margin to margin.
 Repeat the right-click to get/insert image to the image frame.
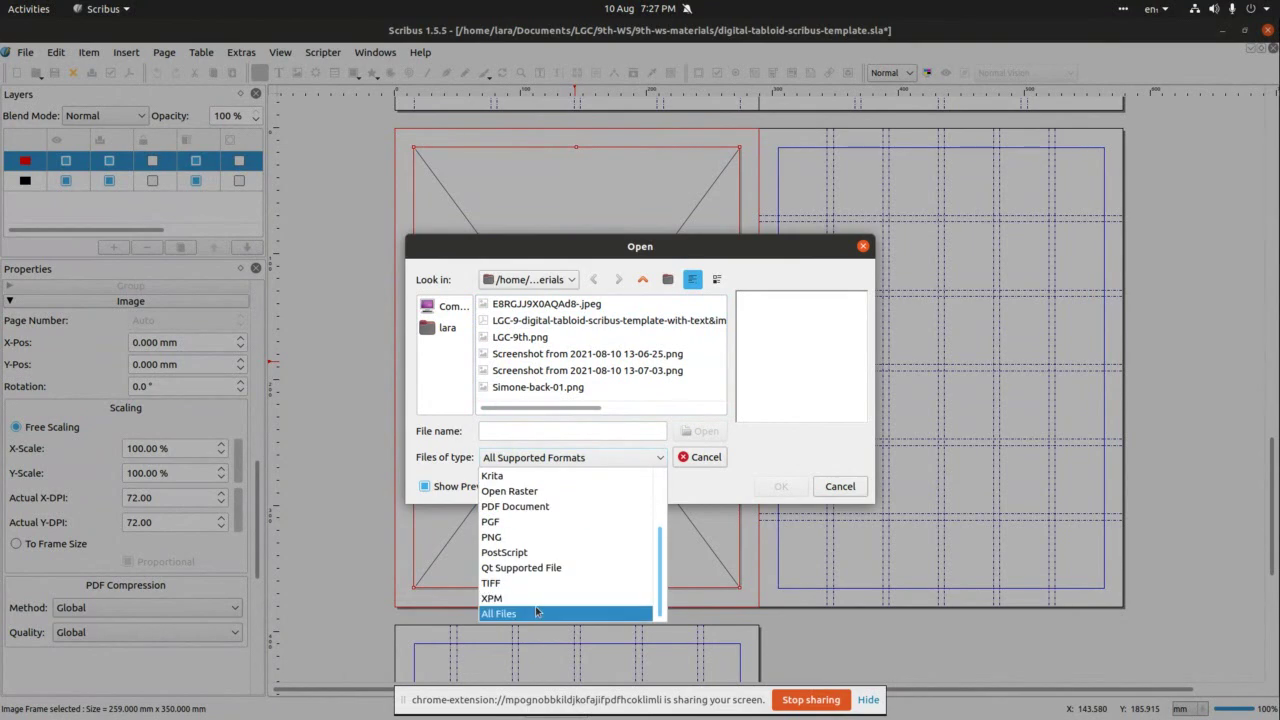 To access SVG files, we need to select form All files for the file type
menu.
To access SVG files, we need to select form All files for the file type
menu.
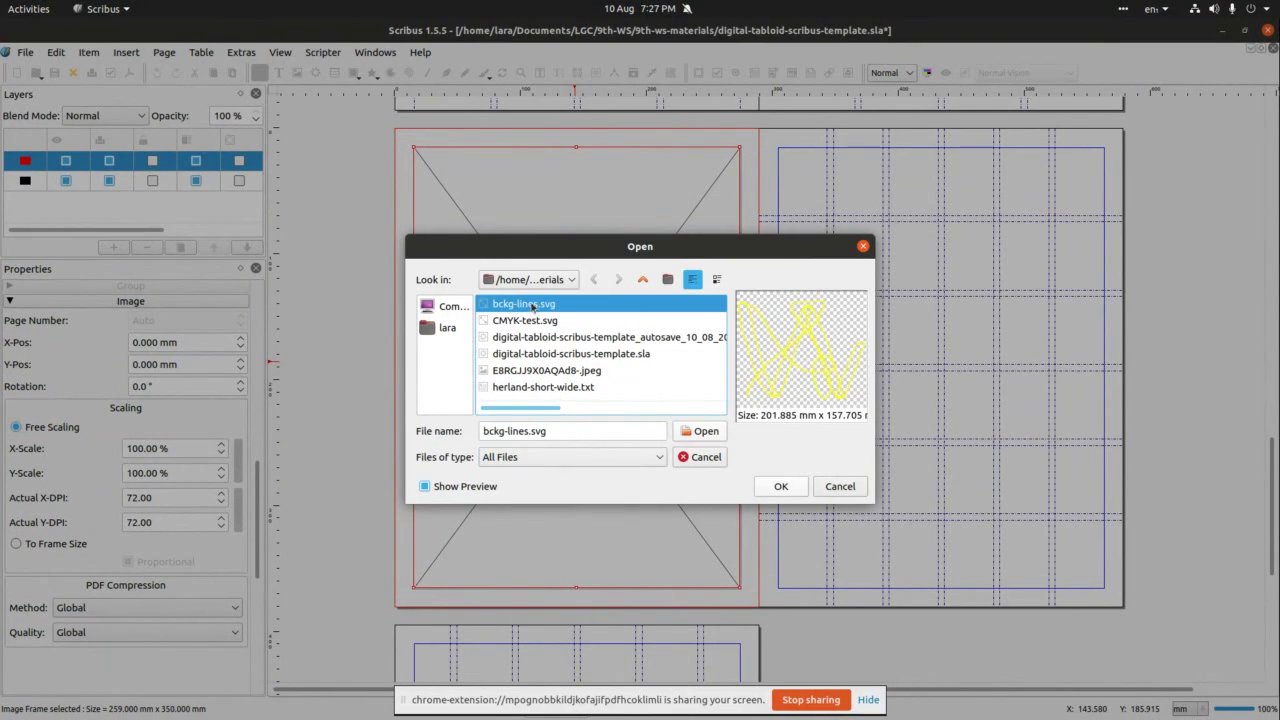 Then
we can see all files including SVGs. We select bckg-lines.svg from
the folder and click OK.
Then
we can see all files including SVGs. We select bckg-lines.svg from
the folder and click OK.
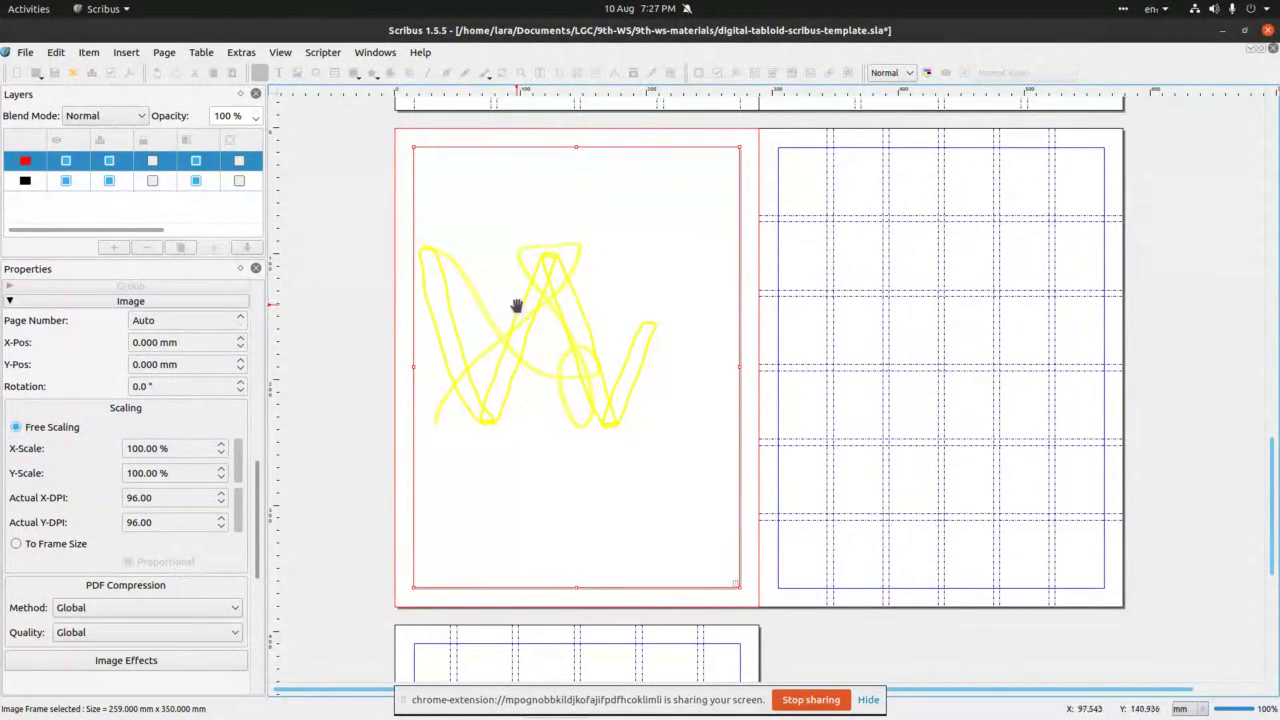 The image is inserted and needs some scaling and repositioning.
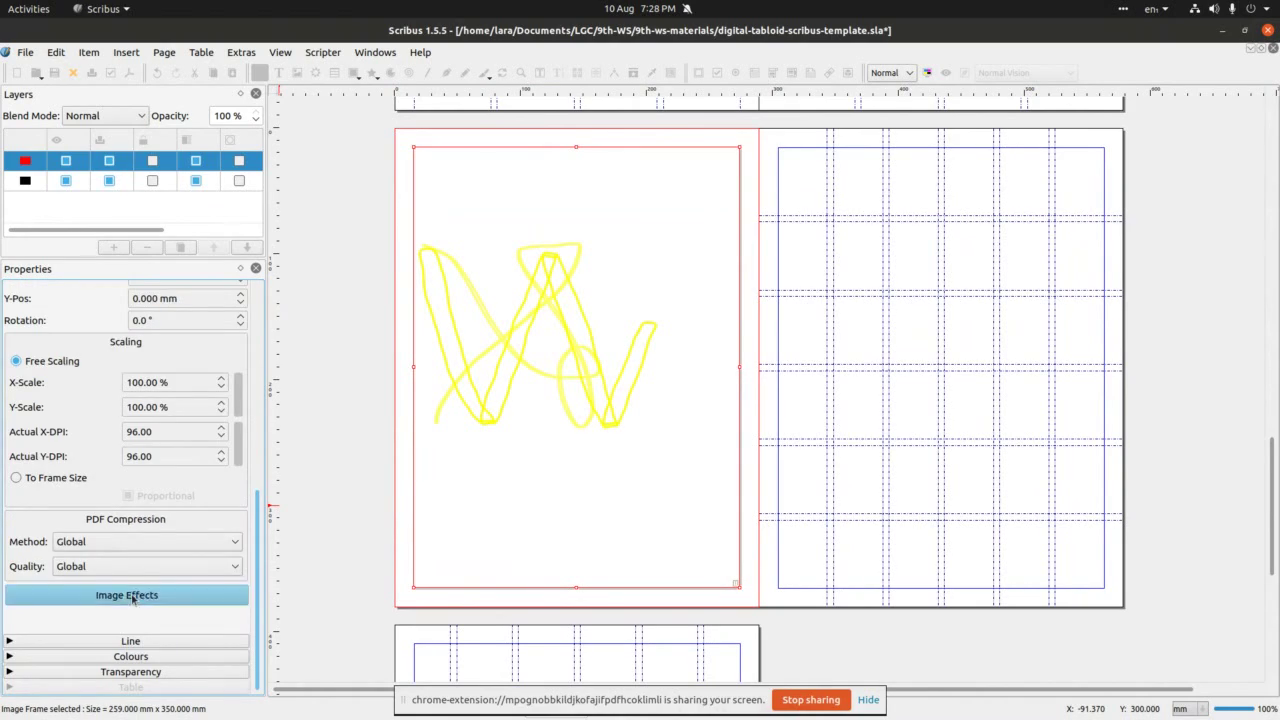 We do this by selecting the image and going to Image area of the
Properties panel (Windows>Properties). Then we click on the Image
effects, this is to work with colour of the image.
We do this by selecting the image and going to Image area of the
Properties panel (Windows>Properties). Then we click on the Image
effects, this is to work with colour of the image.
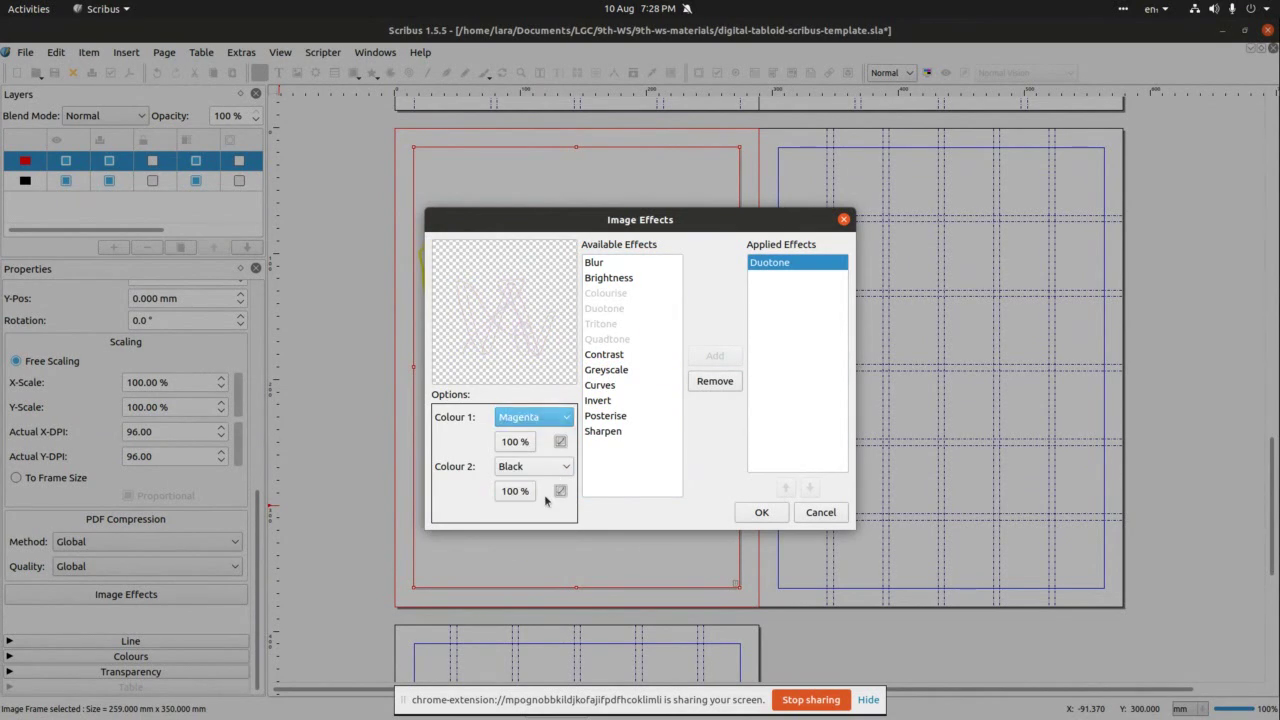 It allows for experimentation with various colour modes > in this
case we select Duotone and click add in the middle of the panel. This
opens area right below preview frame on the panel, though which we’ll
change colours and work with curves to find the best combination.
It allows for experimentation with various colour modes > in this
case we select Duotone and click add in the middle of the panel. This
opens area right below preview frame on the panel, though which we’ll
change colours and work with curves to find the best combination.
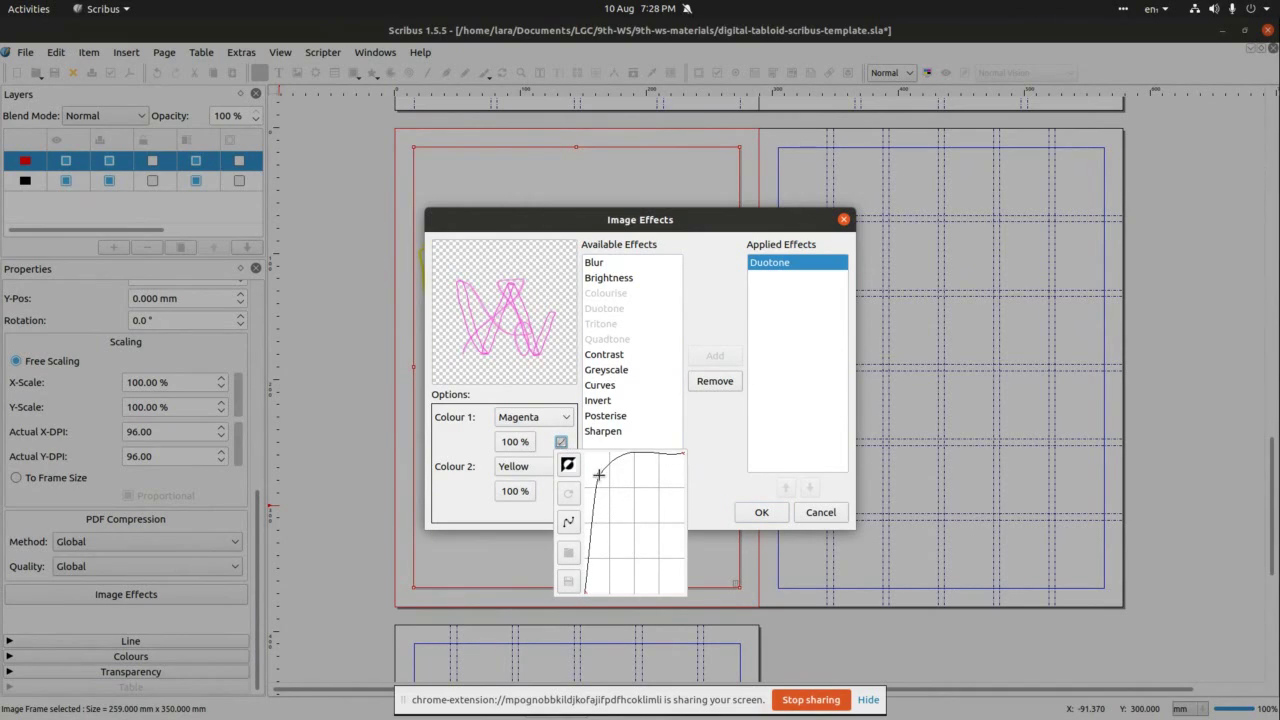 We changed colour 1 to Magenta, colour 2 to Yellow and
manipulated colour curves by clicking on a little icon right next to
the percentage box.
We changed colour 1 to Magenta, colour 2 to Yellow and
manipulated colour curves by clicking on a little icon right next to
the percentage box.
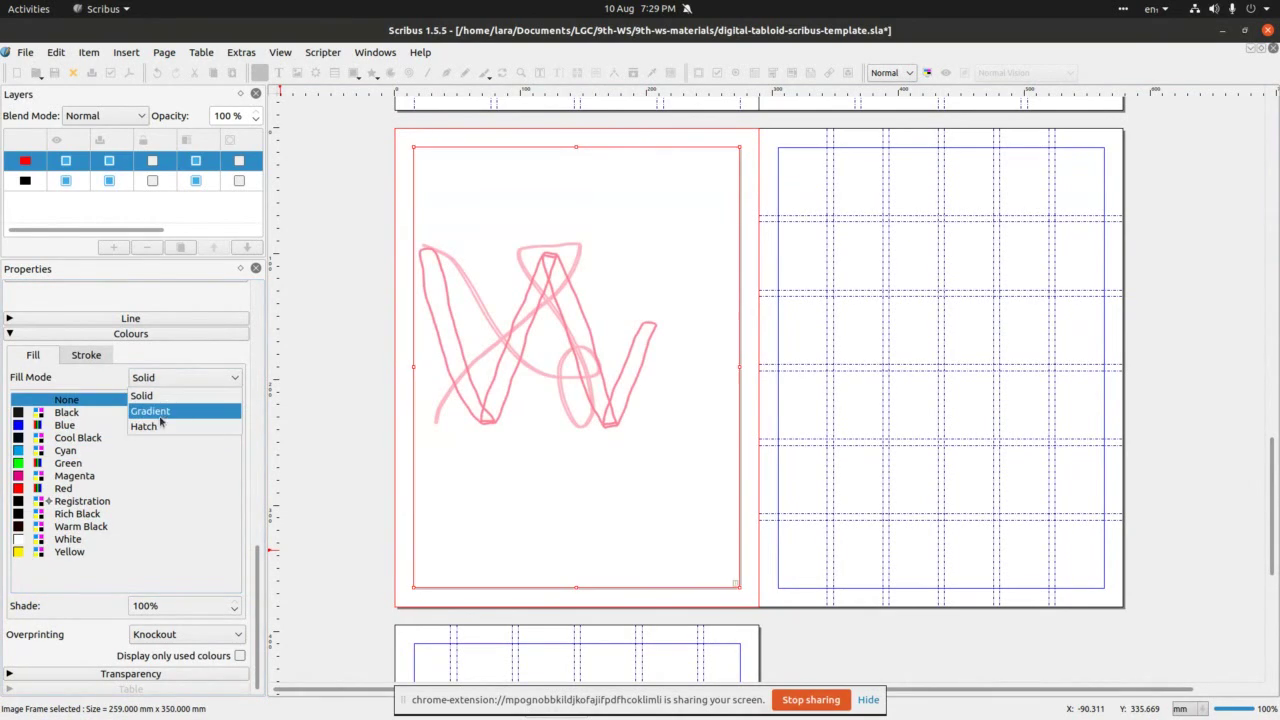 The next thing we’ll experiment with is Fill colour. We’ll choose
Gradient form the Fill Mode menu.
The next thing we’ll experiment with is Fill colour. We’ll choose
Gradient form the Fill Mode menu.
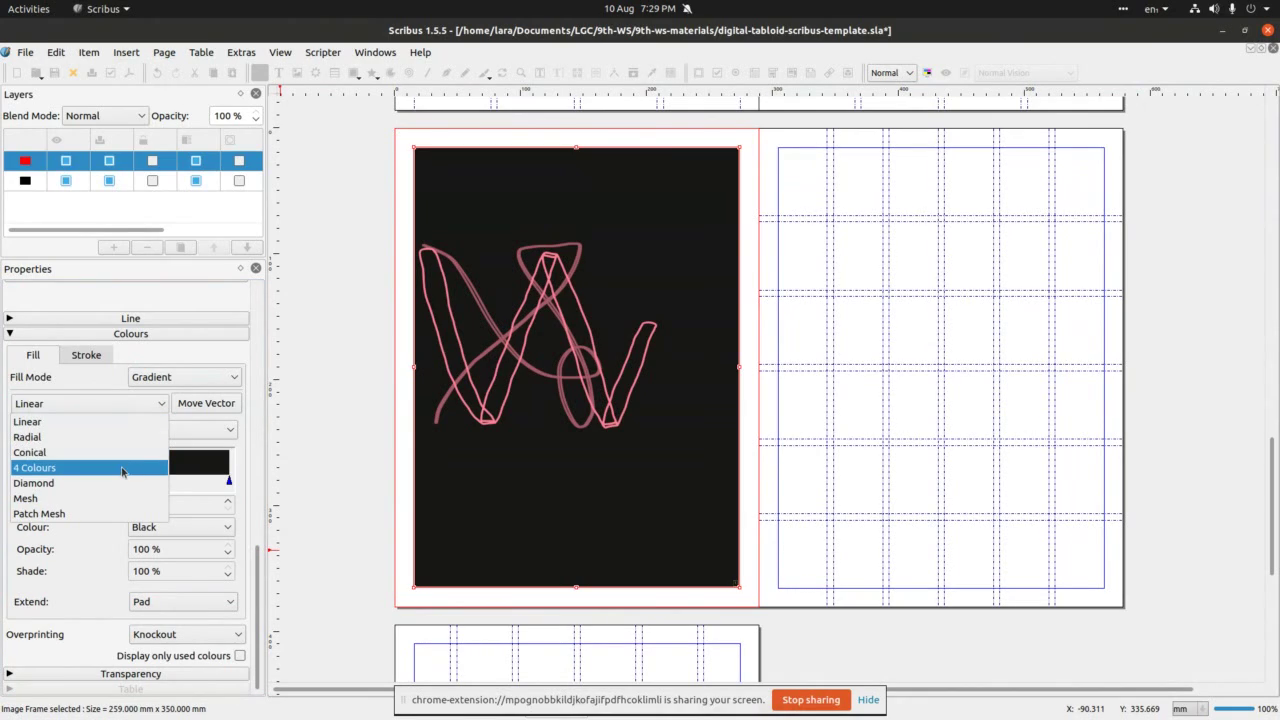 We’ll select 4 colours gradient.
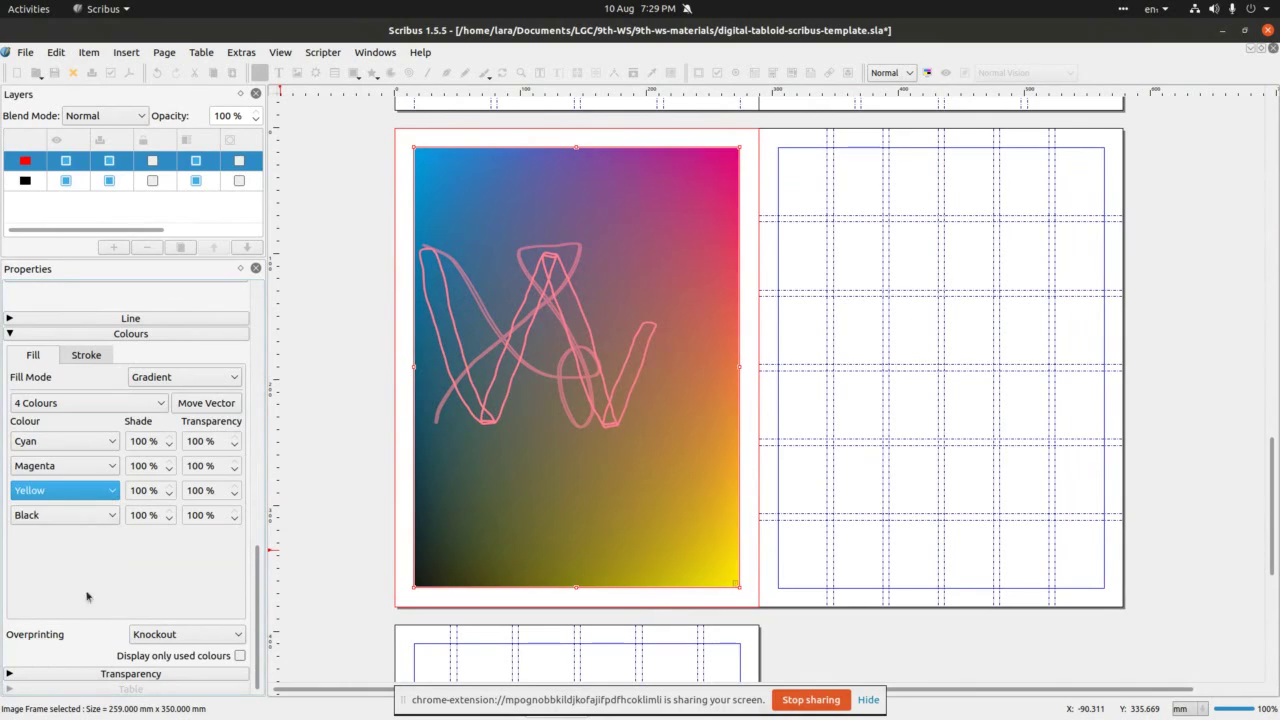 And change default black colour to whichever seems most suitable.
 After we’re happy with the background gradient, we then move to Image
section of Properties panel to fix position and size.
After we’re happy with the background gradient, we then move to Image
section of Properties panel to fix position and size.
 Feel free to experiment with values to find the best size and position of
the image.
Feel free to experiment with values to find the best size and position of
the image.
 We’re now moving to the page 7 to insert an arc.
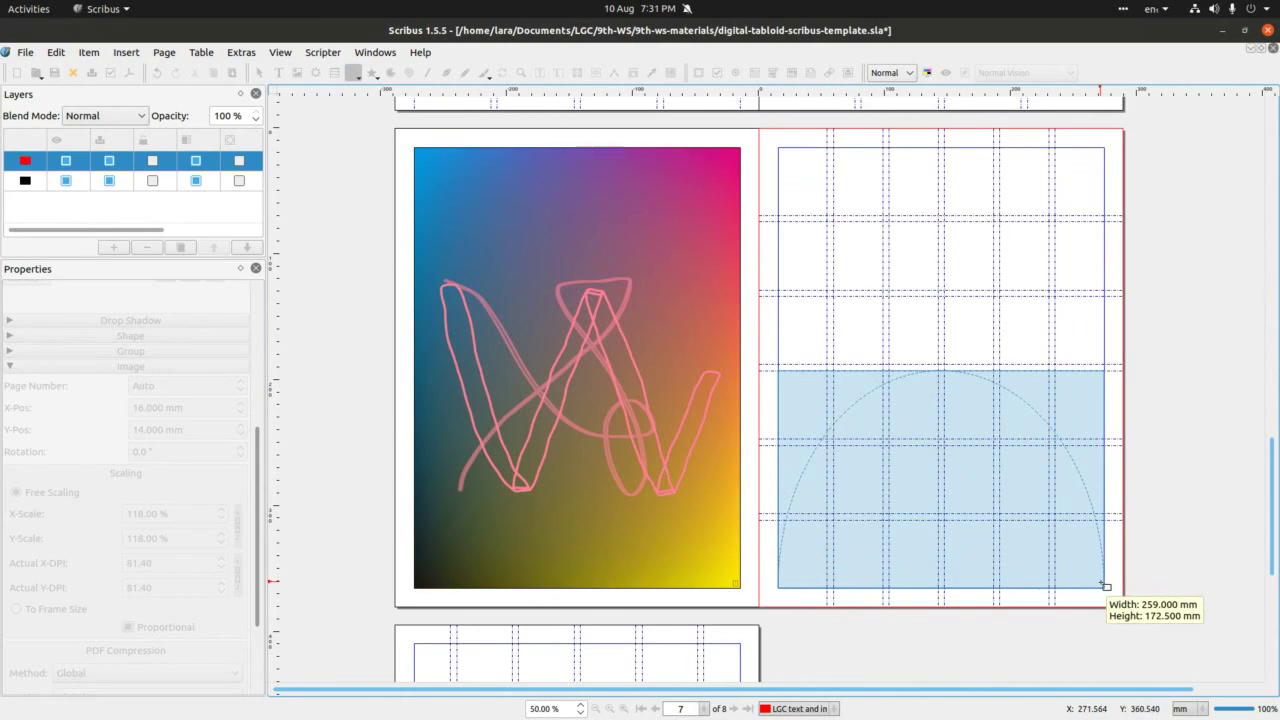 Then we click to the bottom-left of the page and stretch across to the
right.
Then we click to the bottom-left of the page and stretch across to the
right.
 We can then re-size the arc to fit our grid.
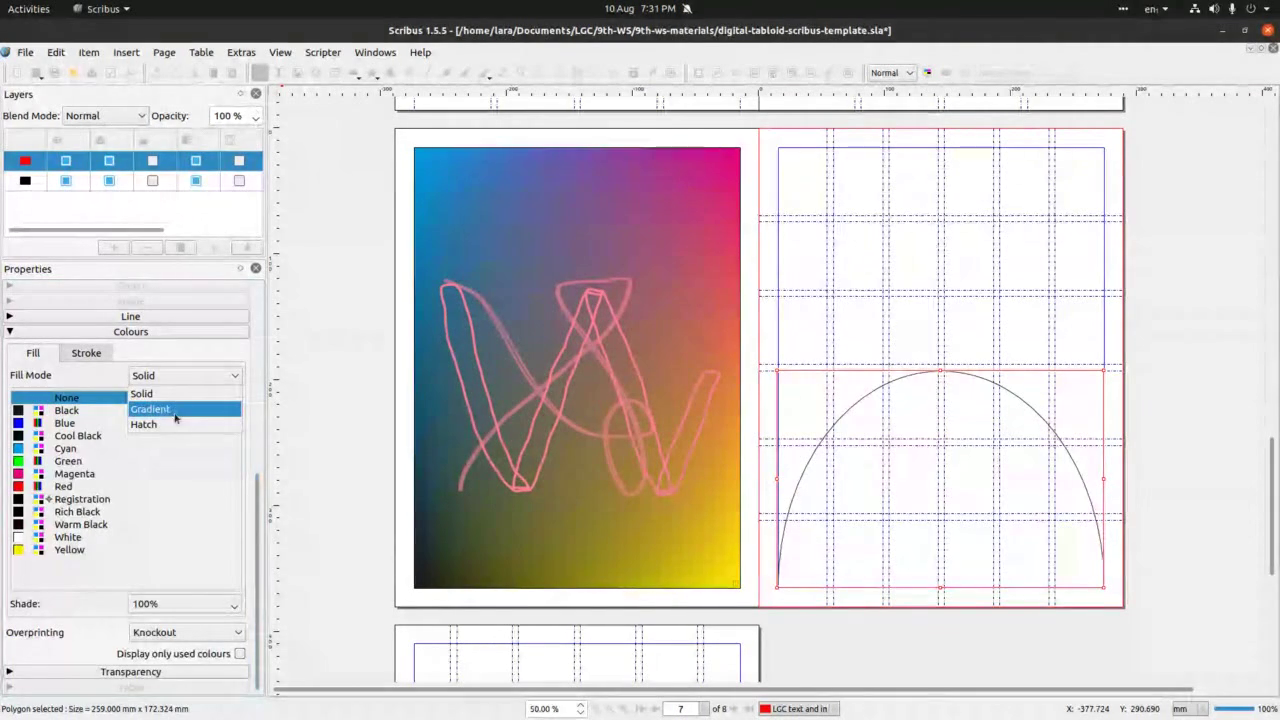
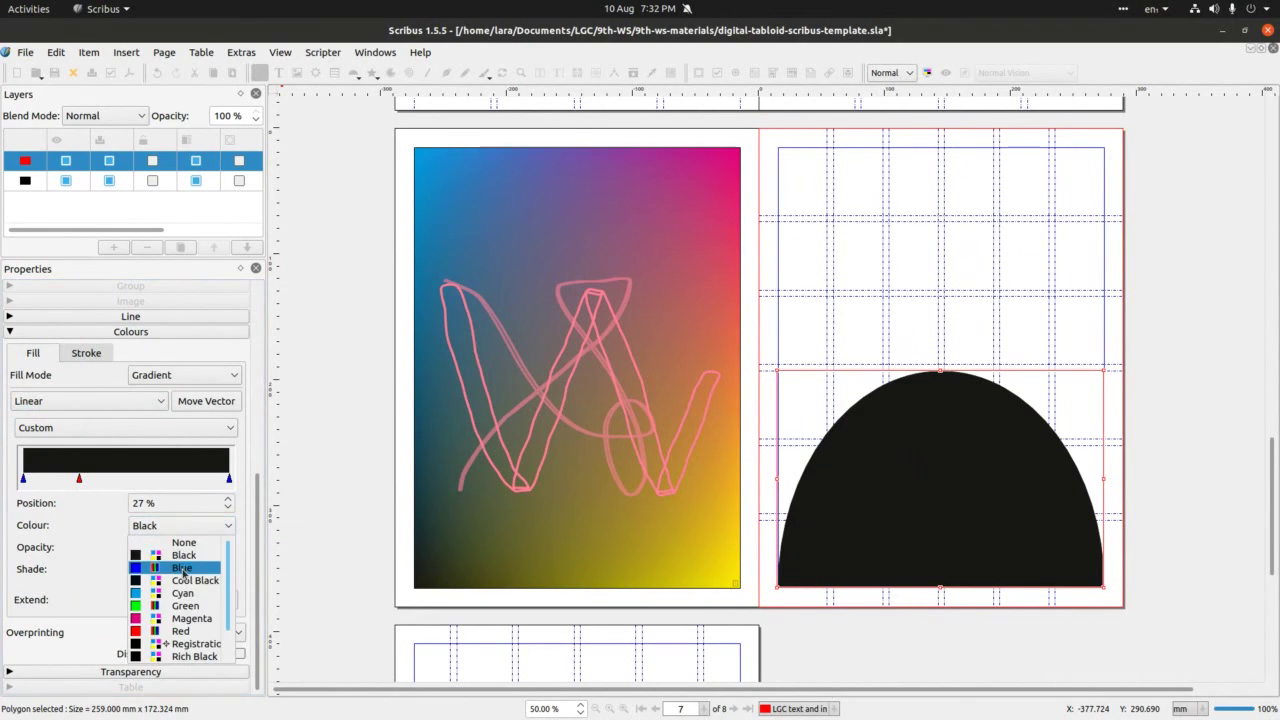 With arch selected we’ll go to Properties>Colours and select Fill
tab.
With arch selected we’ll go to Properties>Colours and select Fill
tab.
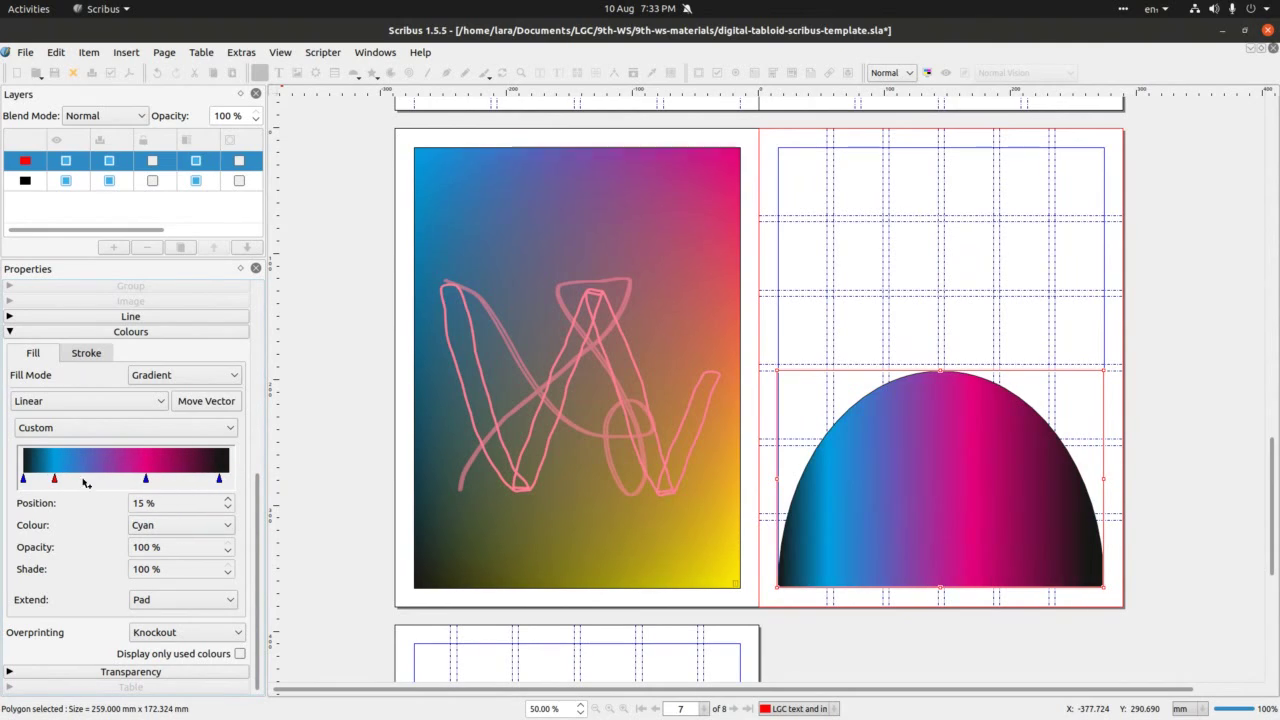
 We change Fill mode to Gradient and add a marker by clicking below the
big black stripe. The red highlighted marker means we can now change
colour for that area. Go to Colour drop-down menu to change colour –
here we go for blue, but will change it for cyan later.
We change Fill mode to Gradient and add a marker by clicking below the
big black stripe. The red highlighted marker means we can now change
colour for that area. Go to Colour drop-down menu to change colour –
here we go for blue, but will change it for cyan later.
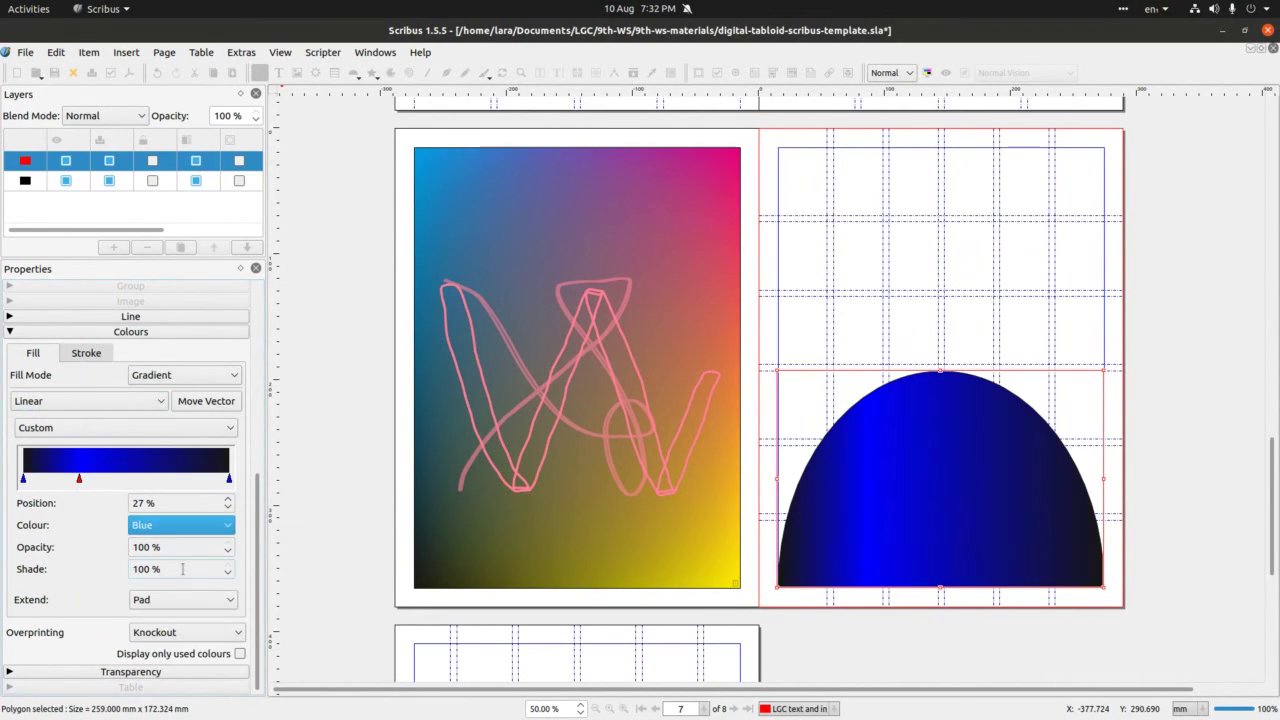
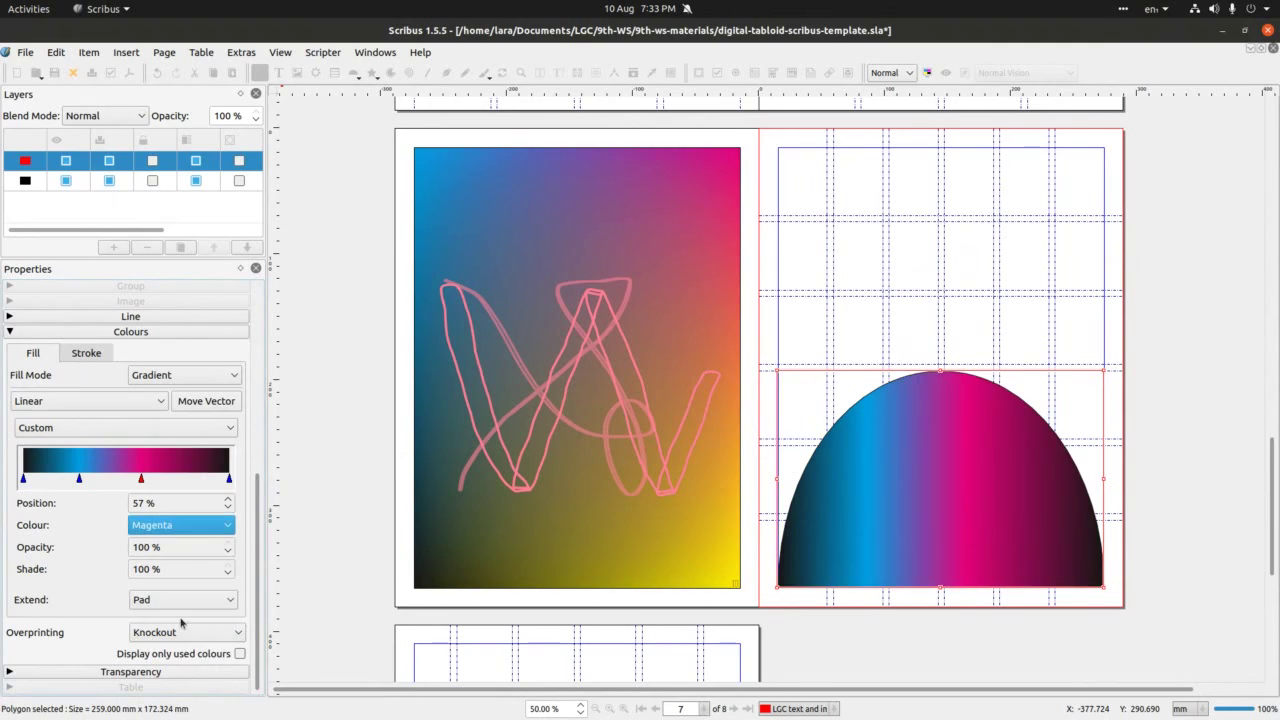 Add as many markers as you wish and experiment with colour combinations.
Here we settled with black/cyan/magenta/black combo. Drag the markers
left and right to see how they change the colours of the arc.
Add as many markers as you wish and experiment with colour combinations.
Here we settled with black/cyan/magenta/black combo. Drag the markers
left and right to see how they change the colours of the arc.
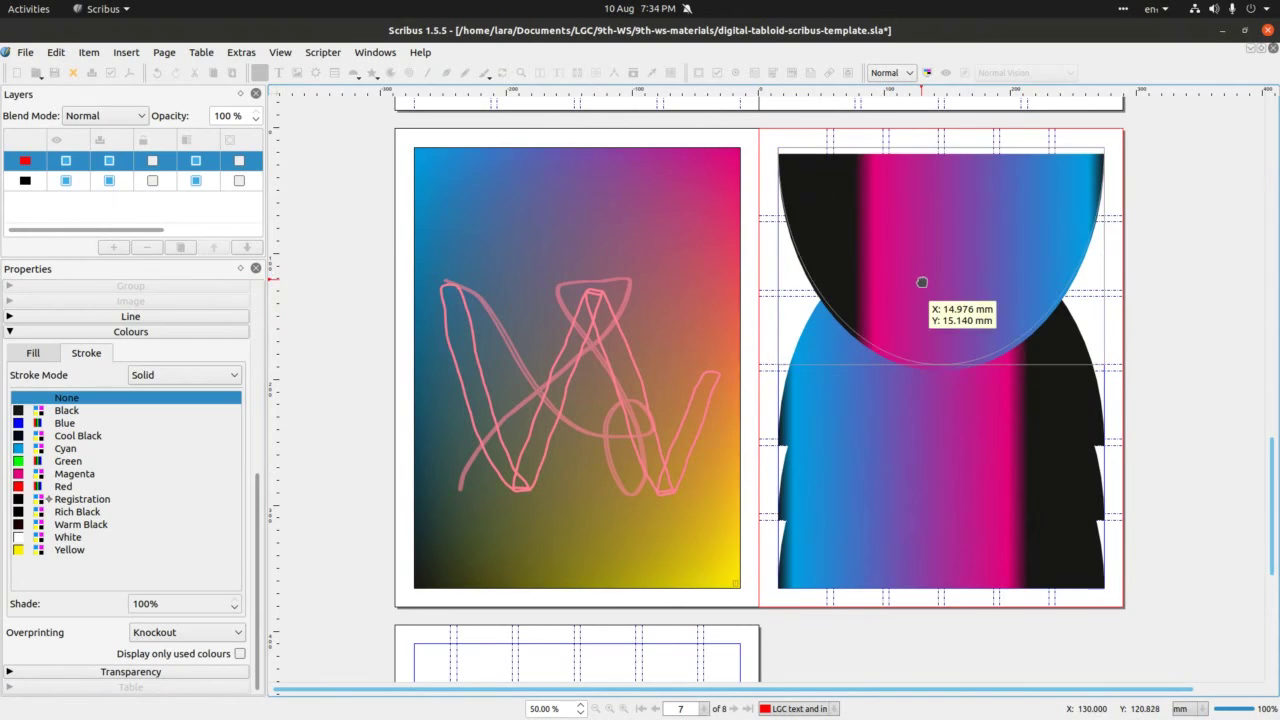
 Once we’re happy with colour combination, we then select the arc and
copy/paste it 4 times one on top of the other, aligned with the grid.
Once we’re happy with colour combination, we then select the arc and
copy/paste it 4 times one on top of the other, aligned with the grid.
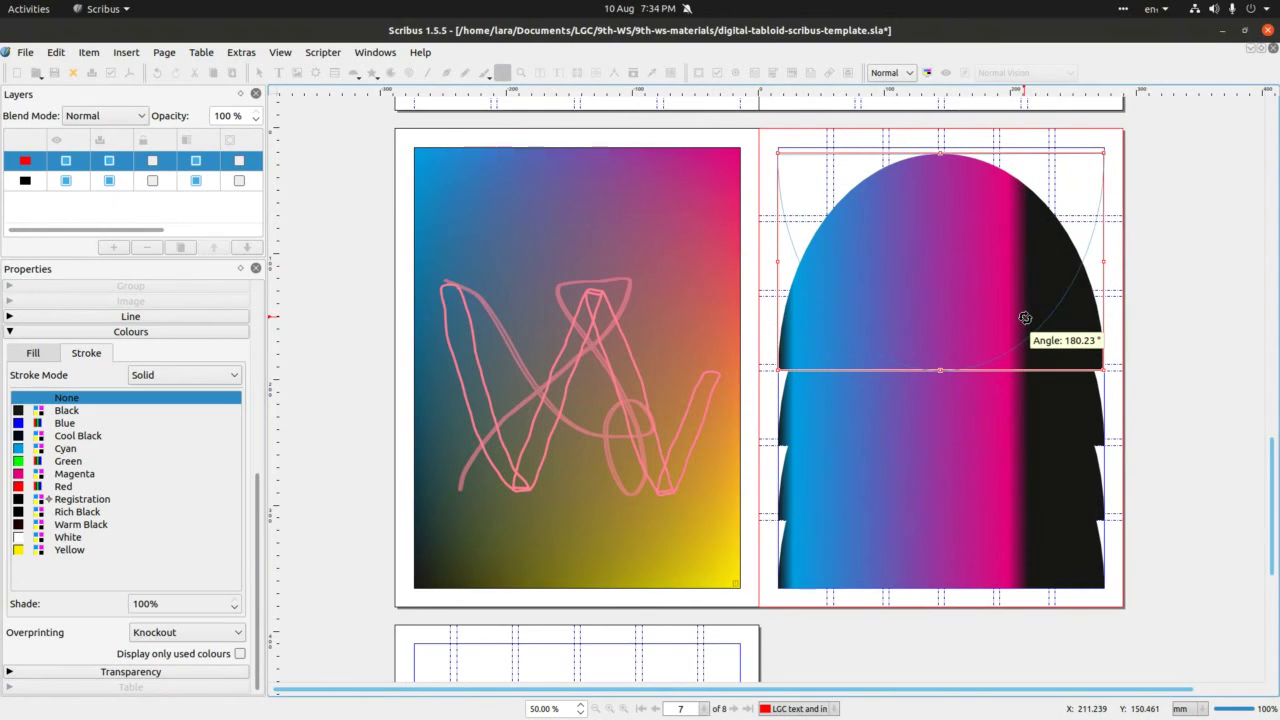 Once we’ve done this, we’ll select the top arc and rotate it by 180
degrees. Rotation can be done either by clicking on rotation icon in
the Icon bar or by selecting shape and rotating via Properties
panel>Geometry.
Once we’ve done this, we’ll select the top arc and rotate it by 180
degrees. Rotation can be done either by clicking on rotation icon in
the Icon bar or by selecting shape and rotating via Properties
panel>Geometry.
 This is rotation by the way of icon.
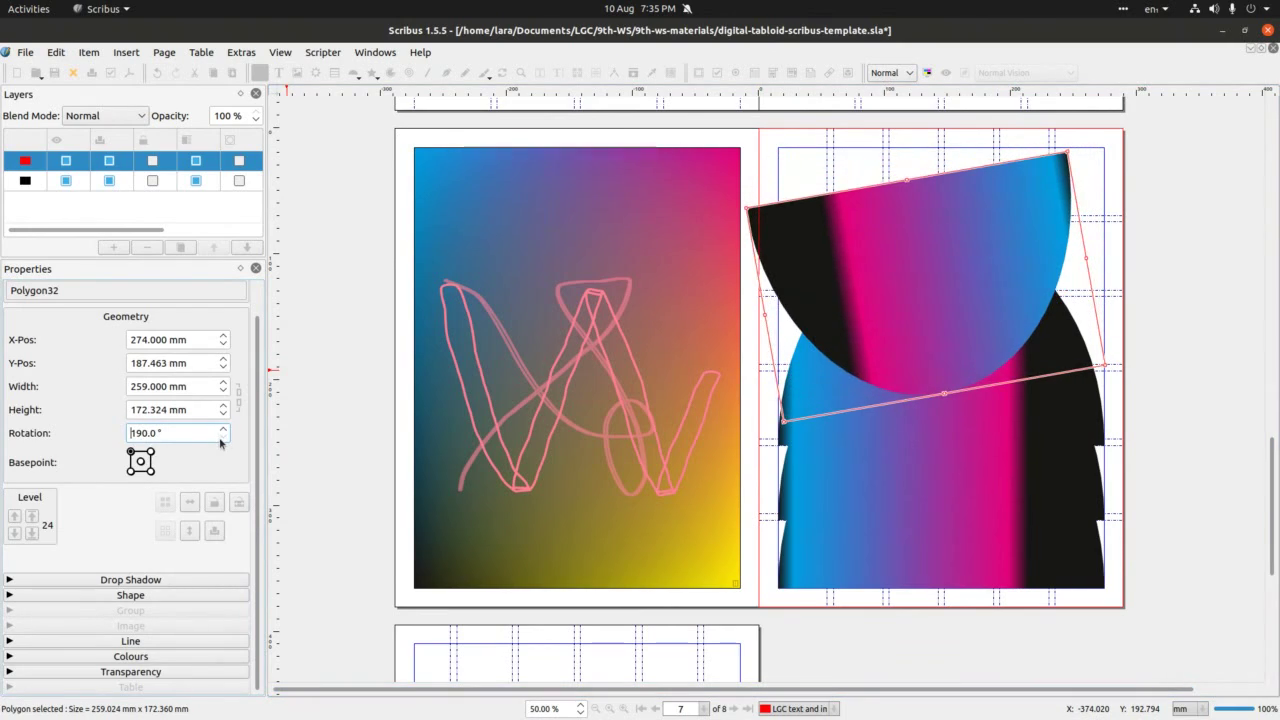 This is rotation by the way of properties panel>Geometry.
 The next you can do (but we did not manage to do it during our session)
is to add title text and 2 columns of text. To do this, repeat steps
we covered before – adding the text with Text frame, edit the text
size via Text properties and for the columns, connecting the text
frames via Link Text Frames icon. Hope this was enough to get you
going in your own explorations of this amazing tool and most
importantly to get you ready for self-publishing of all sorts!
Well done for getting to the end of a very lond tutorial!
The next you can do (but we did not manage to do it during our session)
is to add title text and 2 columns of text. To do this, repeat steps
we covered before – adding the text with Text frame, edit the text
size via Text properties and for the columns, connecting the text
frames via Link Text Frames icon. Hope this was enough to get you
going in your own explorations of this amazing tool and most
importantly to get you ready for self-publishing of all sorts!
Well done for getting to the end of a very lond tutorial!