Libre Graphics Magazine Remix in Scribus
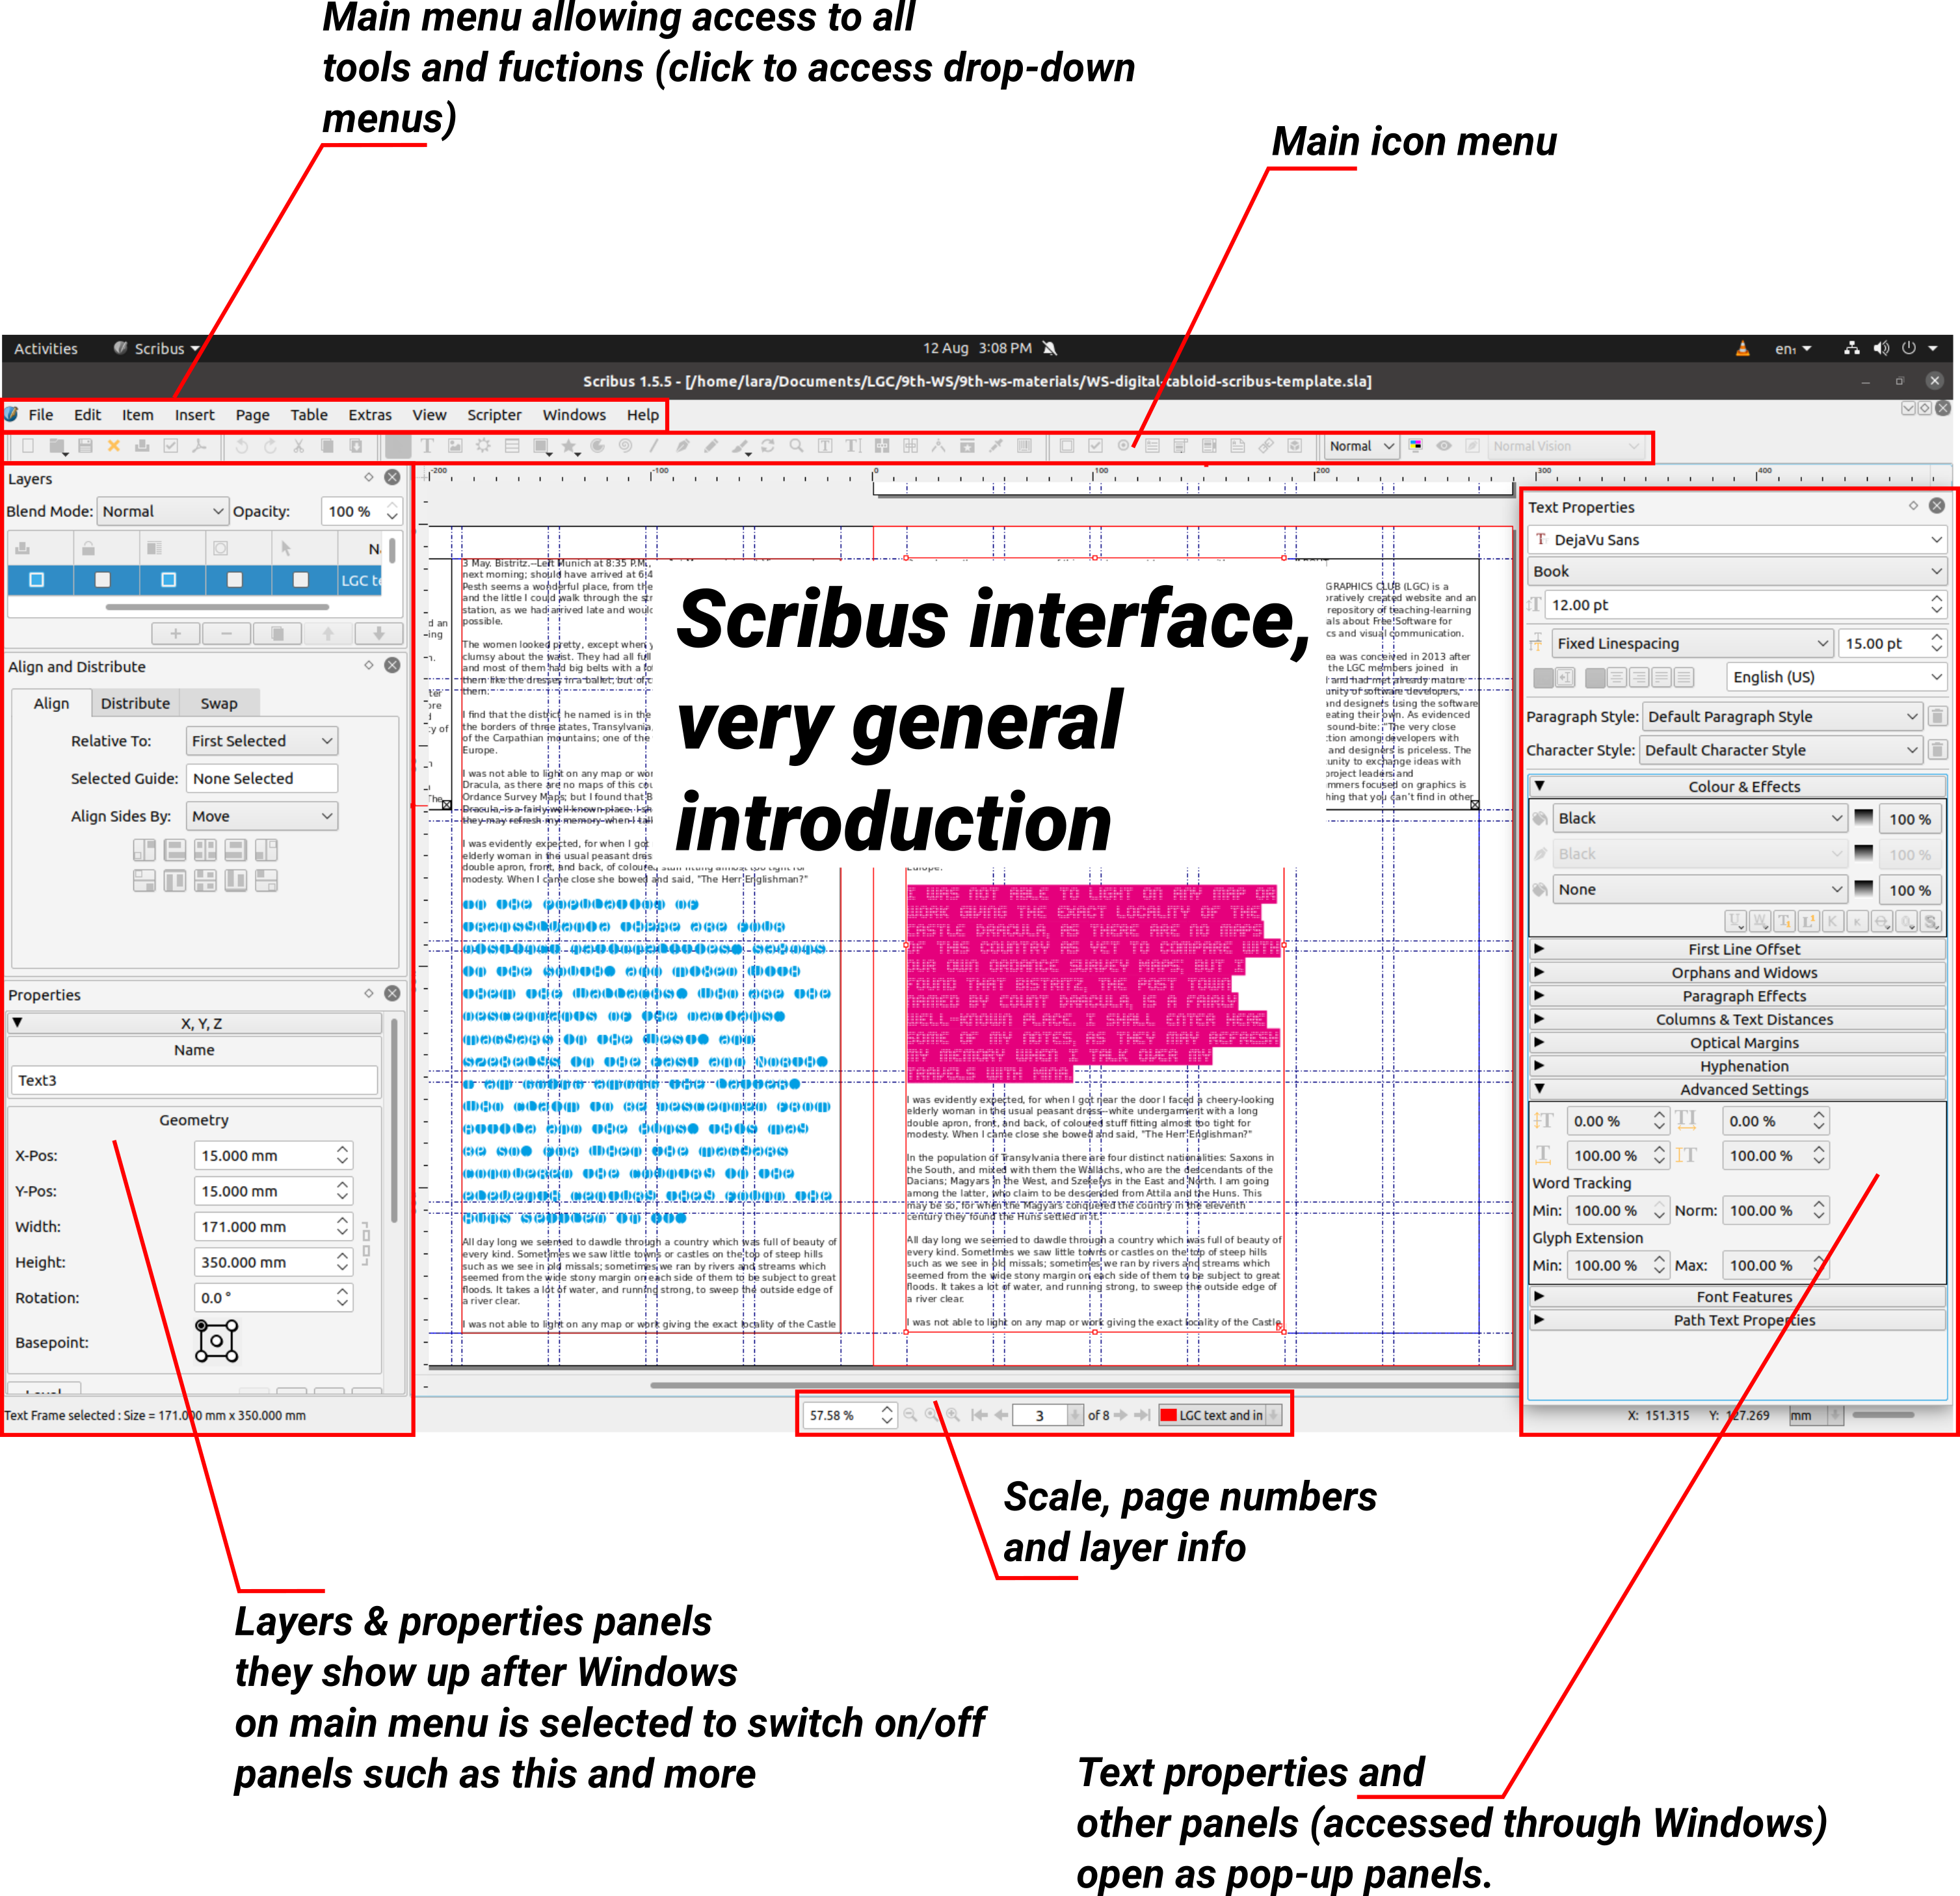 Scribus interface
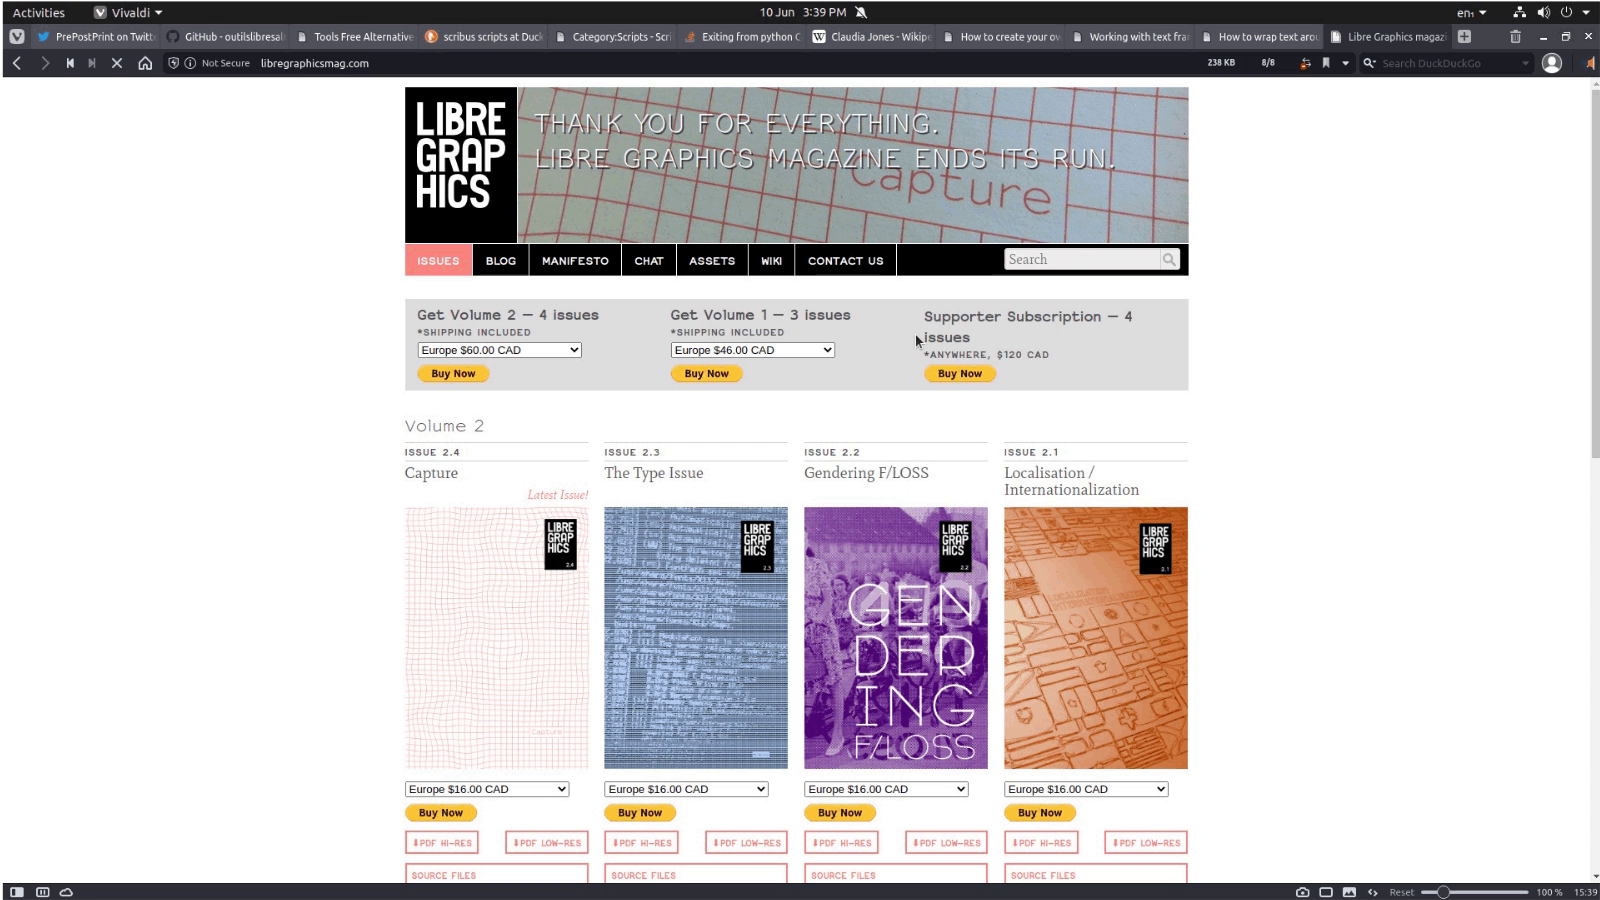 We’ll start by looking at Libre Graphics Magazine website. You
can find more info here.
We’ll start by looking at Libre Graphics Magazine website. You
can find more info here.
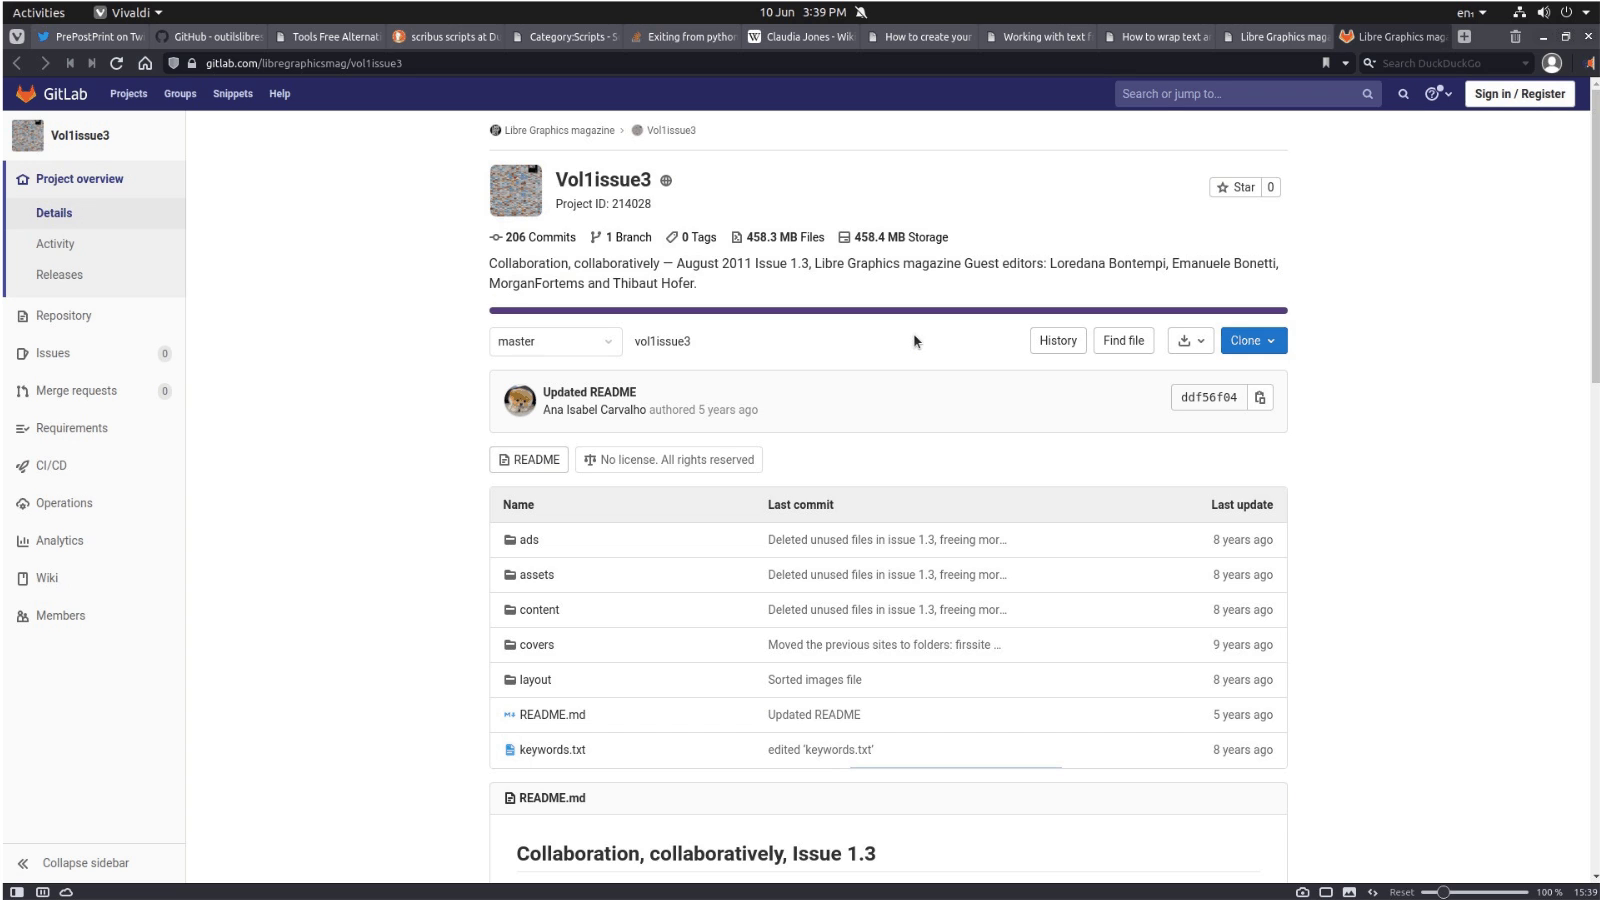 After you check out the Libre Graphics magazine website and browse through
their publications, you’ll choose the issue and go to their GitLab
archive by clicking on ‘Source files’ link on the Libre Graphics
magazine website (right below the images of issues). On
the Gitlab page you will select a .sla file (native Scribus files)
from Layout folder which will enable us to study their design and
learn about Scribus.
After you check out the Libre Graphics magazine website and browse through
their publications, you’ll choose the issue and go to their GitLab
archive by clicking on ‘Source files’ link on the Libre Graphics
magazine website (right below the images of issues). On
the Gitlab page you will select a .sla file (native Scribus files)
from Layout folder which will enable us to study their design and
learn about Scribus.
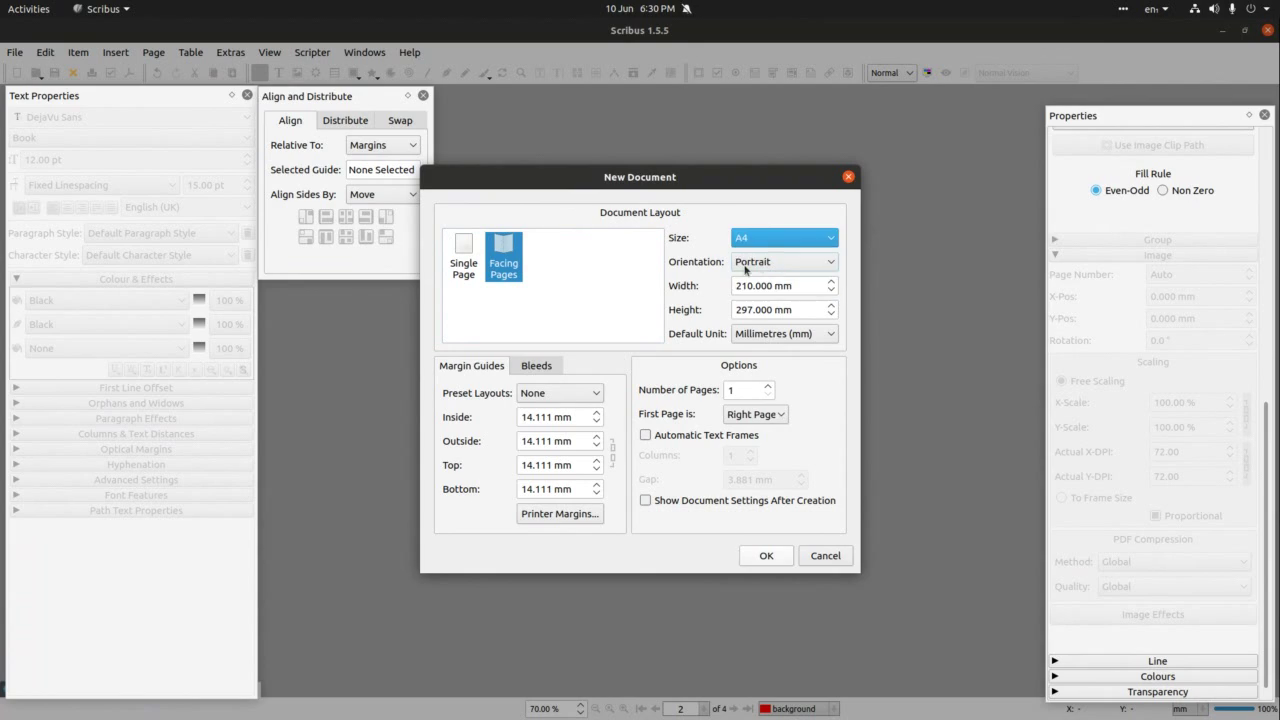 Before we dive into remixing Libre Graphics magazine, lets open a new file
first. Start Scribus and when ready click on File > New. This will
open a panel through which you can set up spread type (single,
double, etc), size, number of pages, margins and bleeds (when using a
full page colour or full age images).
Before we dive into remixing Libre Graphics magazine, lets open a new file
first. Start Scribus and when ready click on File > New. This will
open a panel through which you can set up spread type (single,
double, etc), size, number of pages, margins and bleeds (when using a
full page colour or full age images).
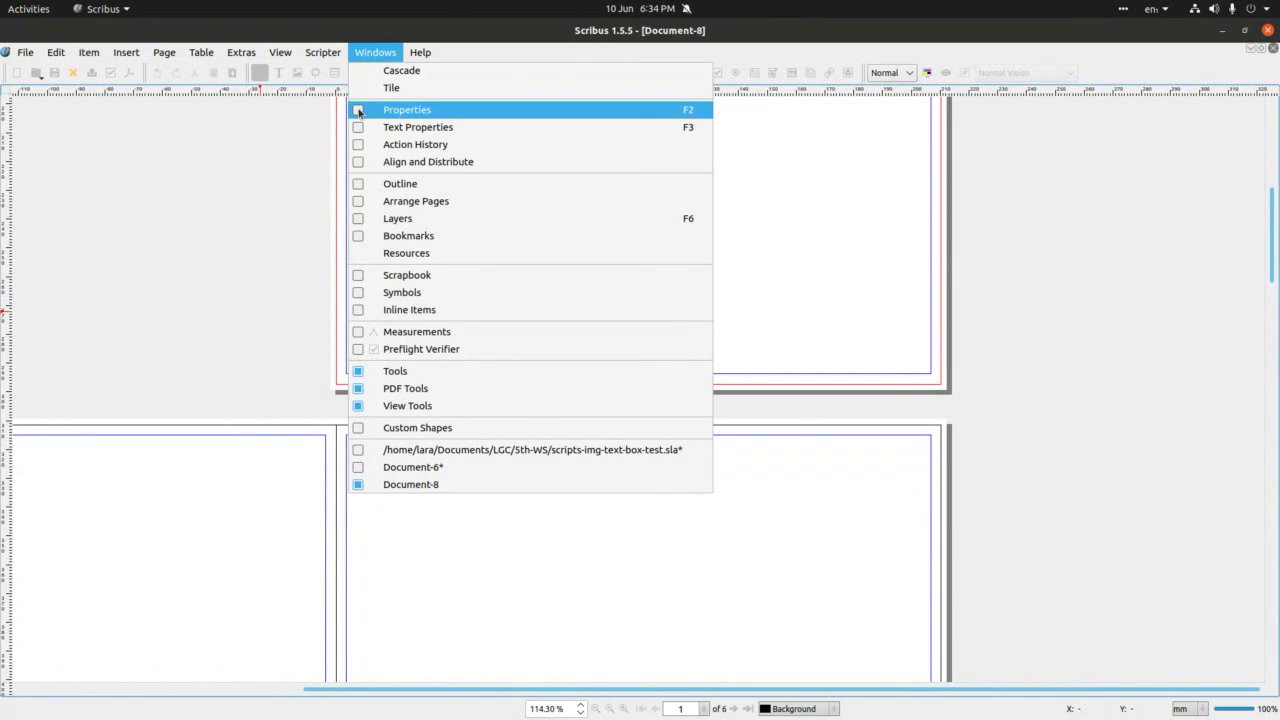 After we finished setting up the file, we’ll go to Windows>Properties
to open panel which will enable us to change colour, shapes, lines,
etc.
After we finished setting up the file, we’ll go to Windows>Properties
to open panel which will enable us to change colour, shapes, lines,
etc.
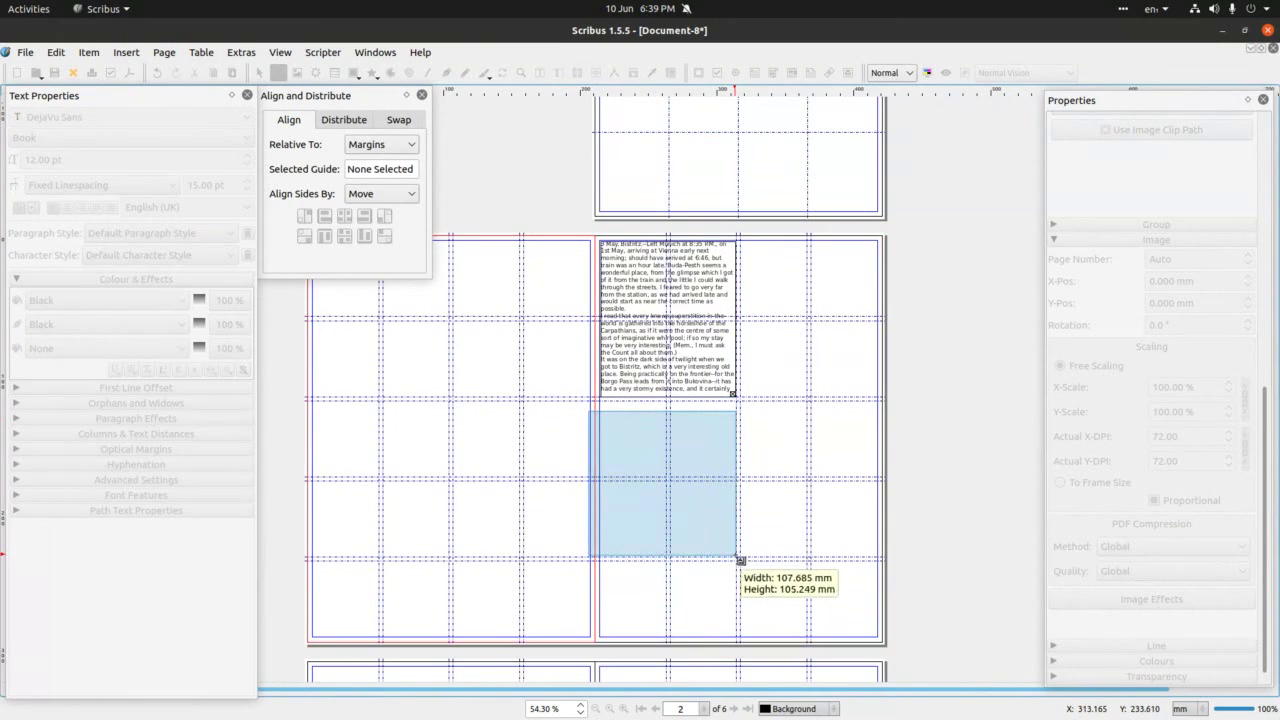
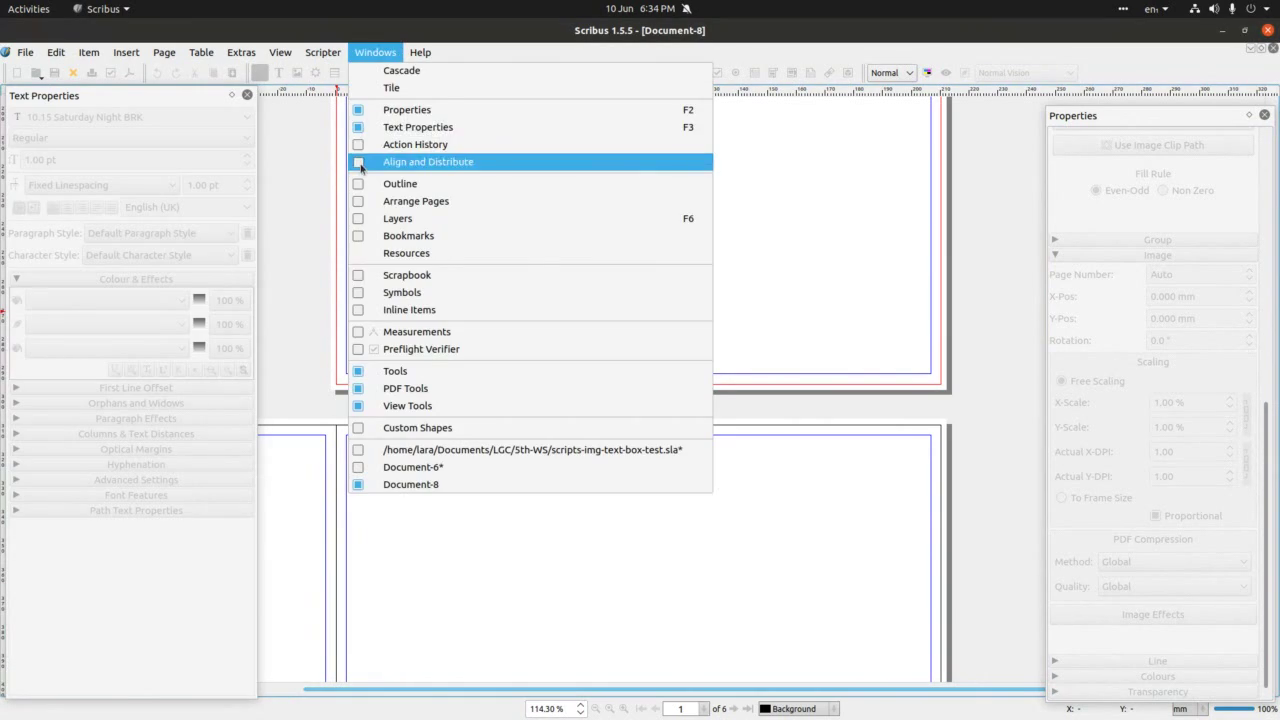 The Windows drop down menu also offers access to Align&Distribute,
Layers and other options. Please spend some time exploring this.
The Windows drop down menu also offers access to Align&Distribute,
Layers and other options. Please spend some time exploring this.
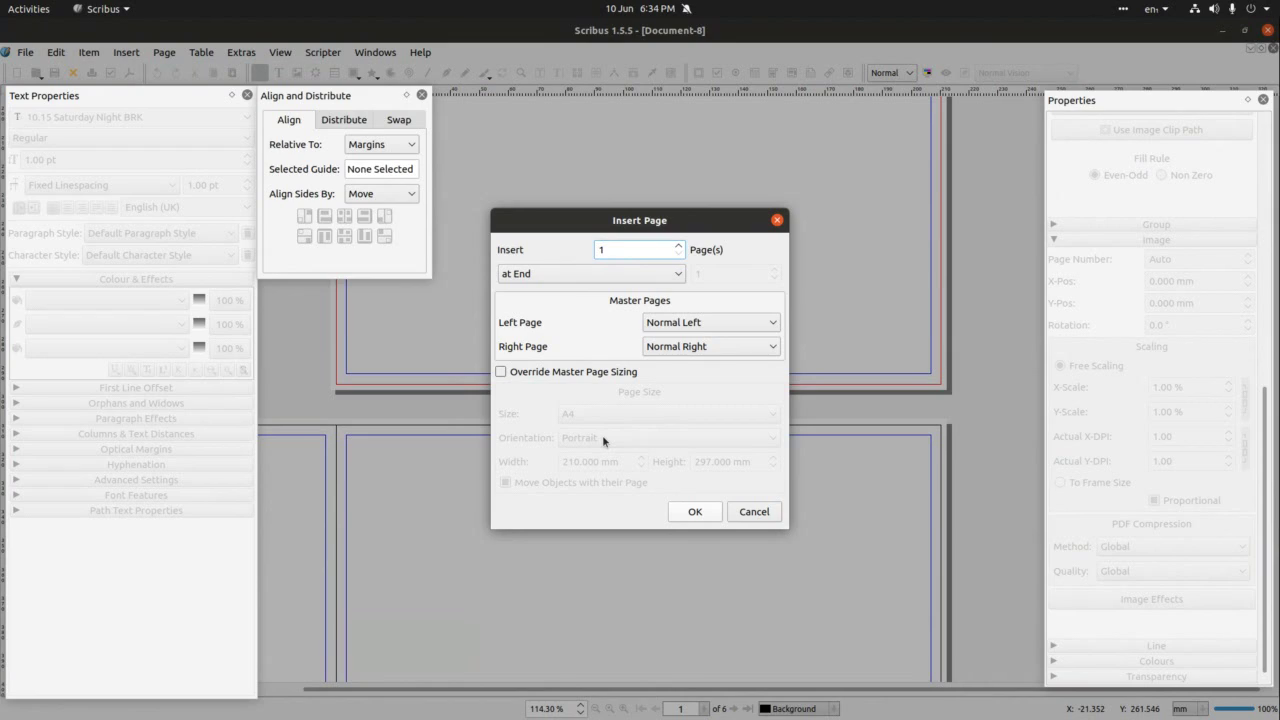 Once we explored all the Windows drop-down can offer, we’ll gp to
Page>Insert to investigate how to change number of pages on the
fly (so not all is lost if you need to increase or reduce number of
pages from the starting document set-up).
Once we explored all the Windows drop-down can offer, we’ll gp to
Page>Insert to investigate how to change number of pages on the
fly (so not all is lost if you need to increase or reduce number of
pages from the starting document set-up).
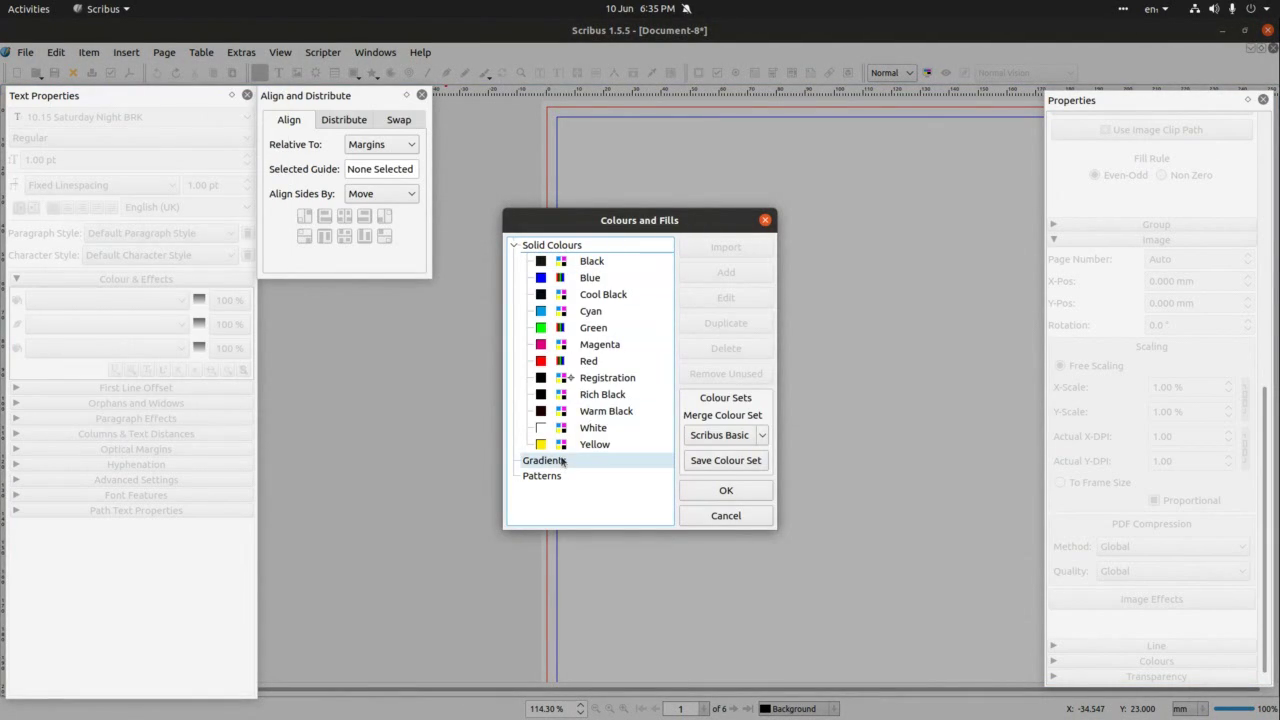 Next thing we’ll look at is Edit>Colours & fills. Through this
panel you’re able to manage colour sets and create custom colours
for your designs.
Next thing we’ll look at is Edit>Colours & fills. Through this
panel you’re able to manage colour sets and create custom colours
for your designs.
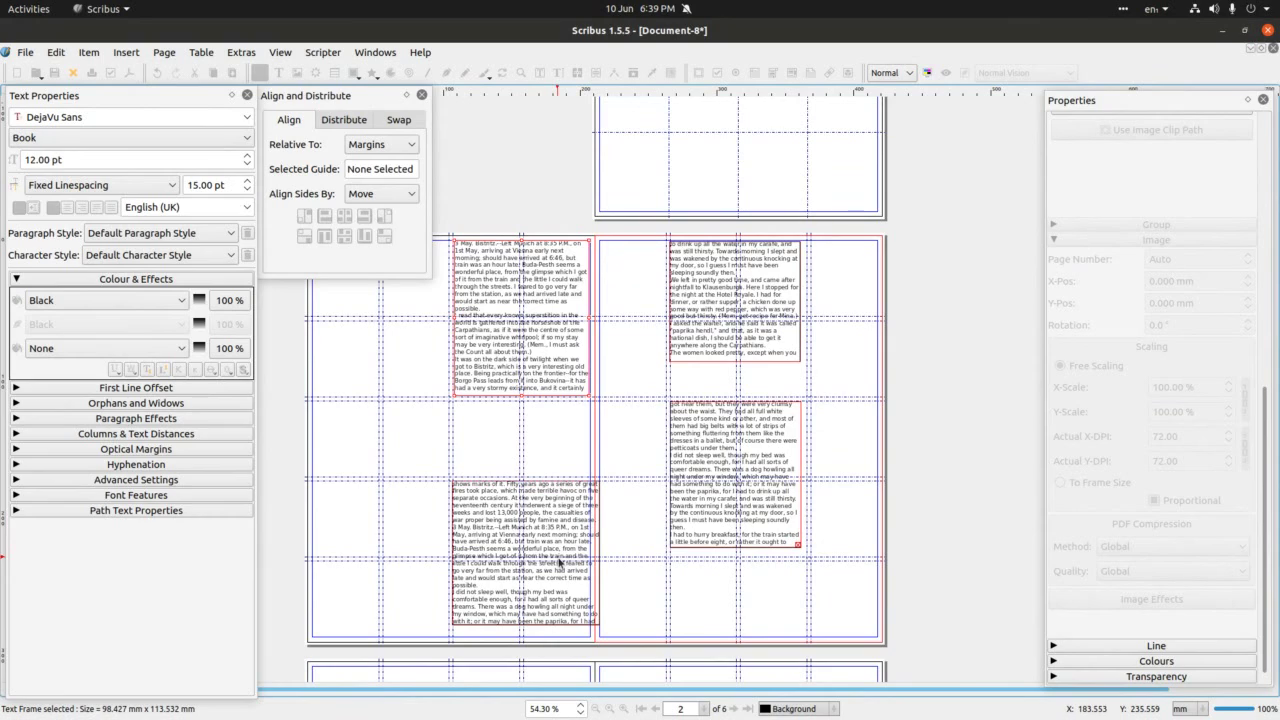
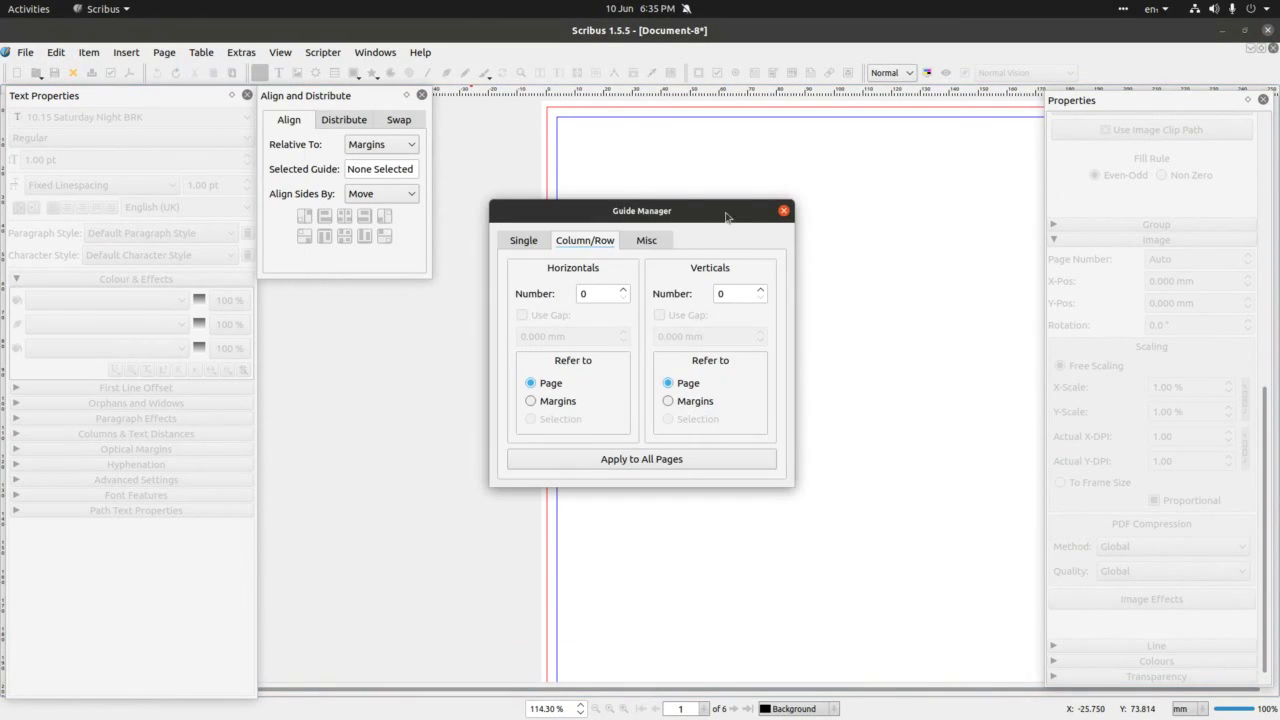 My favourite bit, managing guides. Page>Manage
guides: this
is a very quick way to establish grid or individual pages and/or to
apply grid to all pages. You can add gap (to create space between
columns and rows) and apply this grid to either whole page or to the
margins.
My favourite bit, managing guides. Page>Manage
guides: this
is a very quick way to establish grid or individual pages and/or to
apply grid to all pages. You can add gap (to create space between
columns and rows) and apply this grid to either whole page or to the
margins.
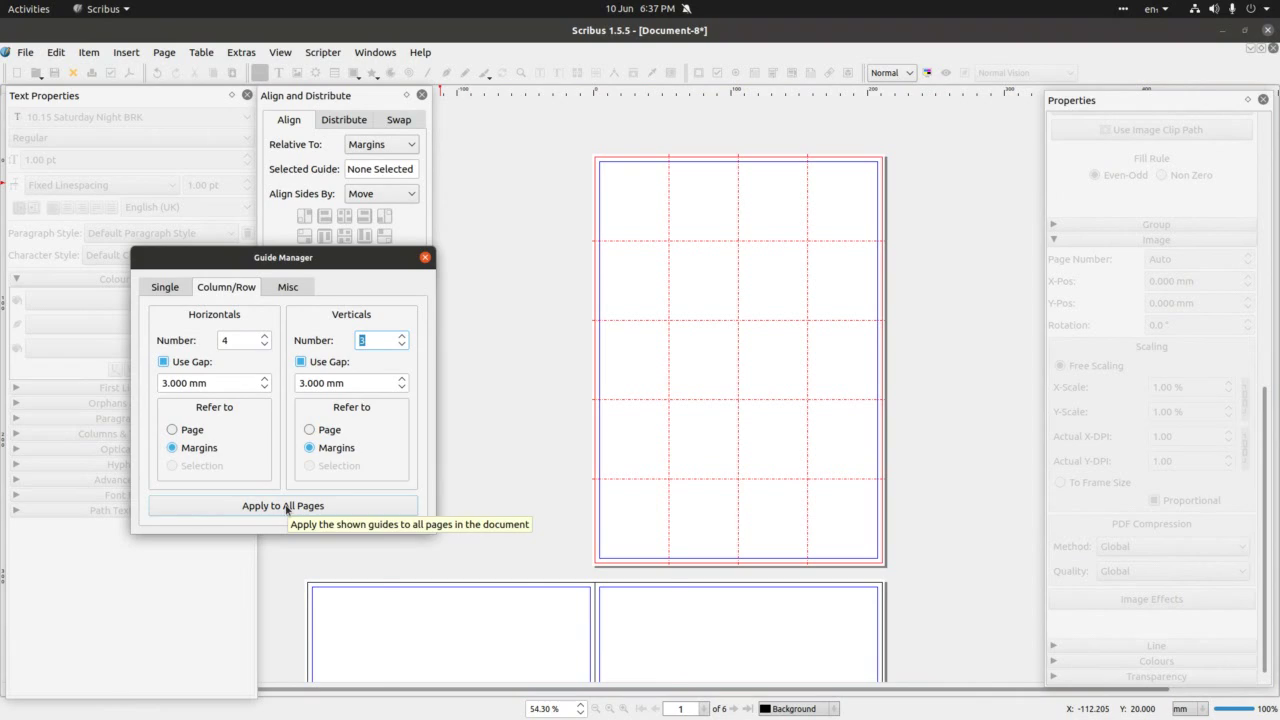 We will here have a little go with guides and create 4x4 grid with 3mm
gaps, apply them to margins and click on Apply to all pages.
We will here have a little go with guides and create 4x4 grid with 3mm
gaps, apply them to margins and click on Apply to all pages.
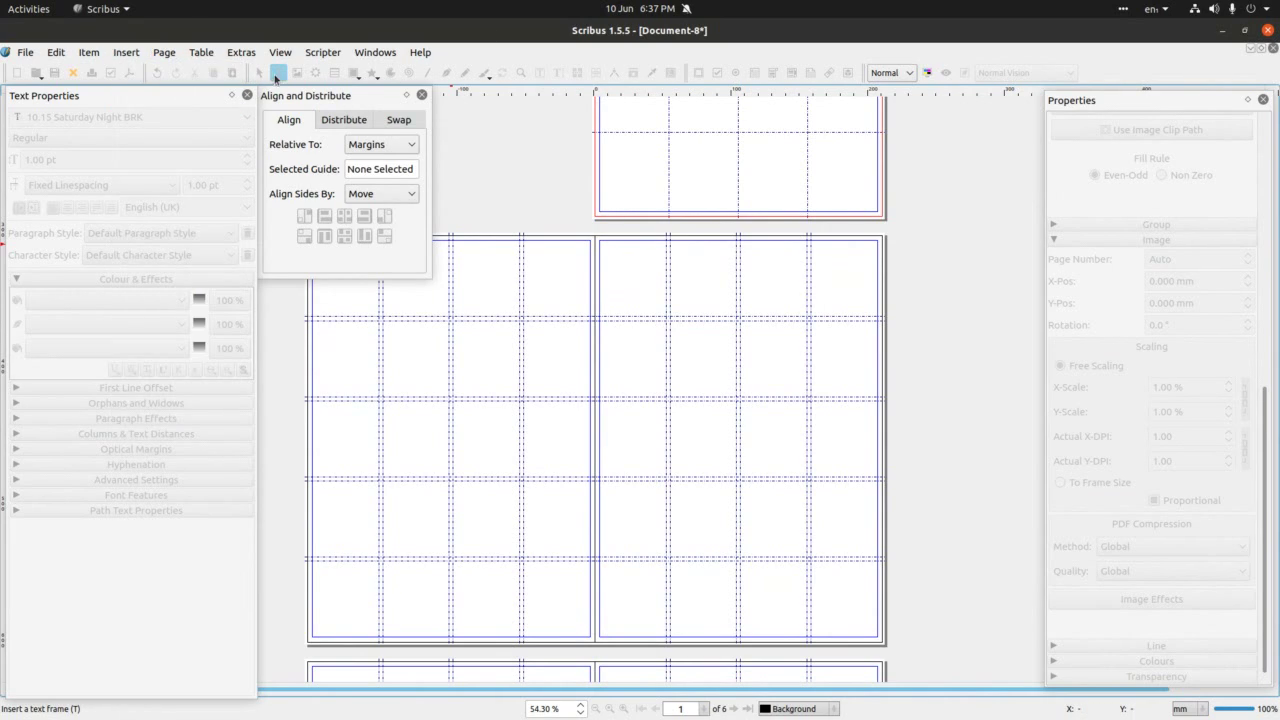 Like so.
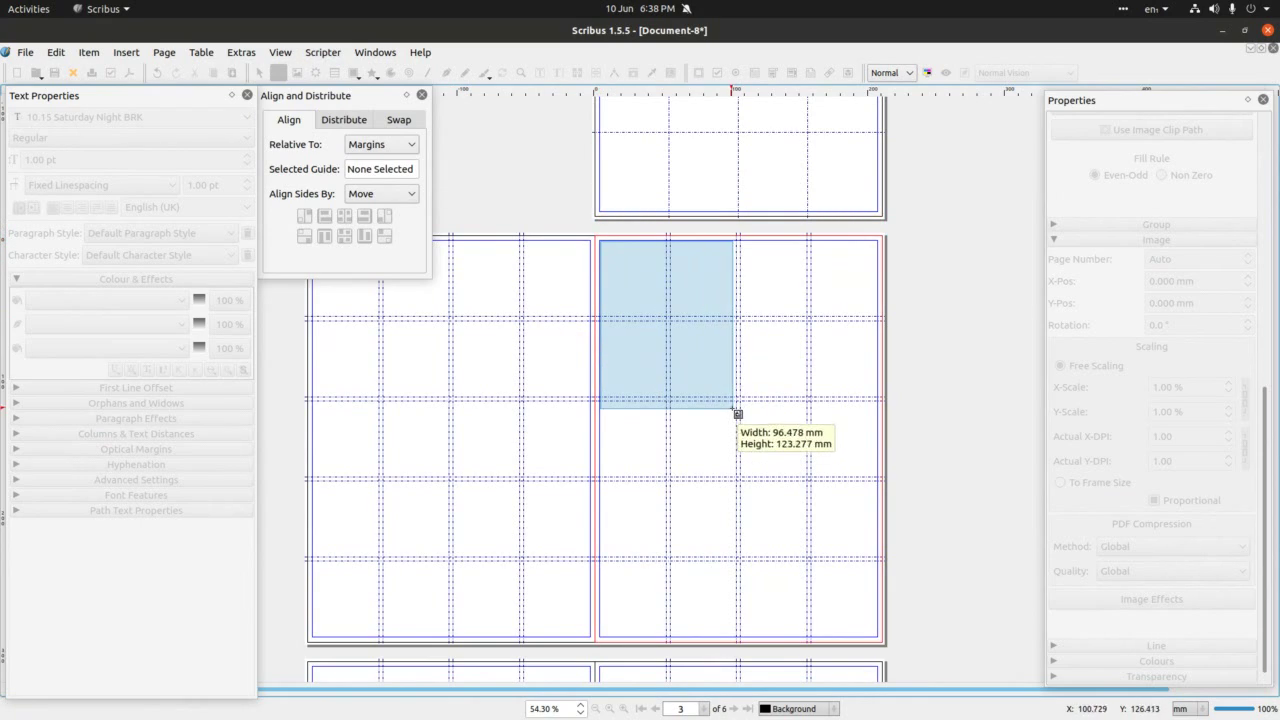 We will now get a taste of Text frame tool. The tool can be accessed
either through Main menu: Insert>Text frame or via Icon menu (a
little rectangle with a letter A or T, depending on your version of
Scribus) usually right next to Select tool (little arrow).
We will now get a taste of Text frame tool. The tool can be accessed
either through Main menu: Insert>Text frame or via Icon menu (a
little rectangle with a letter A or T, depending on your version of
Scribus) usually right next to Select tool (little arrow).
 Once we selected Text frame tool, we cluck on the page where we would like
our text to be and drag arccos the grid to the guide marking the end
of the text frame. Then
we right click on the frame and choose ‘Get text’ to select from
our computer – this is of-course if we’ve prepared a text before
hand.
Once we selected Text frame tool, we cluck on the page where we would like
our text to be and drag arccos the grid to the guide marking the end
of the text frame. Then
we right click on the frame and choose ‘Get text’ to select from
our computer – this is of-course if we’ve prepared a text before
hand.
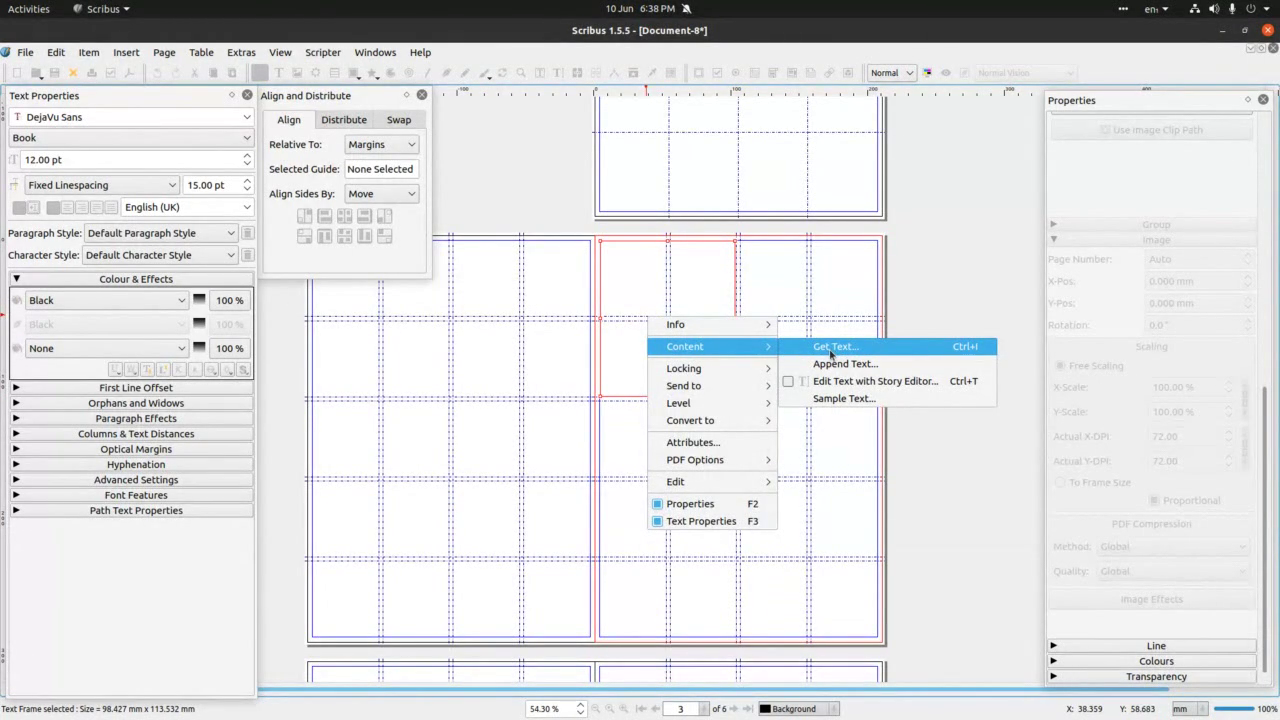
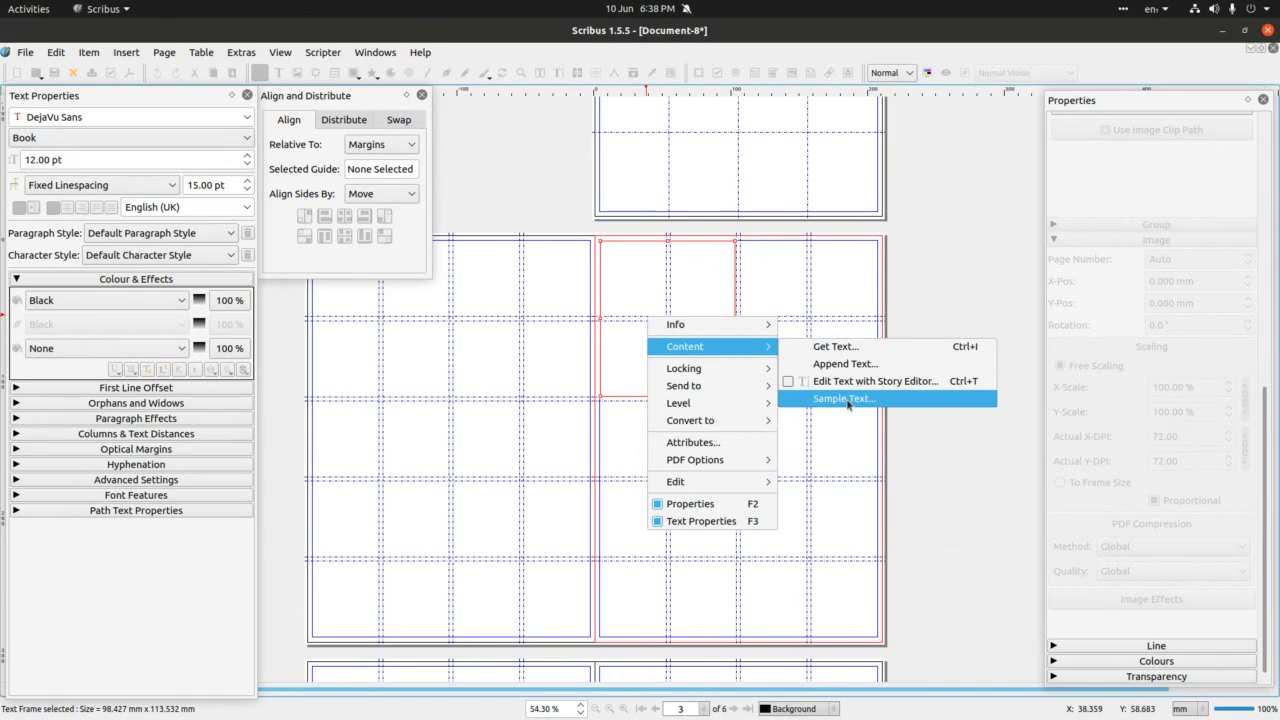 If we do not have text prepared, Scribus offers ‘Sample text’ which
will serve as a dummy text until you’re ready to add and external
text file. Scribus allows use of .txt, .odt, .html files to be
inserted here, and more.
If we do not have text prepared, Scribus offers ‘Sample text’ which
will serve as a dummy text until you’re ready to add and external
text file. Scribus allows use of .txt, .odt, .html files to be
inserted here, and more.
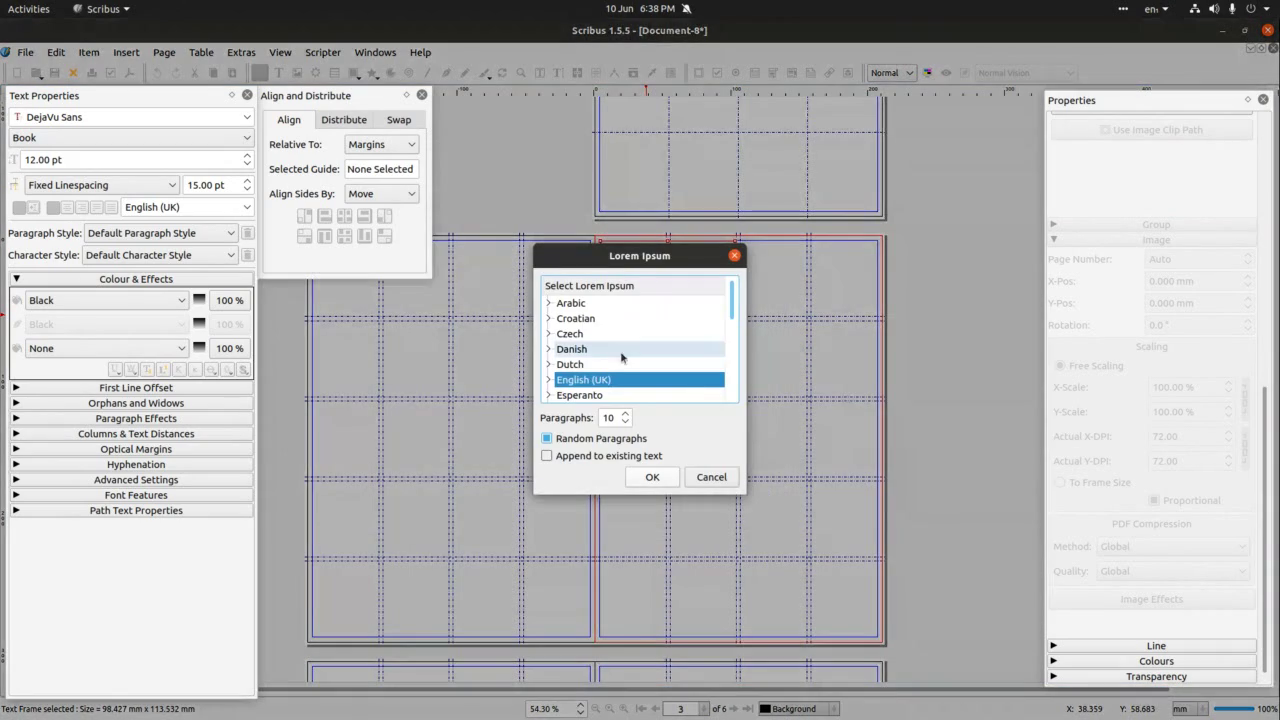 Here’s sample text panel which allows you to choose form a range of
different languages.
Here’s sample text panel which allows you to choose form a range of
different languages.
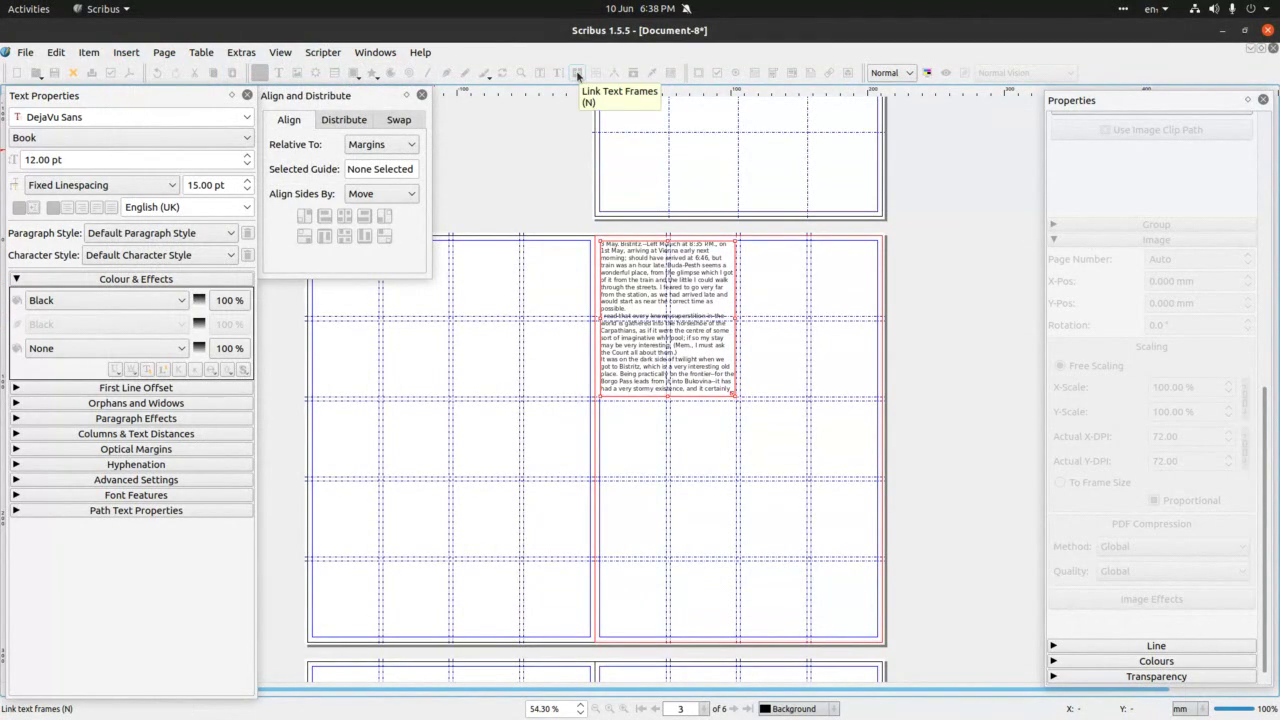 Once we inserted the text in the frame, we’ll attempt to link text
frames – this is a great feature which enables text flow form
frame, to another and can be great area of play and experimentation.
Select the text frame, then click on Link Text Frames icon (as in the
picture above) and then click on the page wherever you’re planning
the next text frame to go.
Once we inserted the text in the frame, we’ll attempt to link text
frames – this is a great feature which enables text flow form
frame, to another and can be great area of play and experimentation.
Select the text frame, then click on Link Text Frames icon (as in the
picture above) and then click on the page wherever you’re planning
the next text frame to go.
 Like so.
 You can do this as many times as you may need. In this case we mage 4 text
frames all connected and displaying Sample text.
You can do this as many times as you may need. In this case we mage 4 text
frames all connected and displaying Sample text.
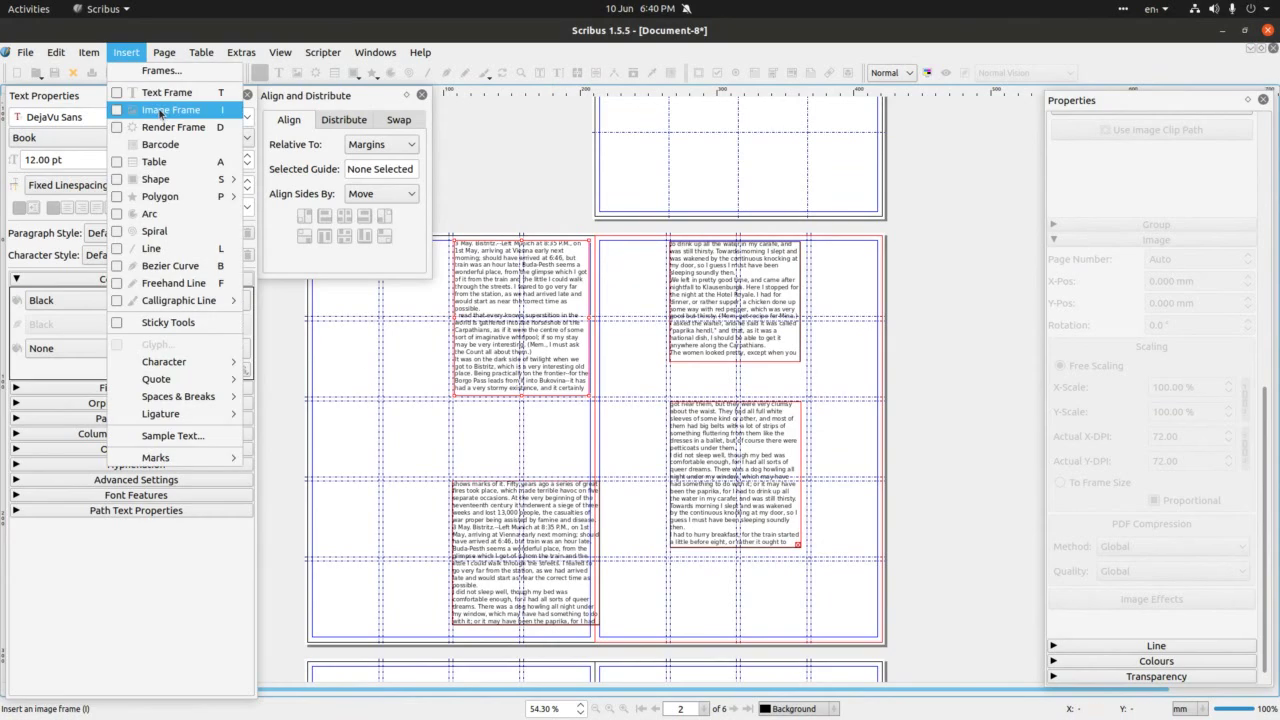 Next, we’re going to try Image frame to get a sense of what and how it
enables use of images in Scribus. Go to Insert>Image frame and
click/drag on the page wherever you need an image to go.
Next, we’re going to try Image frame to get a sense of what and how it
enables use of images in Scribus. Go to Insert>Image frame and
click/drag on the page wherever you need an image to go.
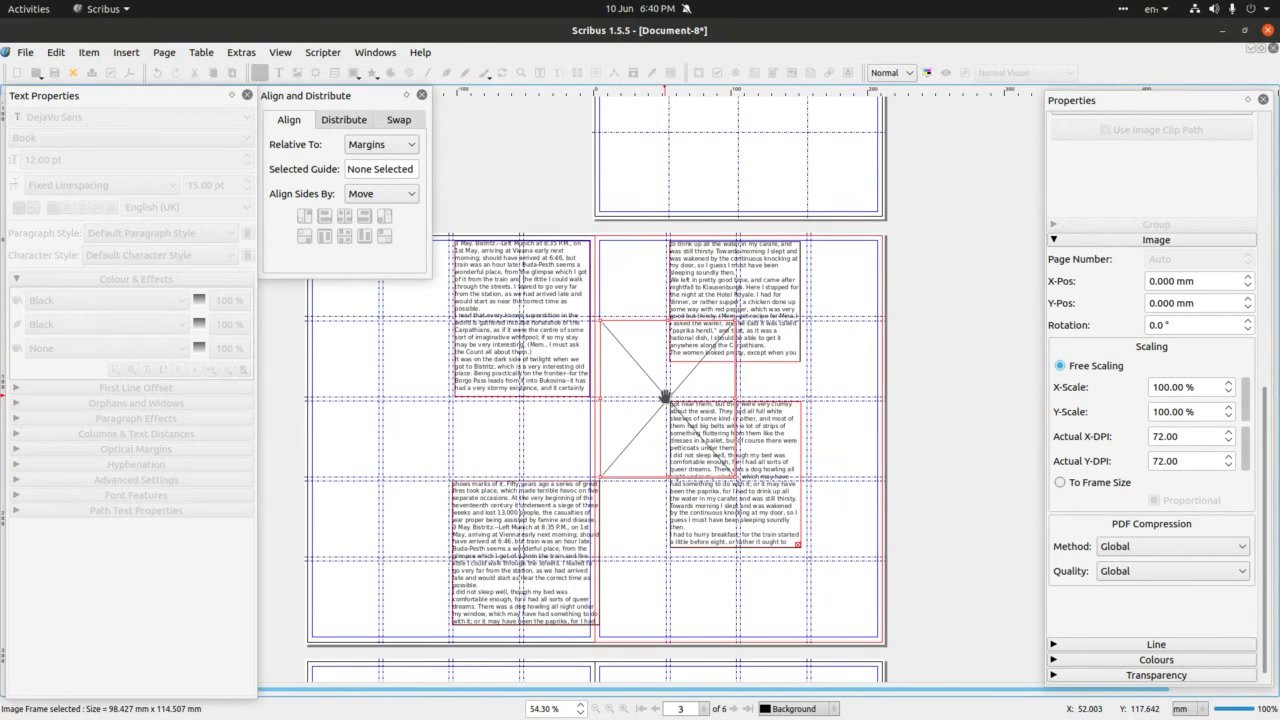 A red frame with a cross will appear. Feel free to move it about till
you’re happy with position of the frame.
A red frame with a cross will appear. Feel free to move it about till
you’re happy with position of the frame.
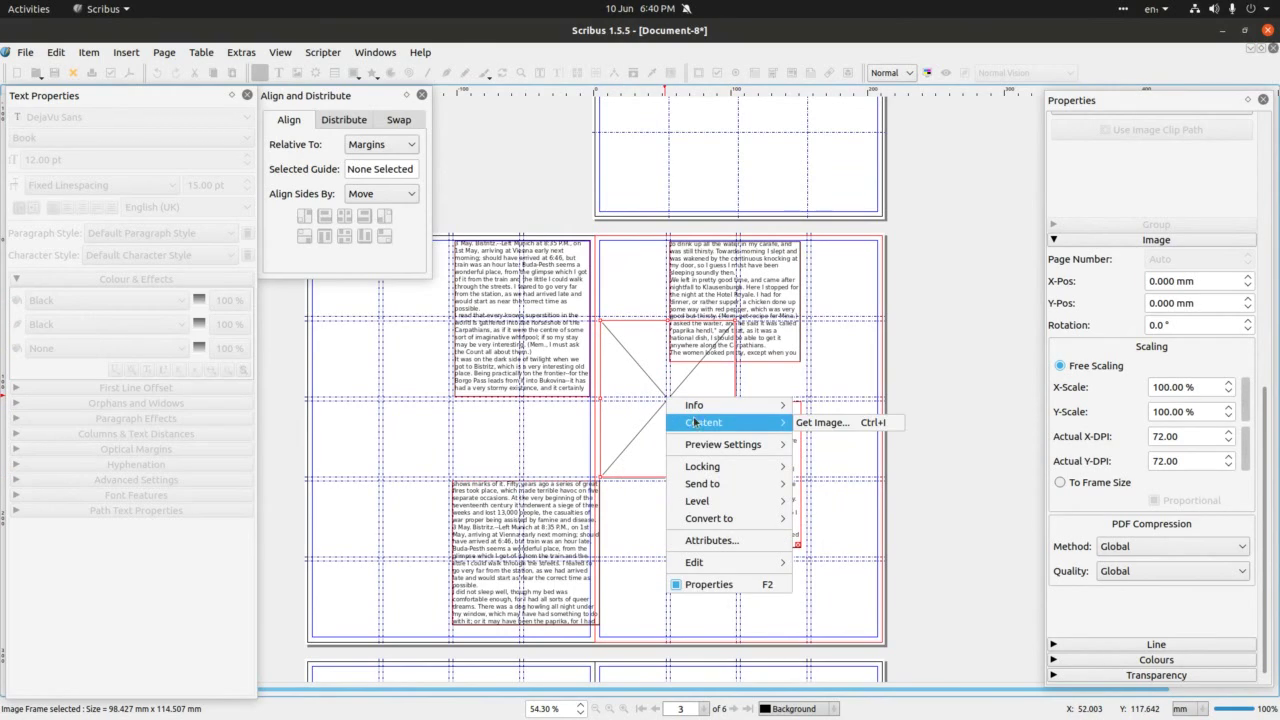 We’ll right click on the frame and select ‘Get image’ form the panel.
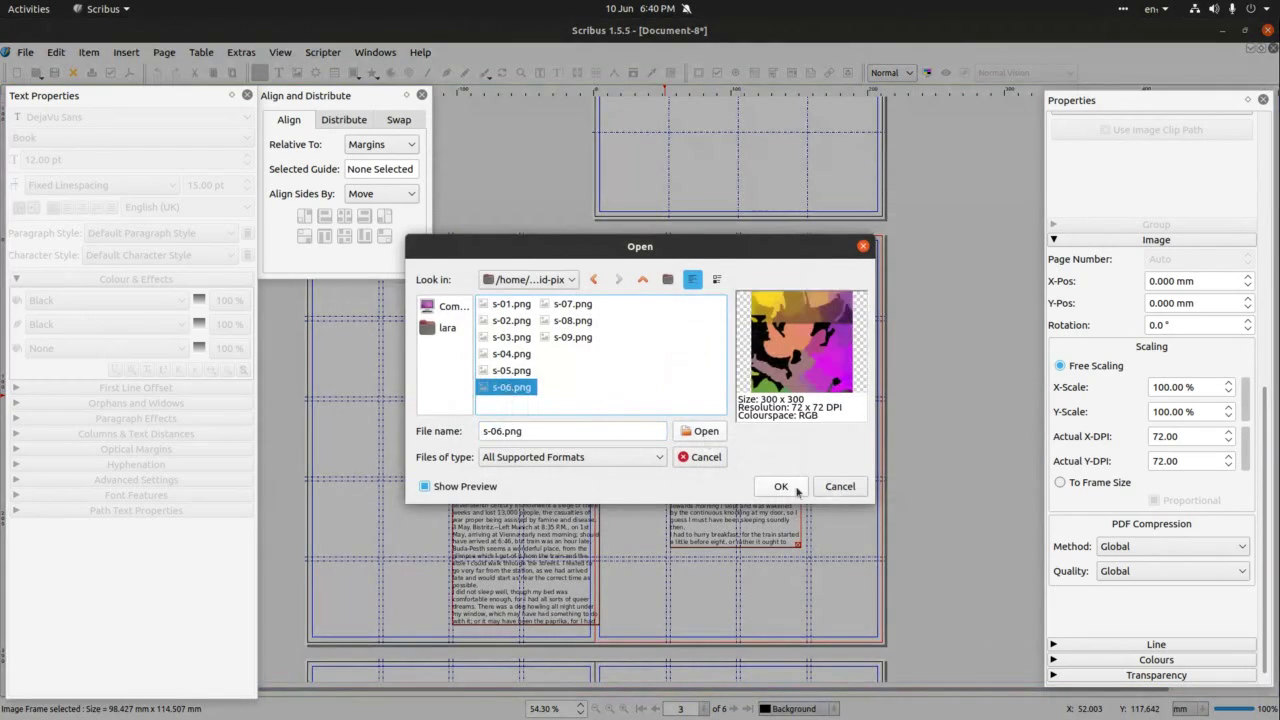 This will lead us to file manager through which we select image to insert
into the frame.
This will lead us to file manager through which we select image to insert
into the frame.
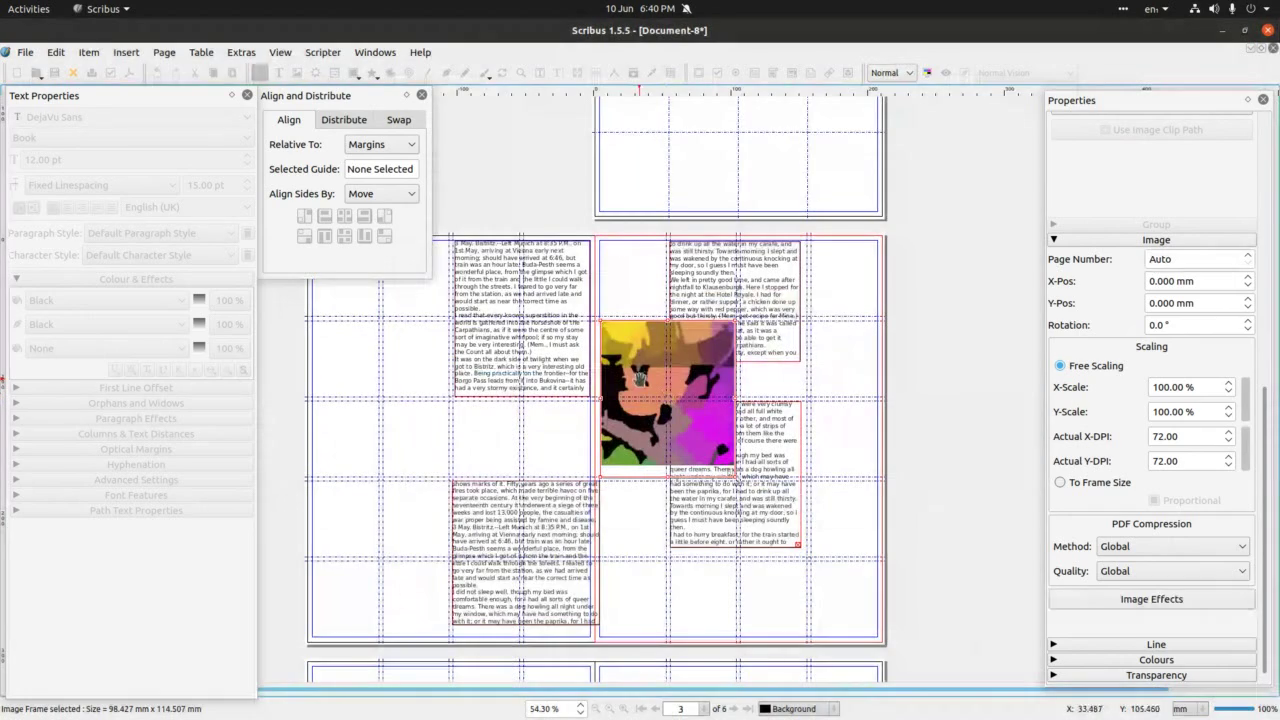 The
inserted image then can be edited via Properties panel. You can
change size, position, you can select that image automatically fits
the frame, to apply scaling proportionately or not, etc.
The
inserted image then can be edited via Properties panel. You can
change size, position, you can select that image automatically fits
the frame, to apply scaling proportionately or not, etc.
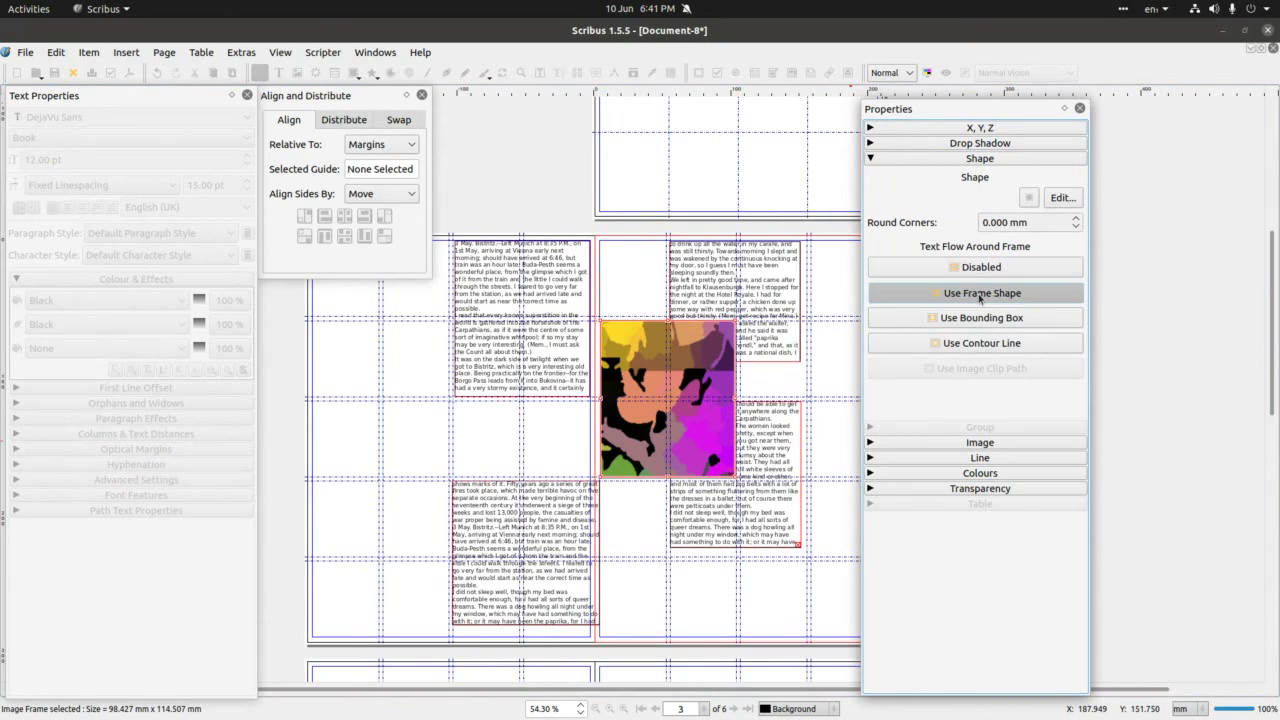 We can also edit how image(s) and text interact. This is done via Shape
in Properties. With image frame selected, go to shape and chose Use
frame shape – this will enable text flow around the frame.
We can also edit how image(s) and text interact. This is done via Shape
in Properties. With image frame selected, go to shape and chose Use
frame shape – this will enable text flow around the frame.
 Now we feel little more familiar with Scribus, we’ll go and open that
Libre Graphics Magazine file. File>Open and find where you saved
the file from GitLab archive. Scroll up and down the document to see
how Libre Graphics Magazine design team (Ana&Ricardo&ginger) established
grid, where is text, how did guides help organise content, etc. It is
likely that many of the images will not be downloaded, but you can
see the final version if you download a corresponding pdf for the
Libre Graphics magazine website.
Now we feel little more familiar with Scribus, we’ll go and open that
Libre Graphics Magazine file. File>Open and find where you saved
the file from GitLab archive. Scroll up and down the document to see
how Libre Graphics Magazine design team (Ana&Ricardo&ginger) established
grid, where is text, how did guides help organise content, etc. It is
likely that many of the images will not be downloaded, but you can
see the final version if you download a corresponding pdf for the
Libre Graphics magazine website.
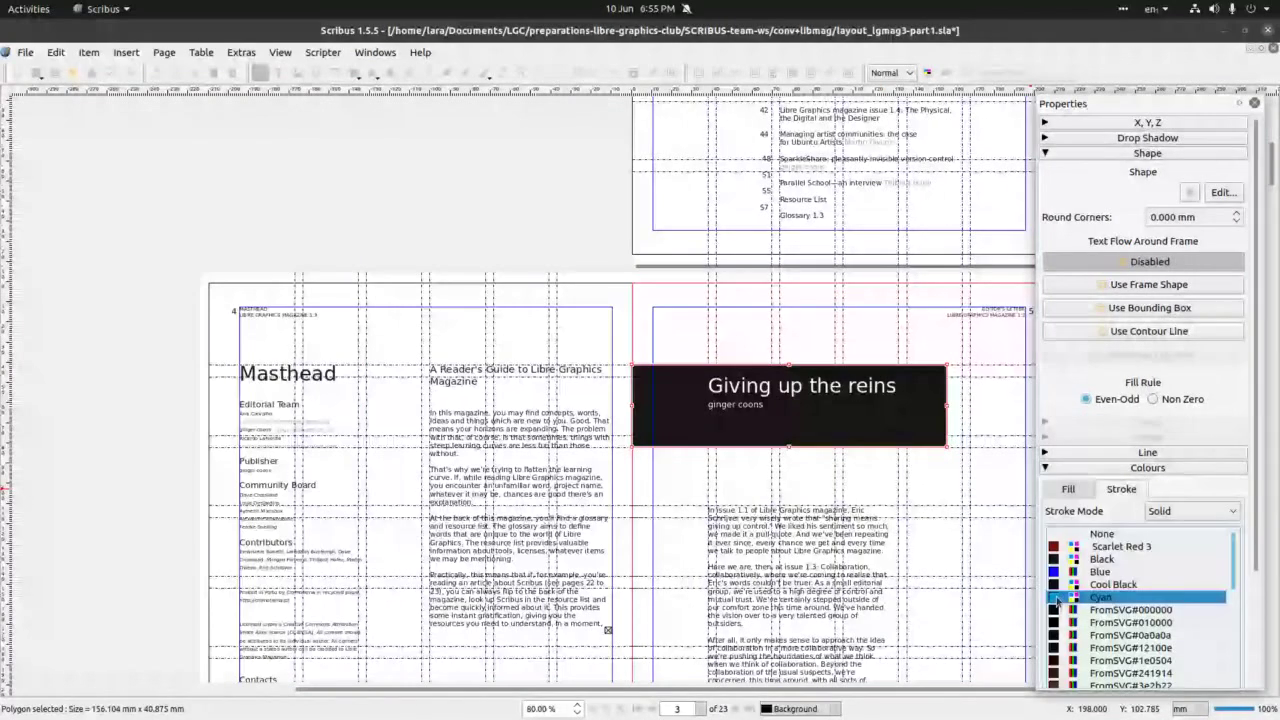 First thing we’ll play with is background colour of the rectangular shape
below title on right-hand side. Feel free to choose any other
element.
First thing we’ll play with is background colour of the rectangular shape
below title on right-hand side. Feel free to choose any other
element.
 We selected the rectangle by clicking directly on it and then selected
Colour for Properties panel. Here we’ll access Fill tab and choose
cyan (but any other will do too).
We selected the rectangle by clicking directly on it and then selected
Colour for Properties panel. Here we’ll access Fill tab and choose
cyan (but any other will do too).
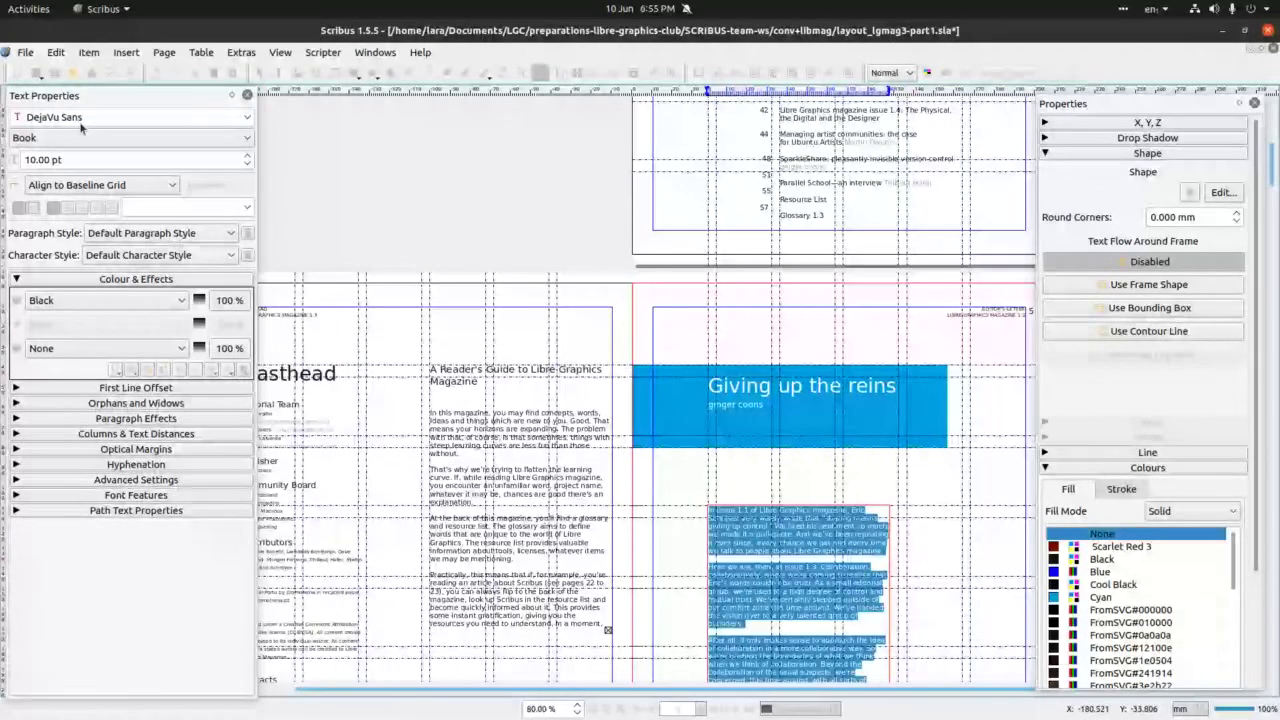 The next up for remix is text. If
your computer does not have document fonts installed, it will replace
them with available fonts. This can work, but also can really mess up
the look of the magazine. Select a paragraph or two by double
clicking on a text frame of choice. Then click and drag cursor over
lines to select the text. When the text is highlighted blue we're
ready to change text properties. Either in your Properties
panel, or in a separate Text properties panel (depending on your
operating system and version of Scribus), you
can find info on font type and style, font size, linespace,
alignment, colour and effect and a whole tot of other fine
typographic tools.
The next up for remix is text. If
your computer does not have document fonts installed, it will replace
them with available fonts. This can work, but also can really mess up
the look of the magazine. Select a paragraph or two by double
clicking on a text frame of choice. Then click and drag cursor over
lines to select the text. When the text is highlighted blue we're
ready to change text properties. Either in your Properties
panel, or in a separate Text properties panel (depending on your
operating system and version of Scribus), you
can find info on font type and style, font size, linespace,
alignment, colour and effect and a whole tot of other fine
typographic tools.
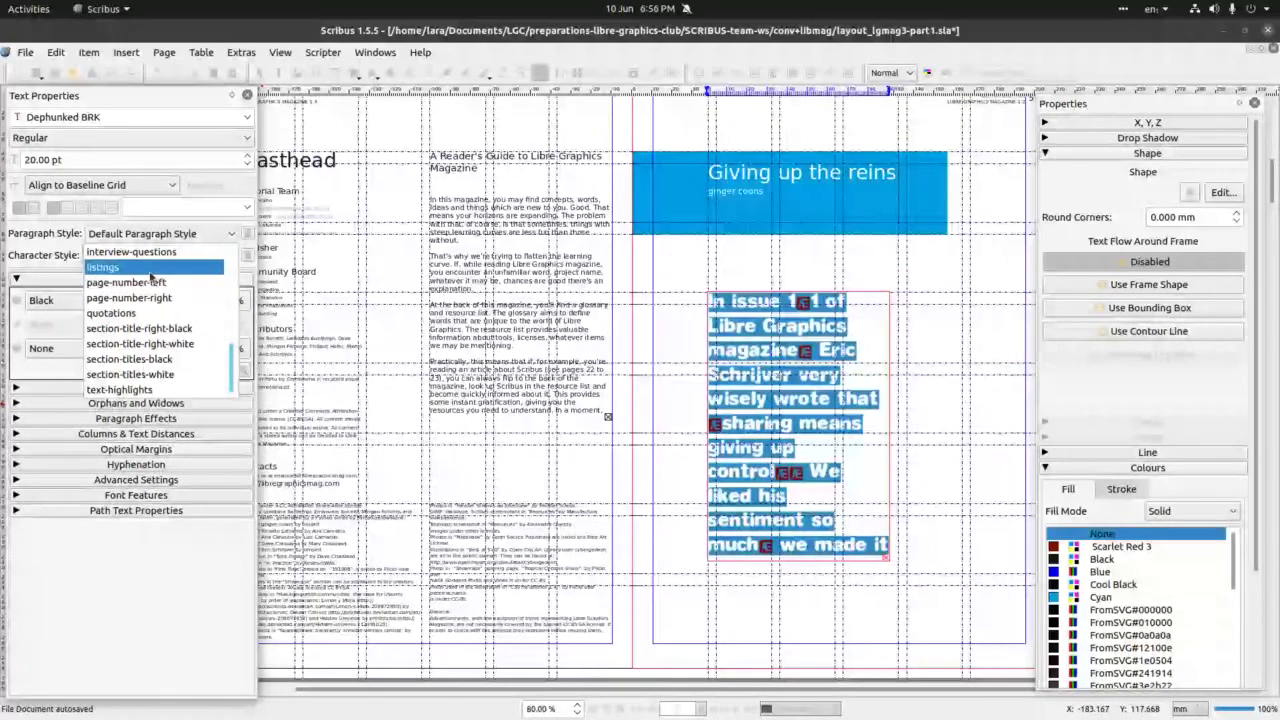 In this case we’ll change font type, colour and background effect.
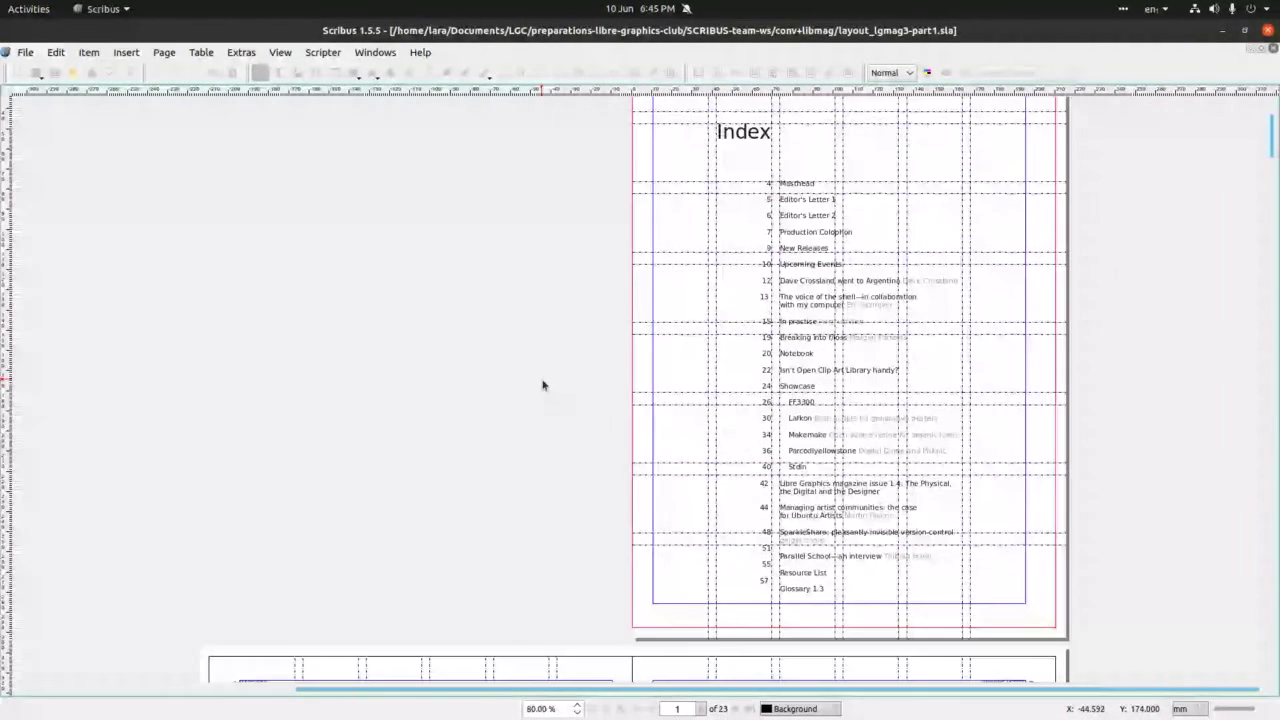
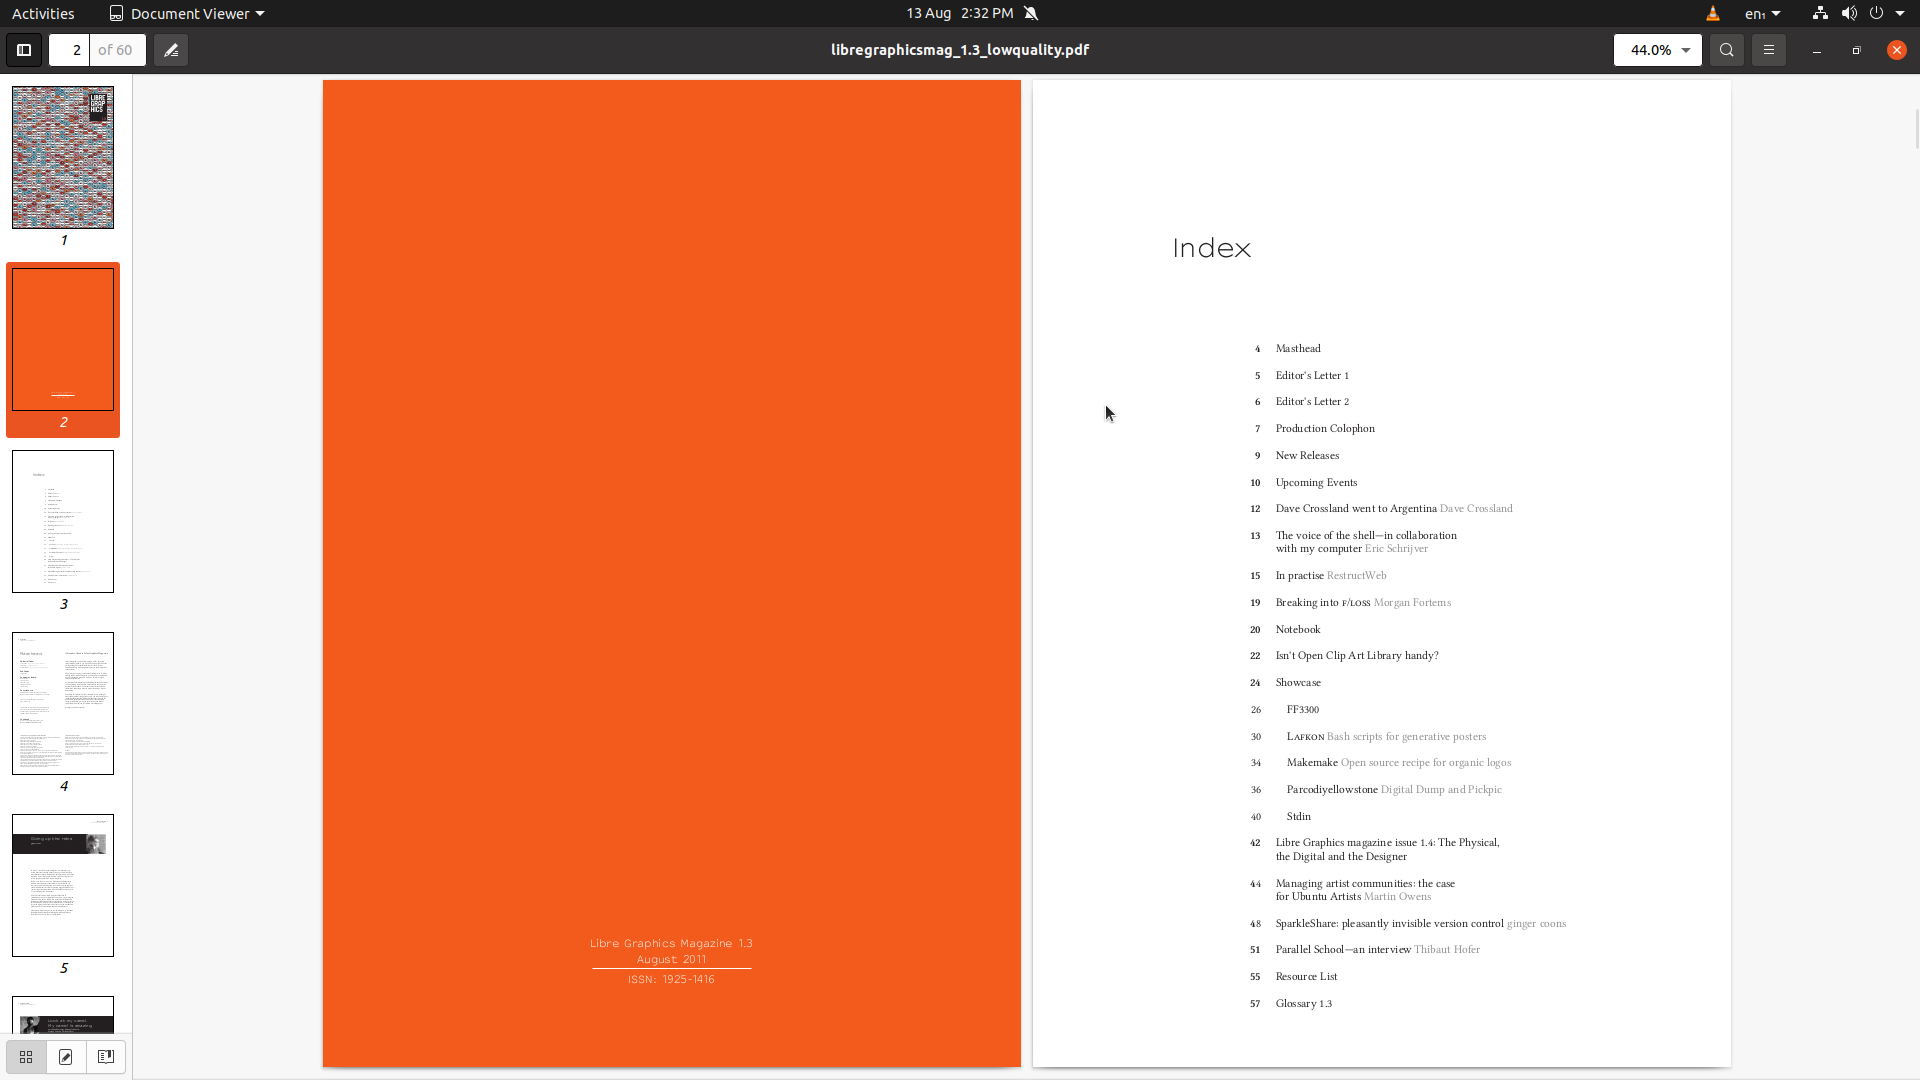 We’ll now open the corresponding Pdf file, to check the original layout,
colour treatment, typography, use of images. Above, we’re looking
and the Index page.
We’ll now open the corresponding Pdf file, to check the original layout,
colour treatment, typography, use of images. Above, we’re looking
and the Index page.
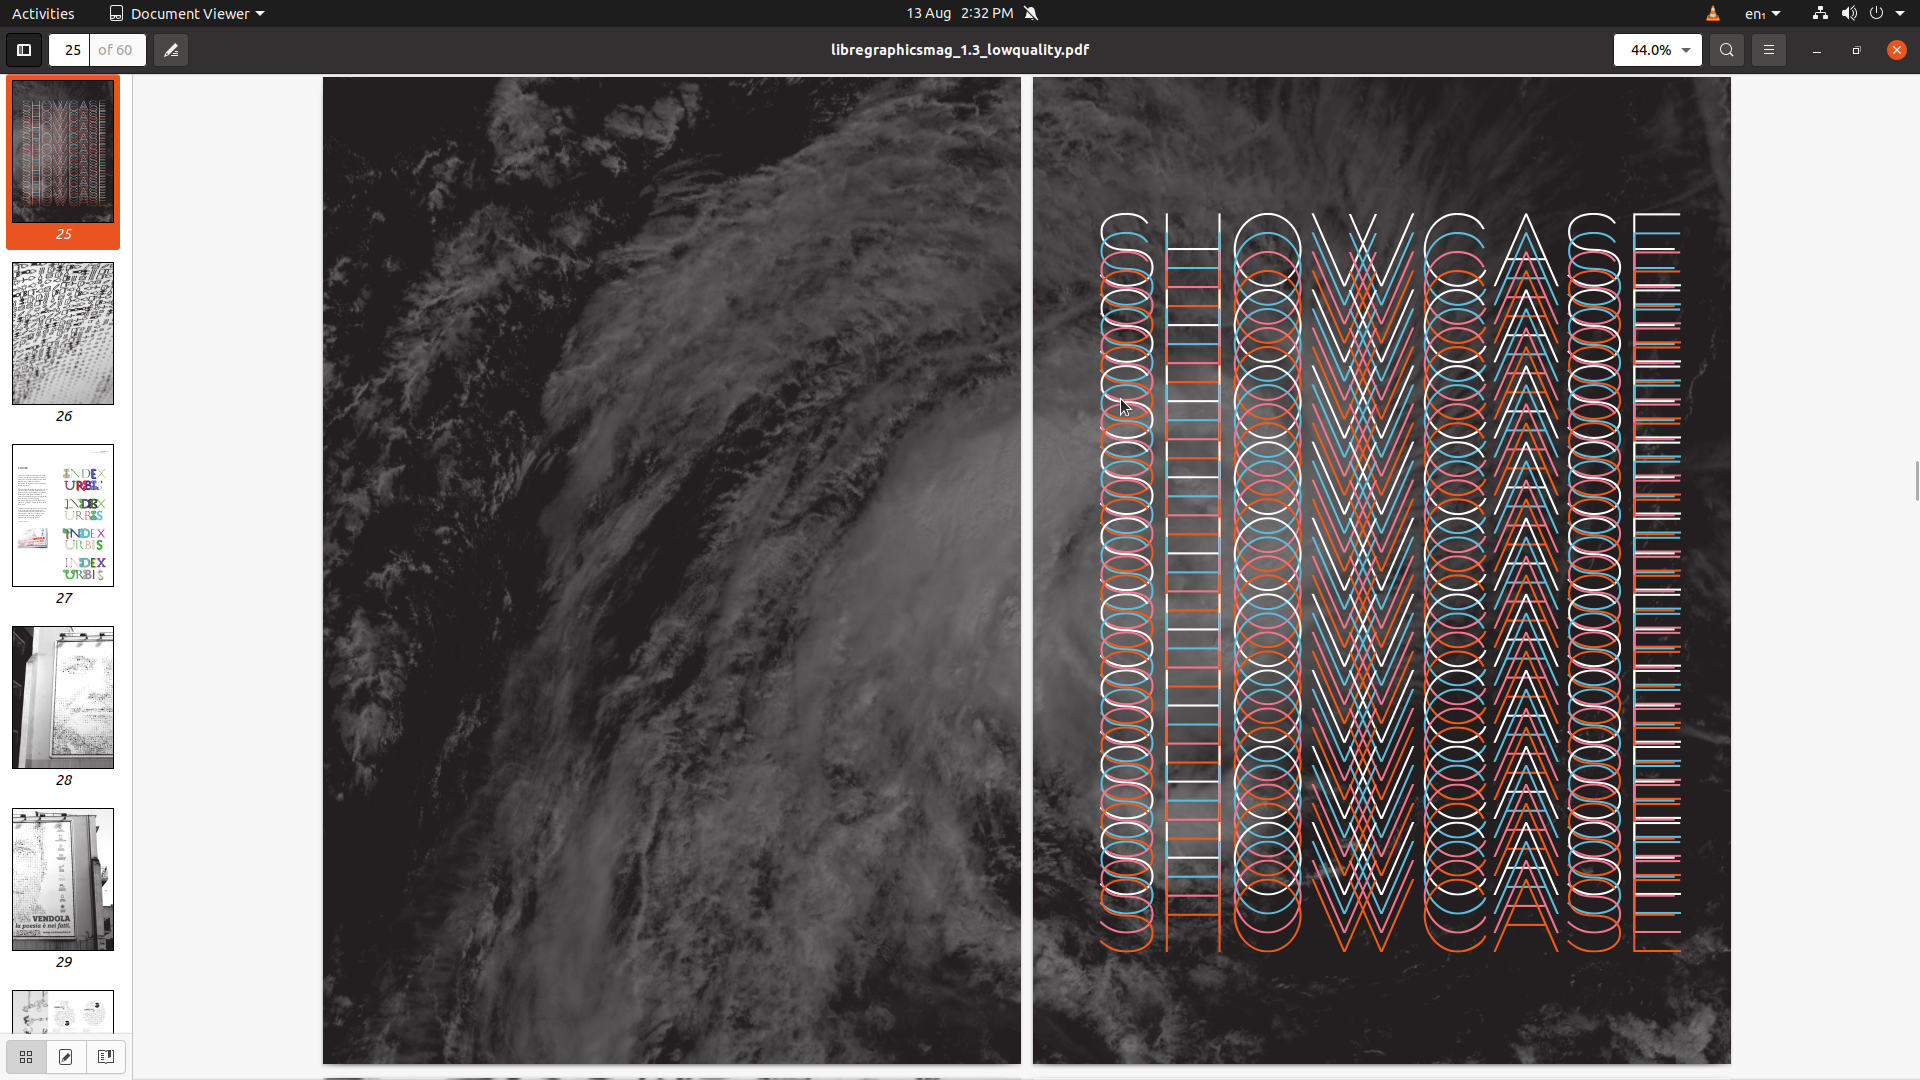 On page 25, we find a very interesting example of ‘type as image’
which we’ll use for another attempt at remixing the magazine.
On page 25, we find a very interesting example of ‘type as image’
which we’ll use for another attempt at remixing the magazine.
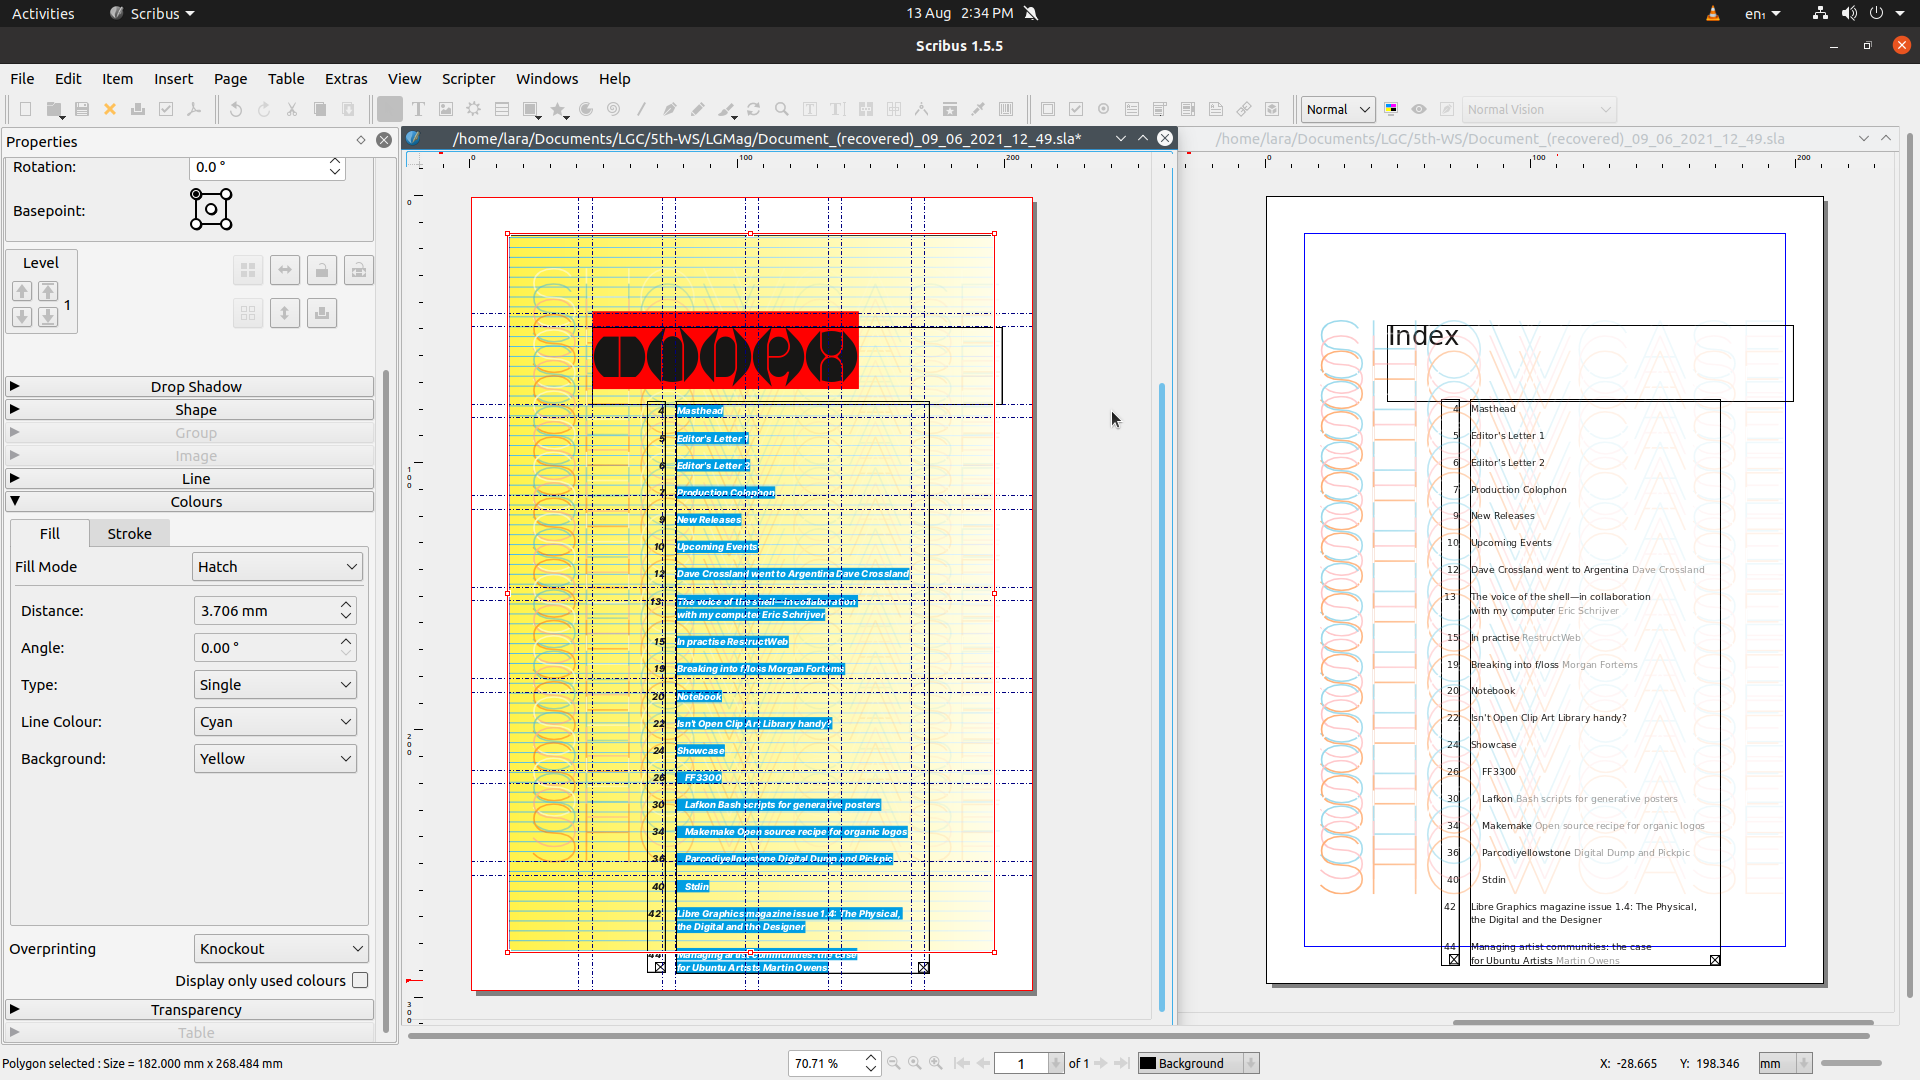 In the original .sla file we copy the ‘SHOWCASE’ image (page 25/26)
and paste it to Index page. We then right click on the image and
choose Level, to lower image below Index page text. Whilst the
‘SHOWCASE’ image still selected, we change it’s background by
experimenting with Properties>Colour>Fill. Next step, we change
fonts and background colour by selecting text and experimenting with
Properties>Text or Windows>Text properties.
In the original .sla file we copy the ‘SHOWCASE’ image (page 25/26)
and paste it to Index page. We then right click on the image and
choose Level, to lower image below Index page text. Whilst the
‘SHOWCASE’ image still selected, we change it’s background by
experimenting with Properties>Colour>Fill. Next step, we change
fonts and background colour by selecting text and experimenting with
Properties>Text or Windows>Text properties.
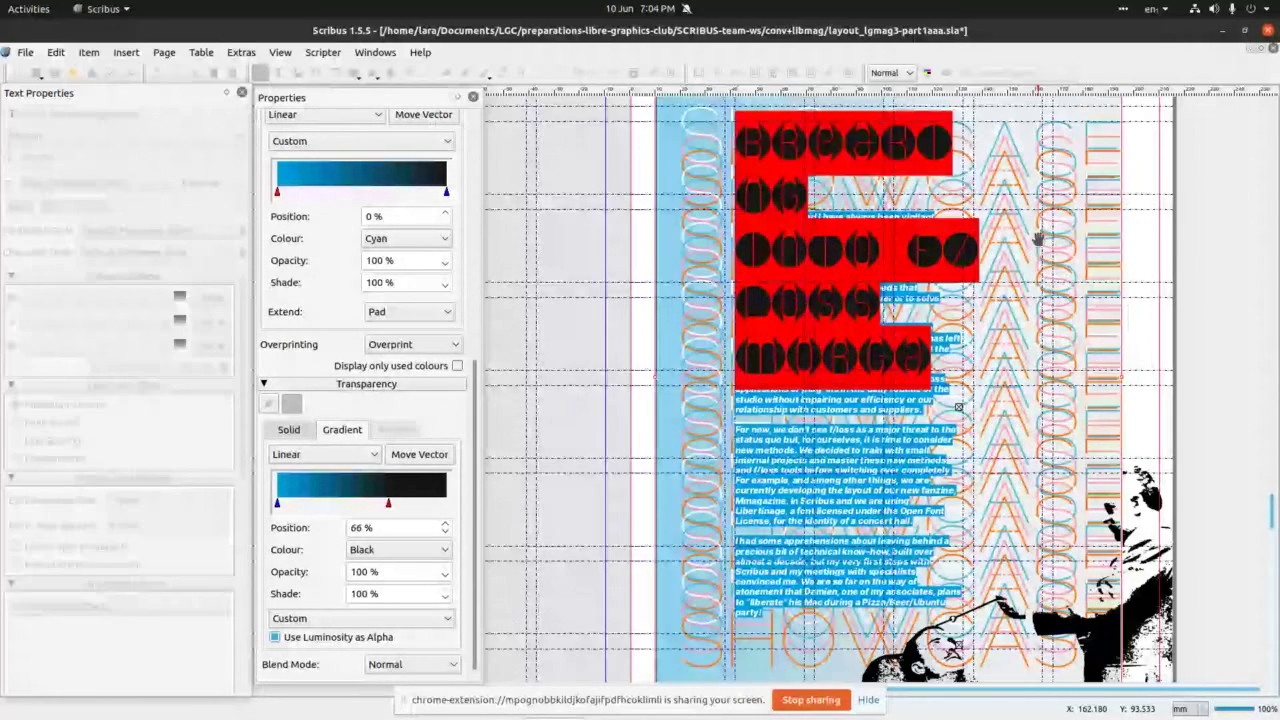 Lastly, we’ll repeat experimentation with ‘SHOWCASE’ image by pasting
it to page 19 in the Libre Graphics ISSUE 1.3and repeat experimentation
with text. Hope you enjoyed exploring Scribus and will find time to
check out all the Libre Graphics magazine issues – they’re fab!
Lastly, we’ll repeat experimentation with ‘SHOWCASE’ image by pasting
it to page 19 in the Libre Graphics ISSUE 1.3and repeat experimentation
with text. Hope you enjoyed exploring Scribus and will find time to
check out all the Libre Graphics magazine issues – they’re fab!