Housing poster
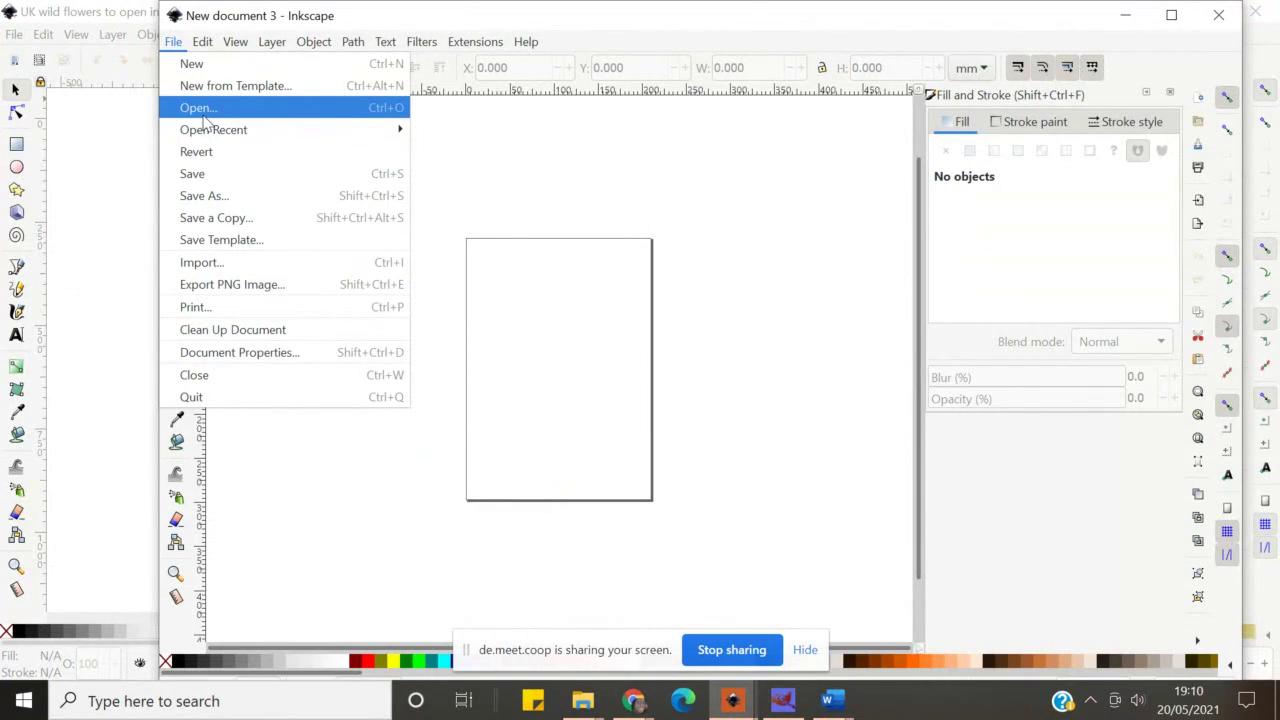 Open file.
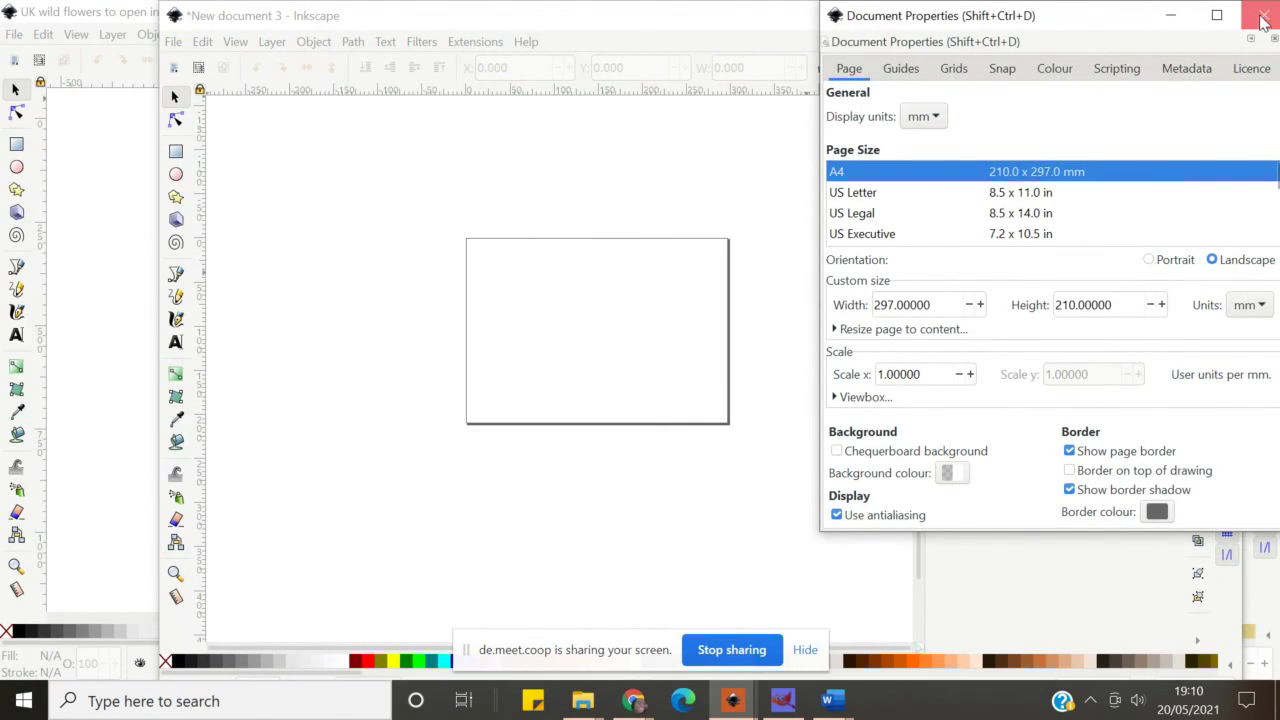 Document properties, change orientation of the page to landscape.
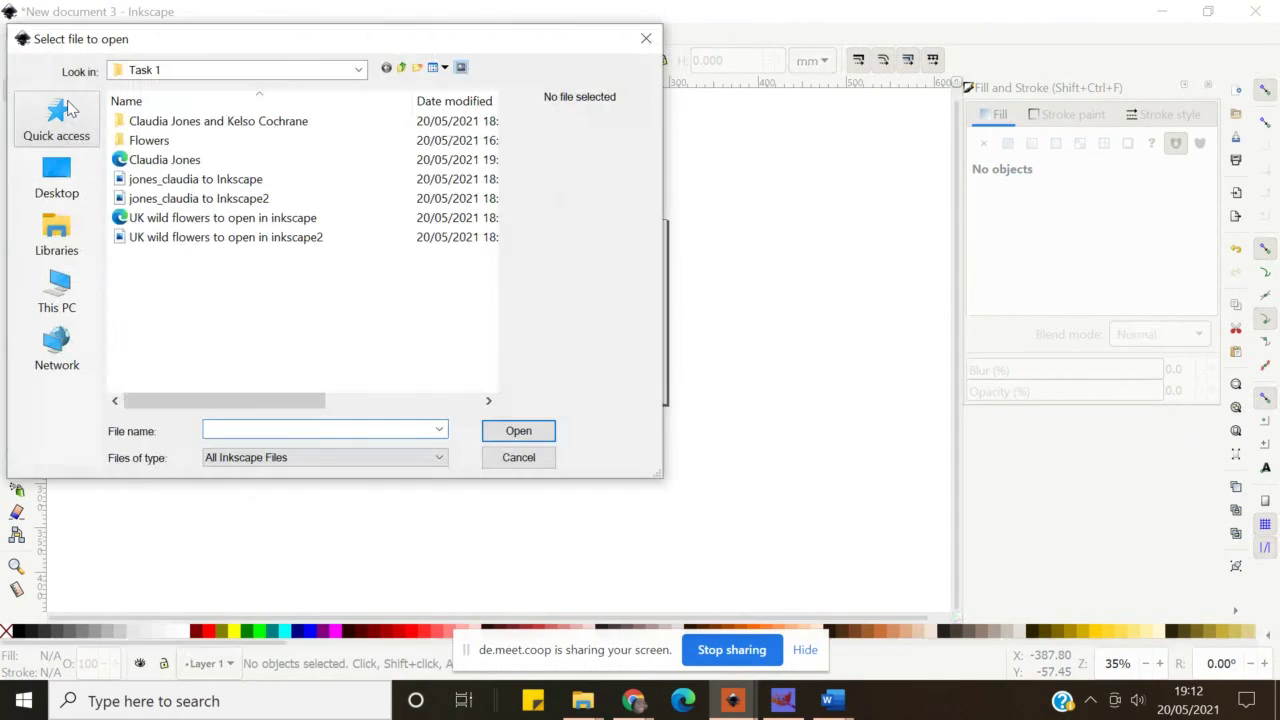 Open files form Simone's folder. Download folder here.
 This poster is inspired by work of Autonomous Design Group. See more of
their work here: https://www.weareadg.org
This poster is inspired by work of Autonomous Design Group. See more of
their work here: https://www.weareadg.org
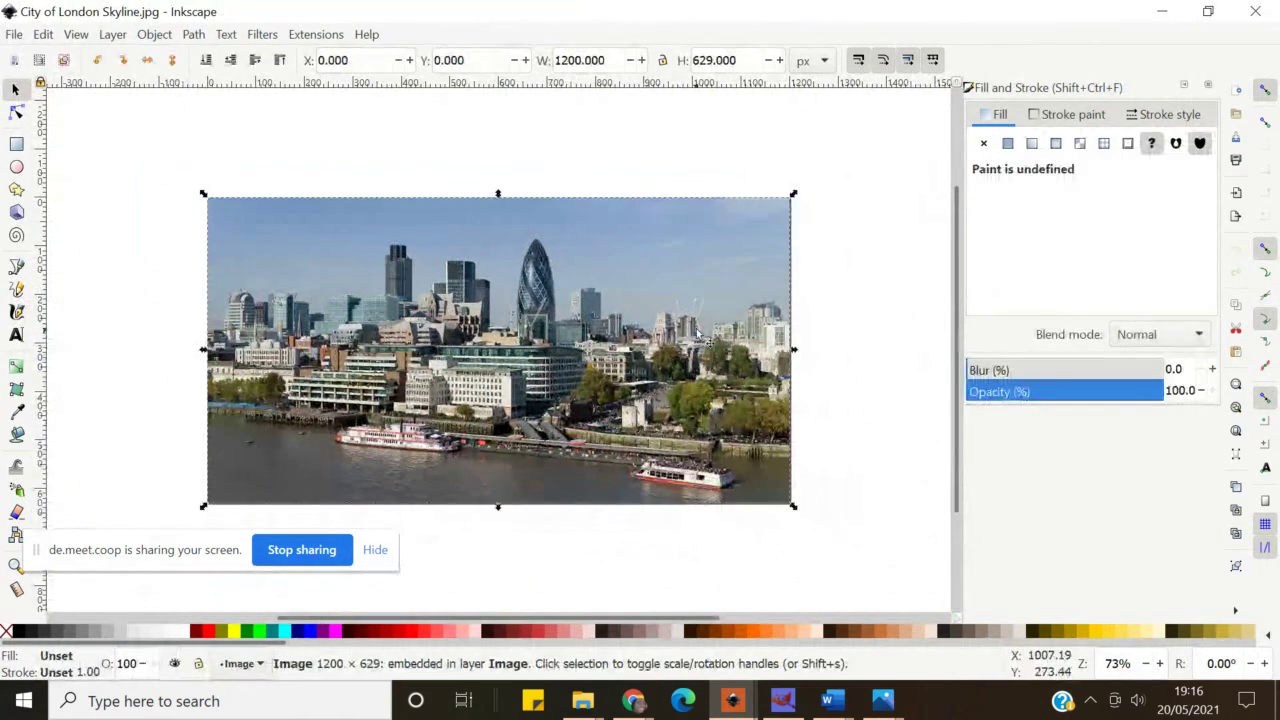 When you open the image, you can resize it to fit the page by selecting it
and then dragging little arrows in the corners. In order to keep
aspect ratio (relationship between height and width of the image) you
can select little lock between width and height values in the
horizontal tool bar just below the main menu.
When you open the image, you can resize it to fit the page by selecting it
and then dragging little arrows in the corners. In order to keep
aspect ratio (relationship between height and width of the image) you
can select little lock between width and height values in the
horizontal tool bar just below the main menu.
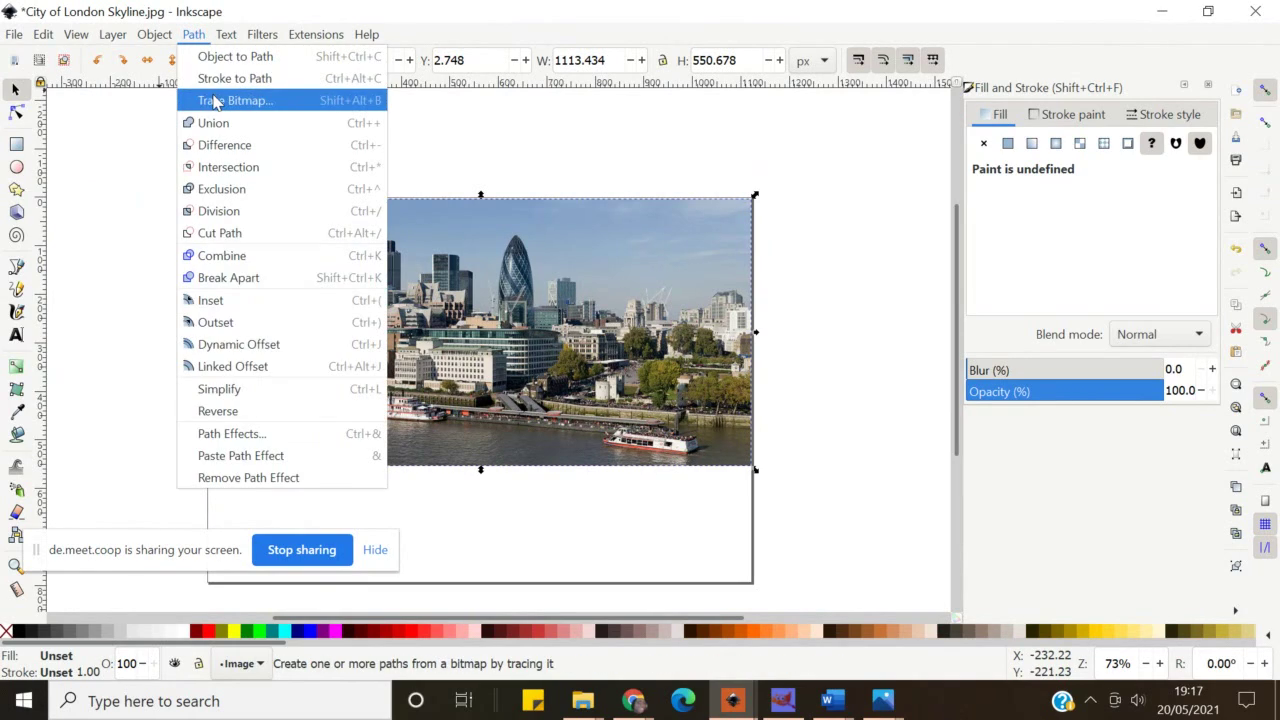 Then we go to Simone’s favourite: Path>Trace bitmap from the main
menu.
Then we go to Simone’s favourite: Path>Trace bitmap from the main
menu.
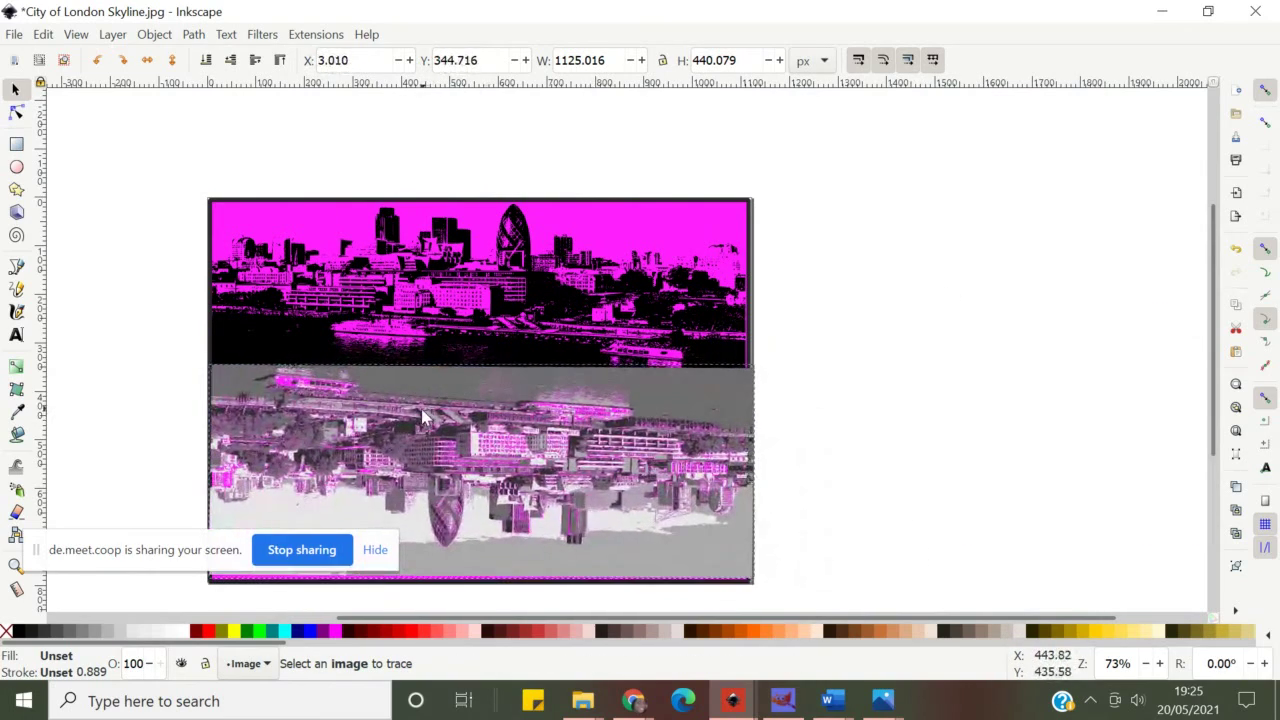
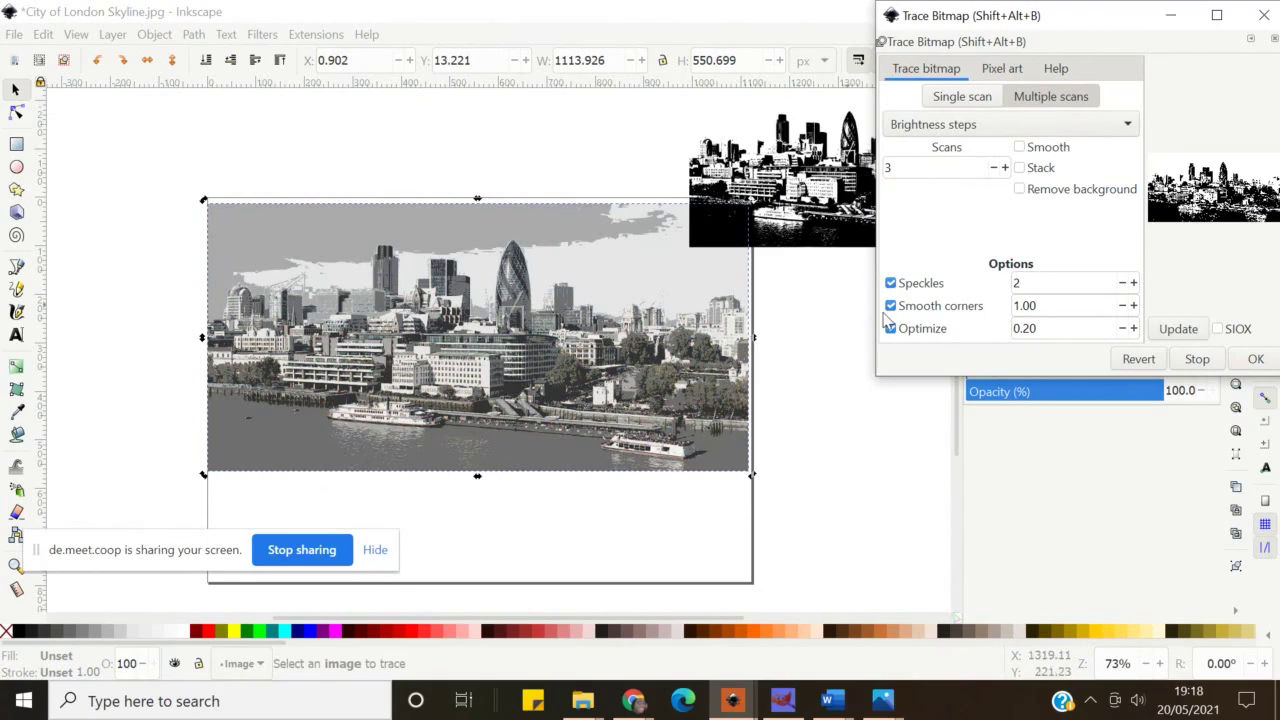 Simone created two traced images using different tracing methods – please
experiment till you find combination that works for you.
Simone created two traced images using different tracing methods – please
experiment till you find combination that works for you.
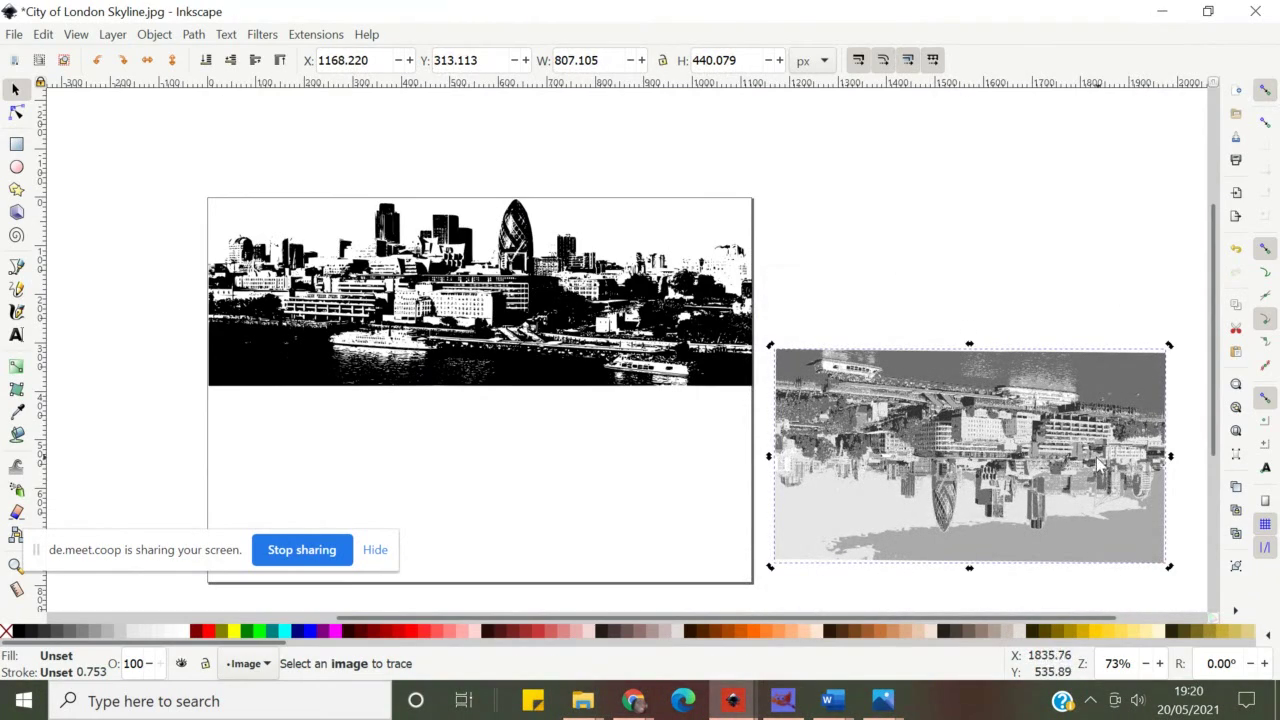 Then Simone rotated the grey traced image – this can be done by double
clicking on the image and then dragging little rounded arrows in the
corner or by clicking on flip and rotate (orange) icons in the
horizontal menu.
Then Simone rotated the grey traced image – this can be done by double
clicking on the image and then dragging little rounded arrows in the
corner or by clicking on flip and rotate (orange) icons in the
horizontal menu.
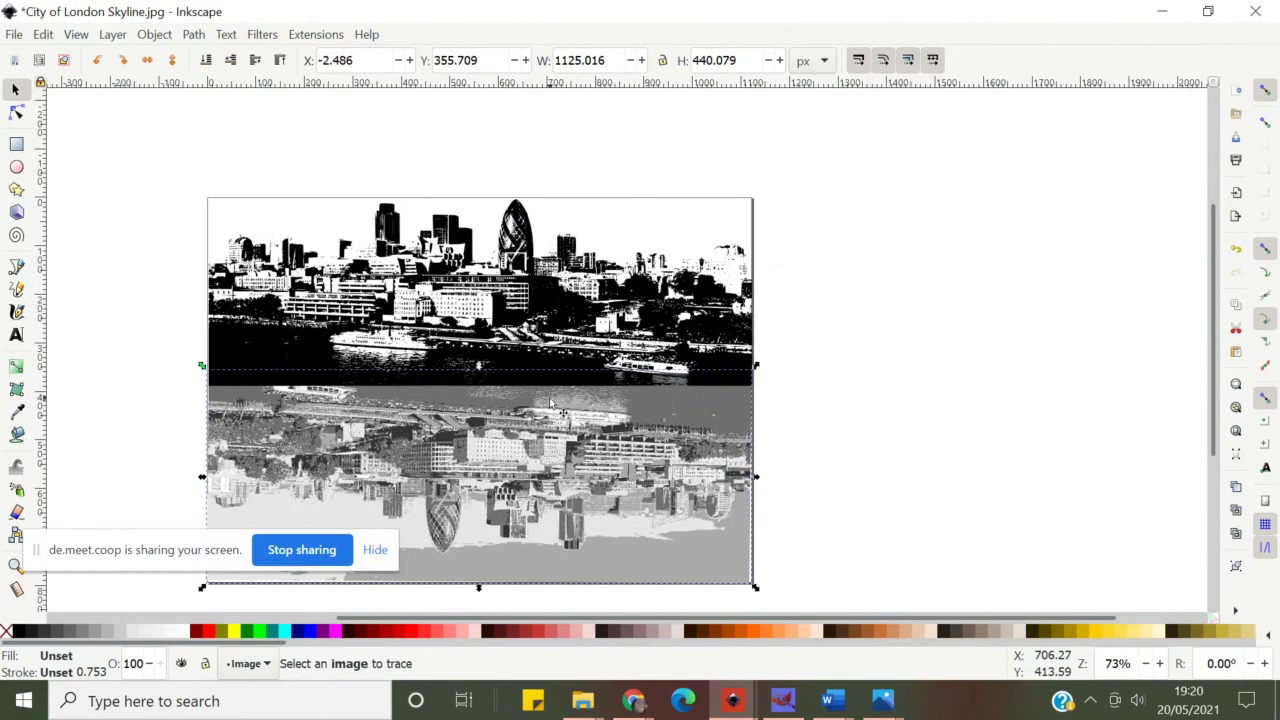 Then she positioned both images to form a ‘reflection’ along
horizontal axis.
Then she positioned both images to form a ‘reflection’ along
horizontal axis.
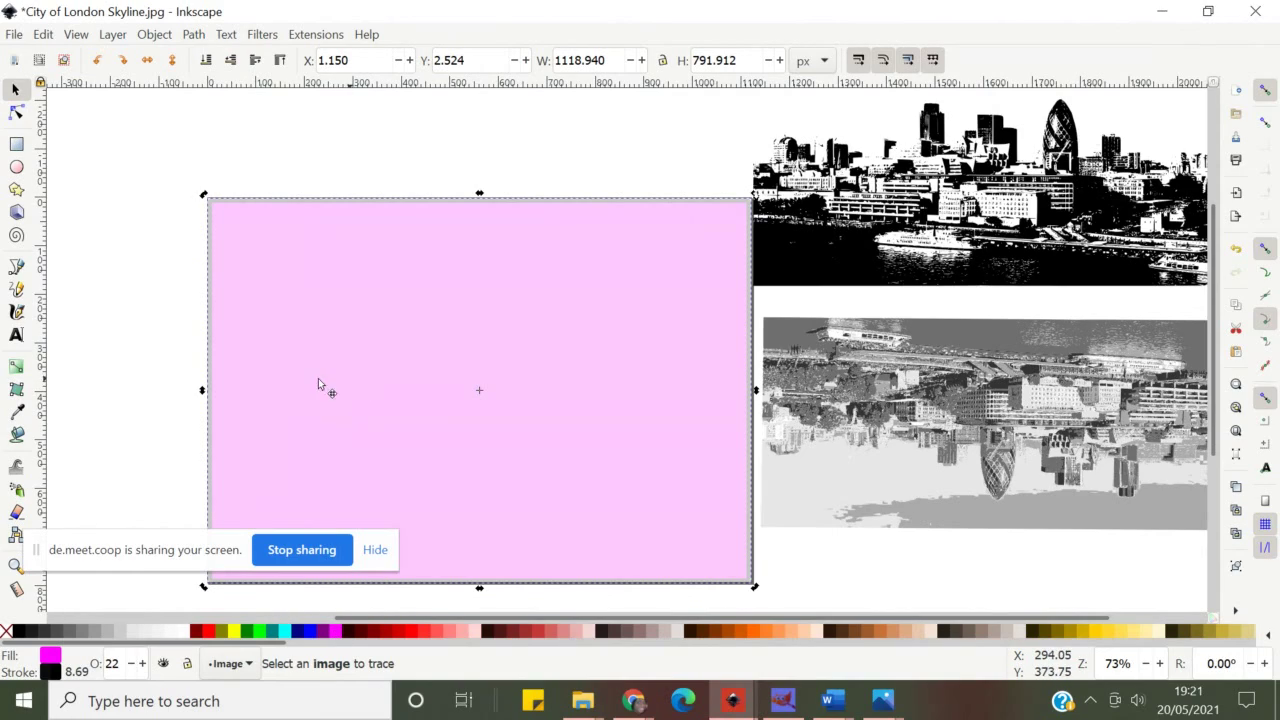 Overlaying colours, Simone here made a rectangle using Rectangle shape tool,
located on the left-hand side toolbox.
Overlaying colours, Simone here made a rectangle using Rectangle shape tool,
located on the left-hand side toolbox.
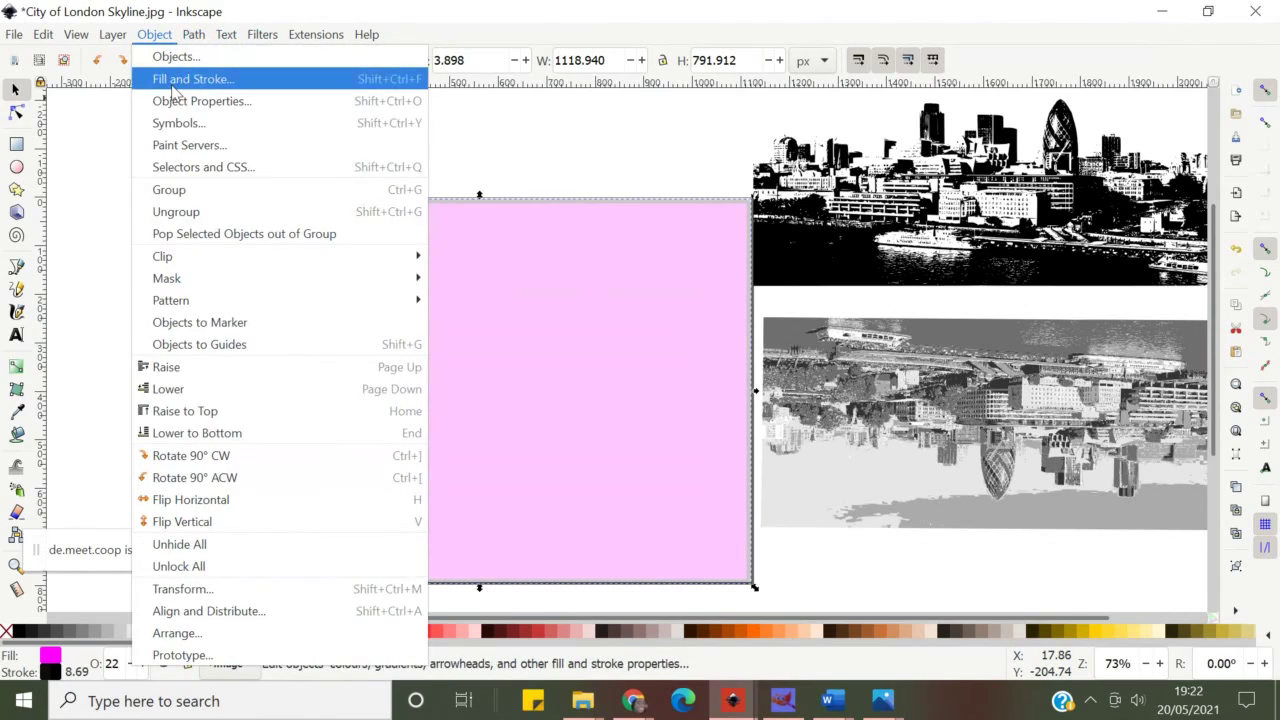 She then selected Fill and Stroke editor form Object in the main menu.
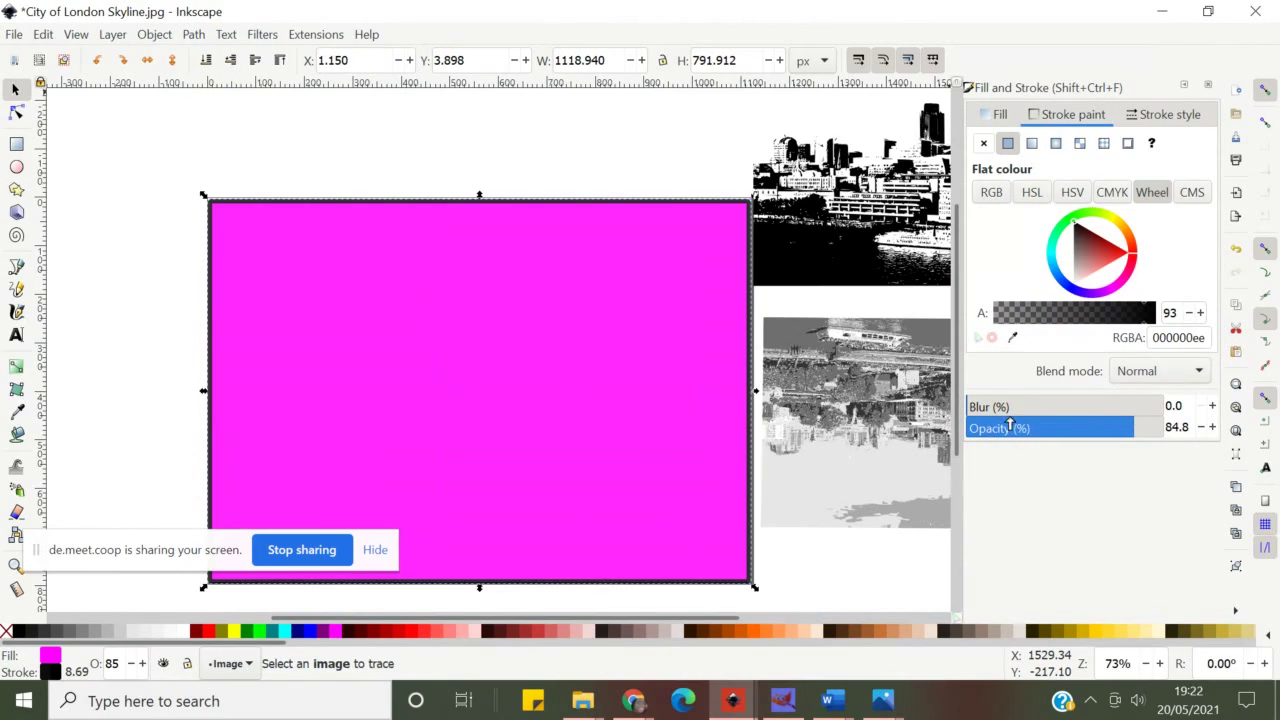 And changed colour, blur and opacity levels for Fill on the right-hand
side panel.
And changed colour, blur and opacity levels for Fill on the right-hand
side panel.
 Lastly, she then moved both traced images below the rectangle. Selecting
elements can be done by Shift+click on the elements until you select
all that needs selecting.
Lastly, she then moved both traced images below the rectangle. Selecting
elements can be done by Shift+click on the elements until you select
all that needs selecting.
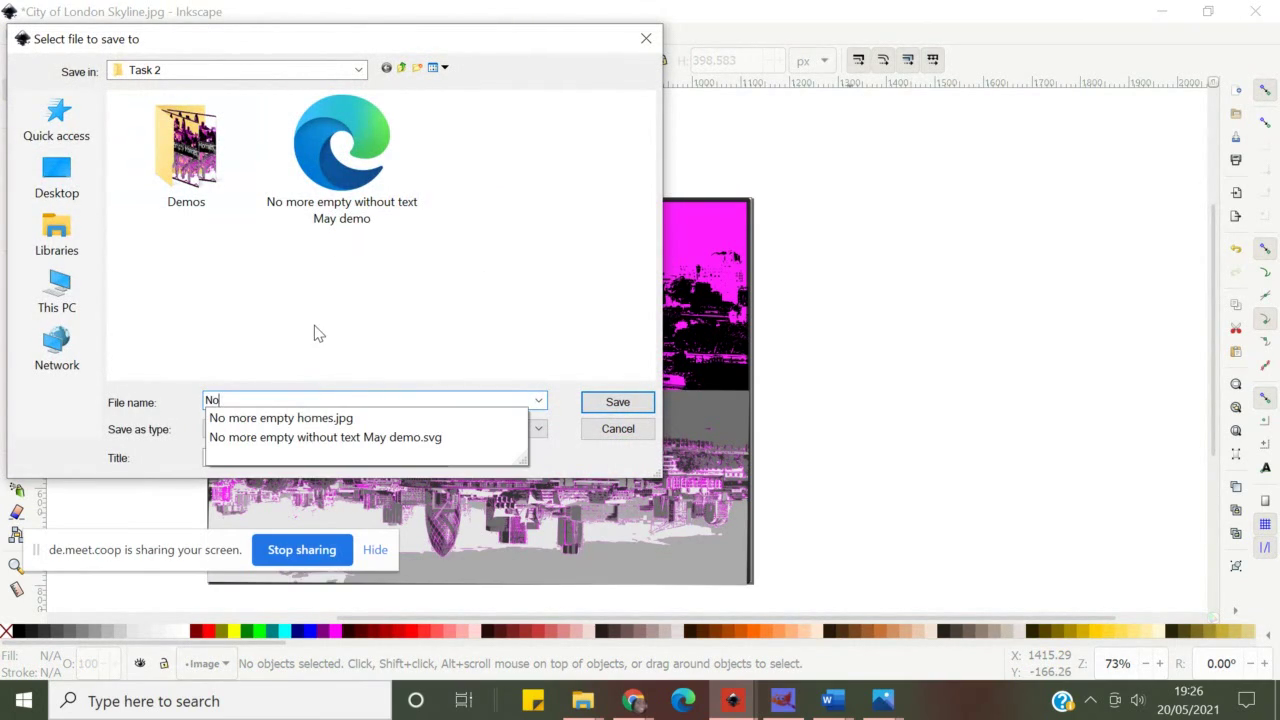 Save as an SVG file, name in a way that is easy to recognise.
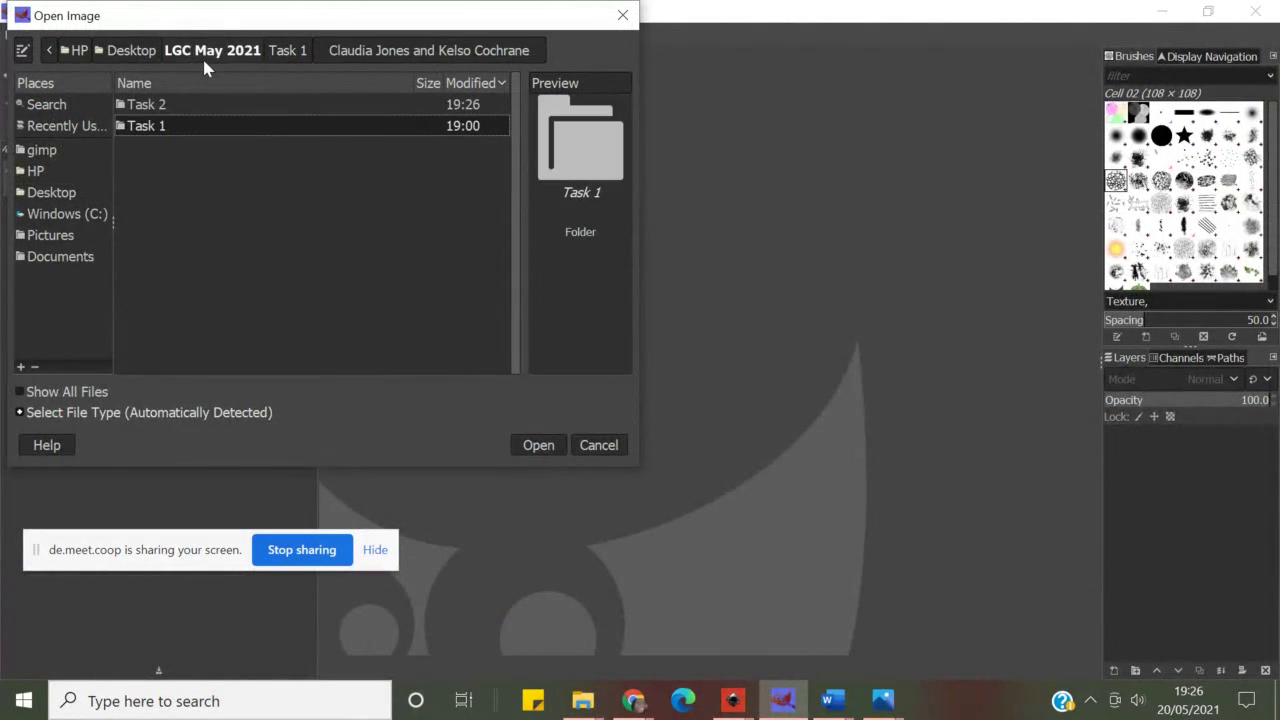 Gimp filters experimentation starts with opening the SVG file.
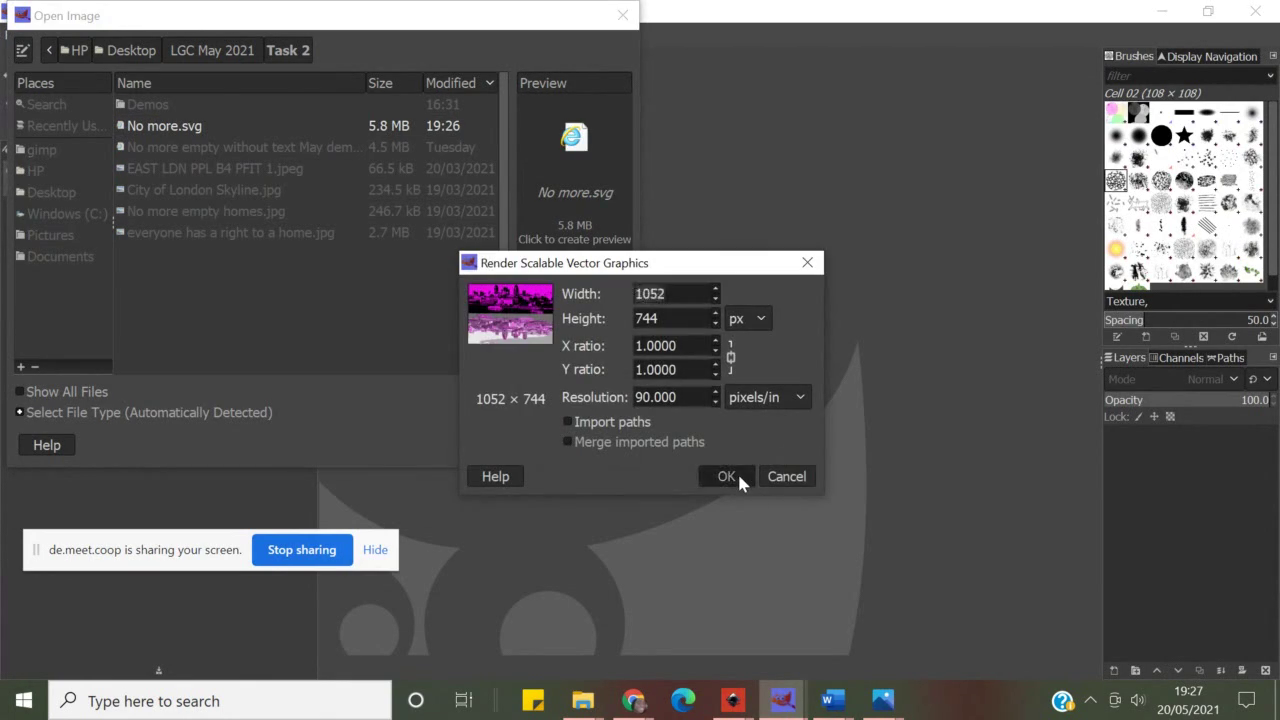 Gimp will offer to change size, but if you’re happy with your image,
just click OK.
Gimp will offer to change size, but if you’re happy with your image,
just click OK.
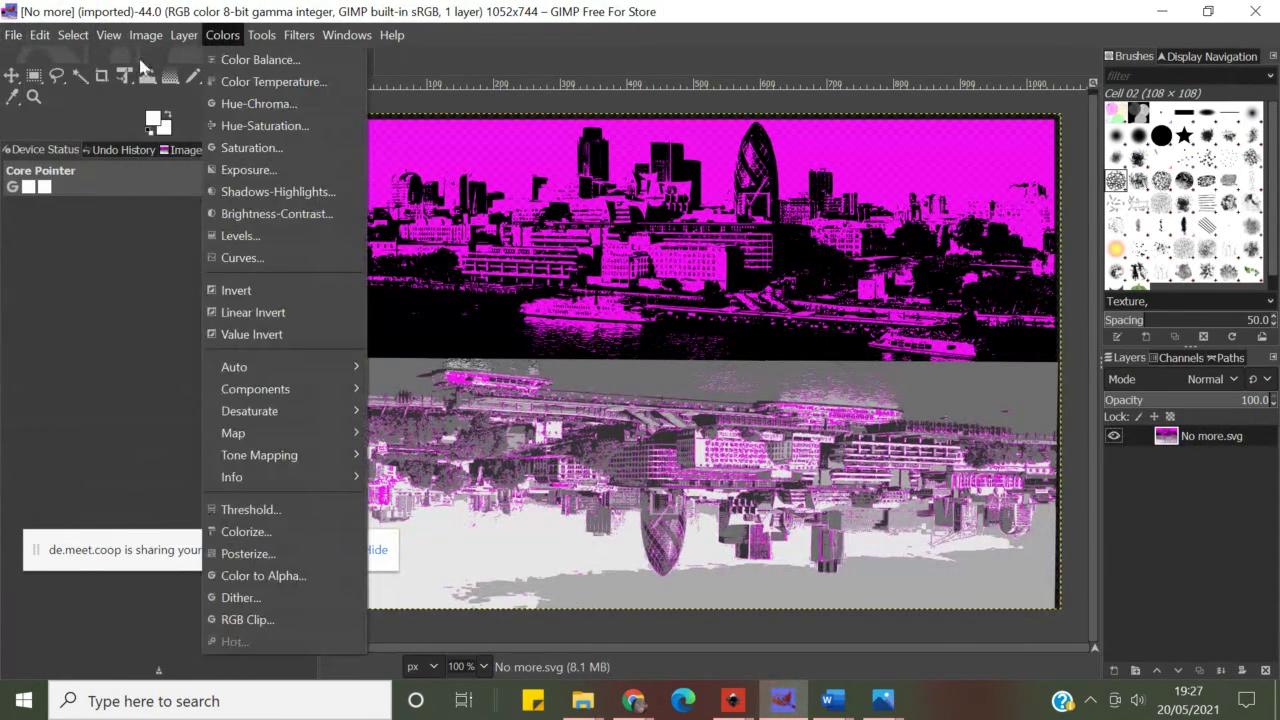 Simone here shows options for Colour management – Gimp has all the usual
options: Hue, saturation, levels, curves, brightness/contact… you
name it, they got it.
Simone here shows options for Colour management – Gimp has all the usual
options: Hue, saturation, levels, curves, brightness/contact… you
name it, they got it.
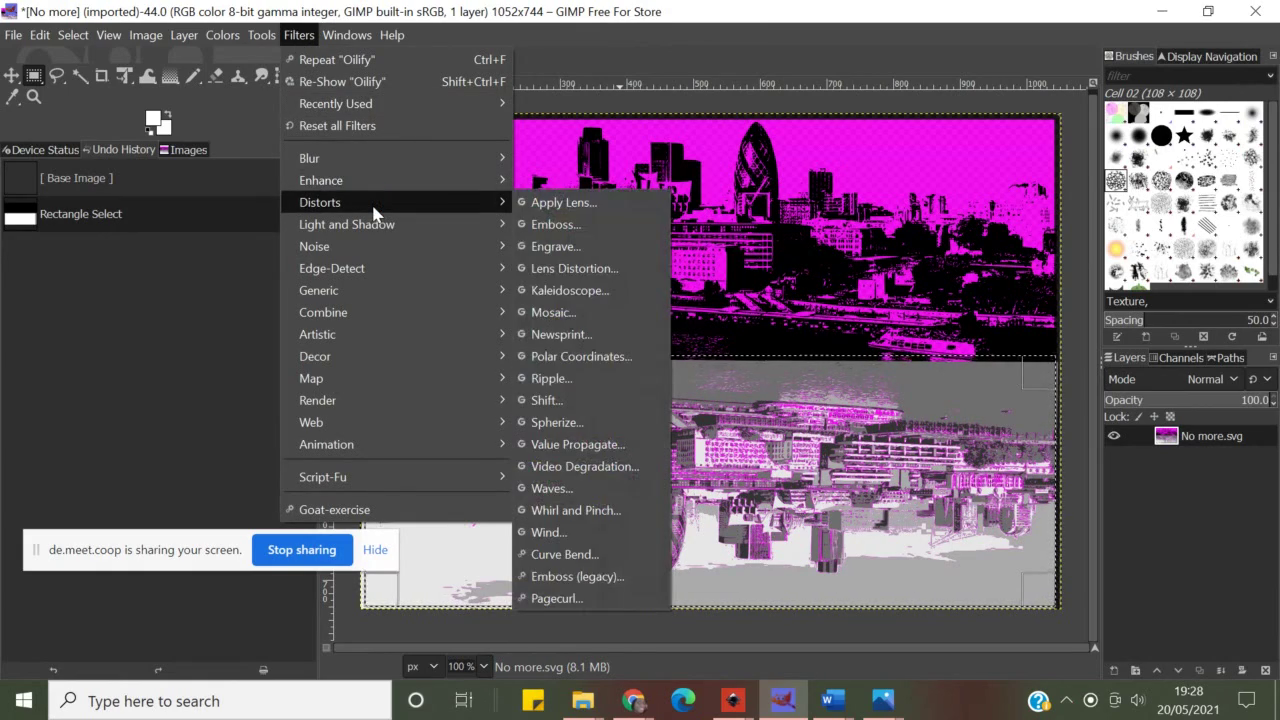 And finally we get to the Filters. Click on the main menu to see wide
range of filters available by default in Gimp, but there are lots of
others which you can find online and install yourself. Here
is a selection to get you started:
https://www.makeuseof.com/tag/install-gimp-plugins/
And finally we get to the Filters. Click on the main menu to see wide
range of filters available by default in Gimp, but there are lots of
others which you can find online and install yourself. Here
is a selection to get you started:
https://www.makeuseof.com/tag/install-gimp-plugins/
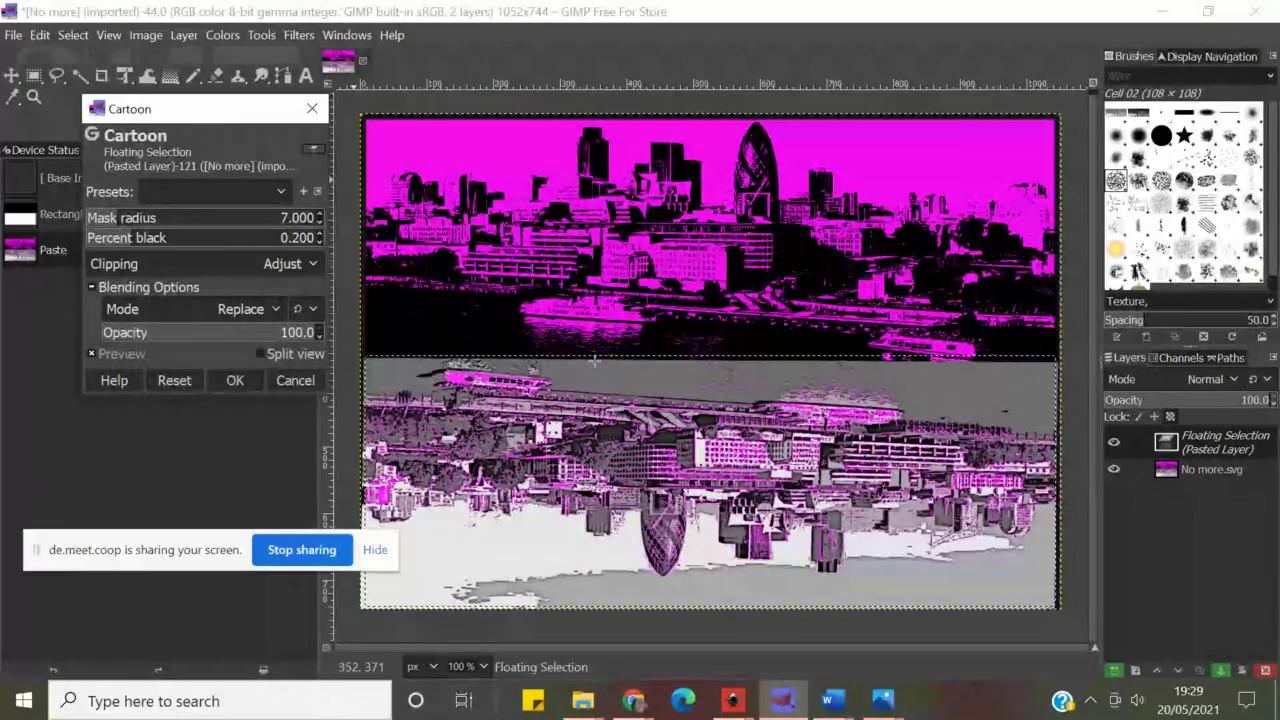 Simone tries Cartoon filter.
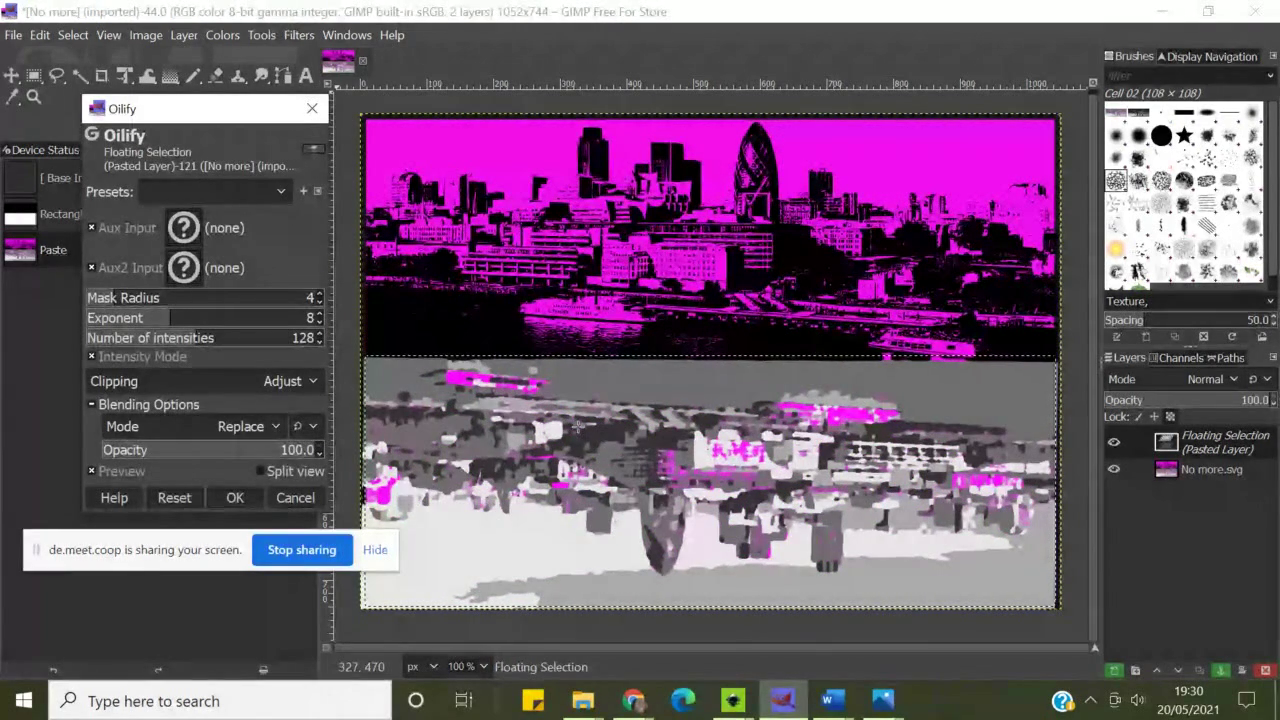 Then she tries Oilify.
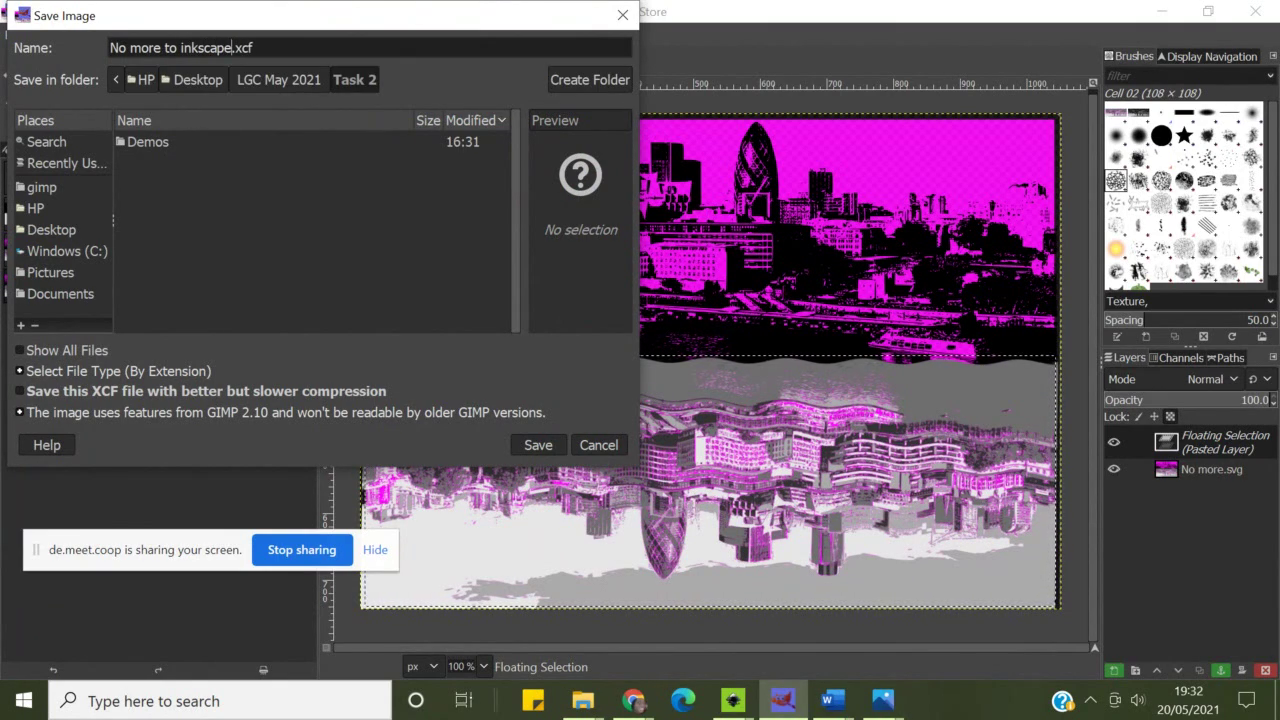 She finishes with Ripple filter and exports the file for final work in
Inkscape.
She finishes with Ripple filter and exports the file for final work in
Inkscape.
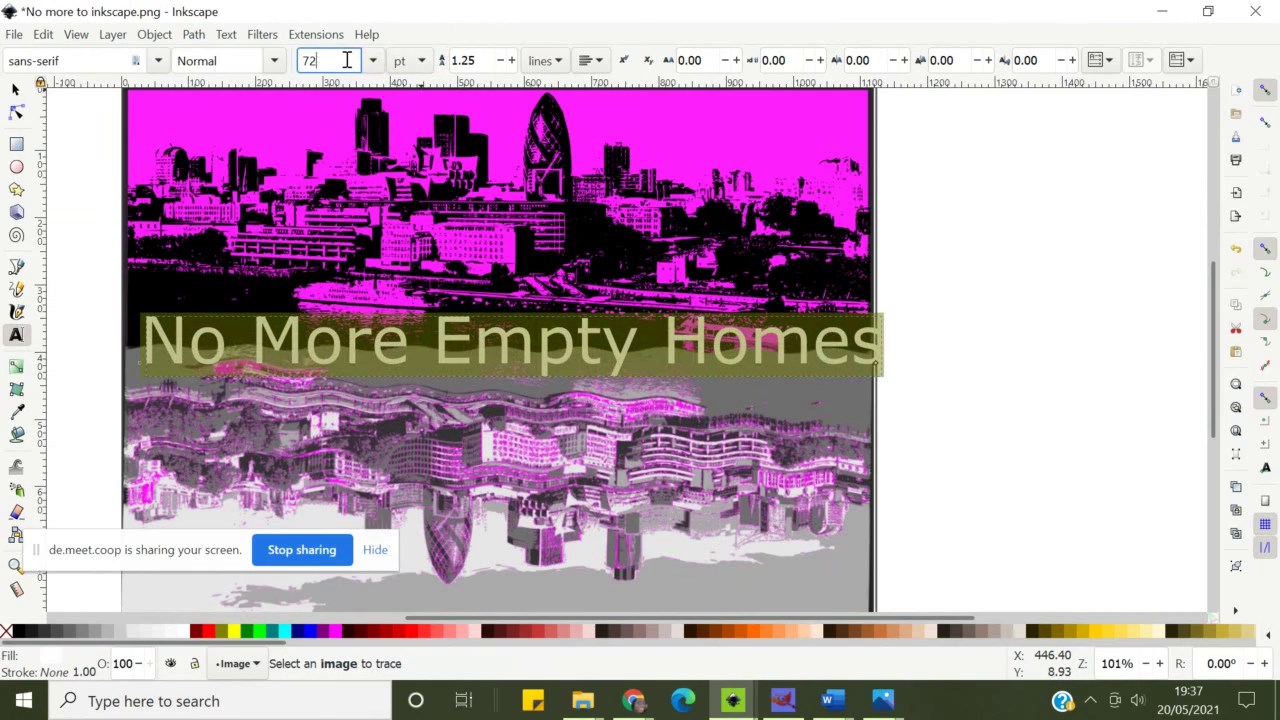 In Inkscape, Simone adds the text, slogan for her flier or poster.
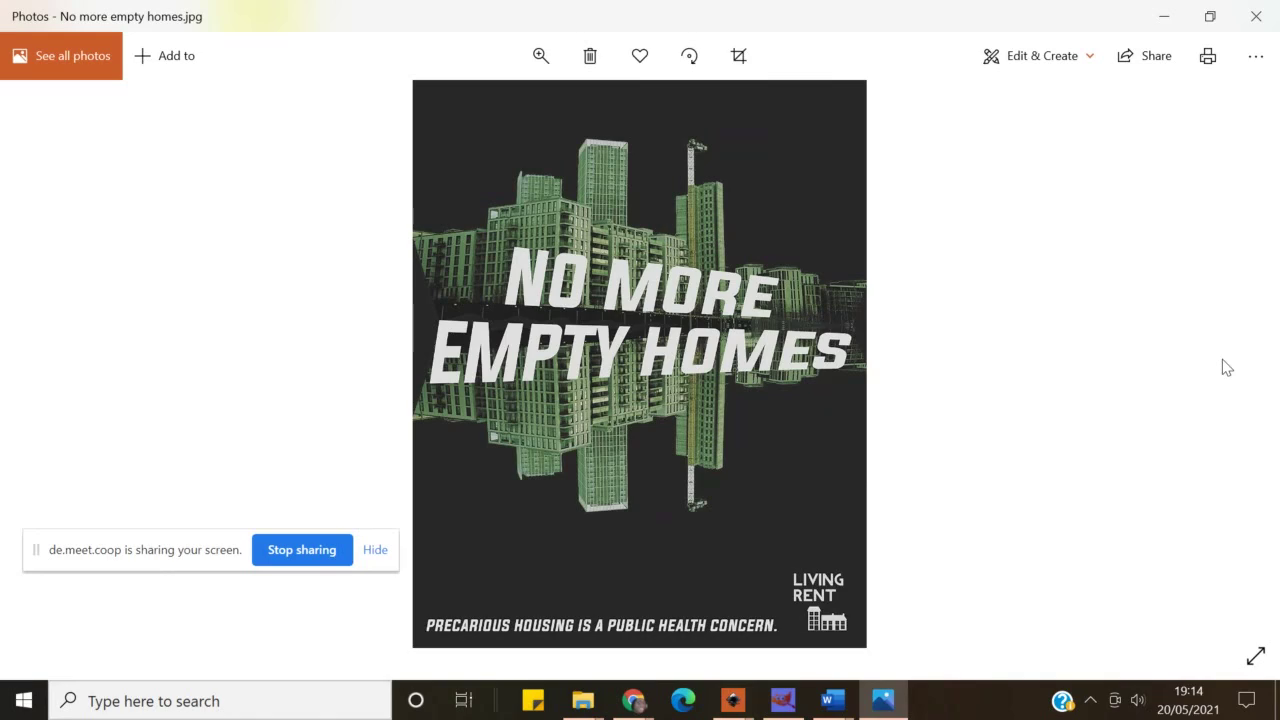
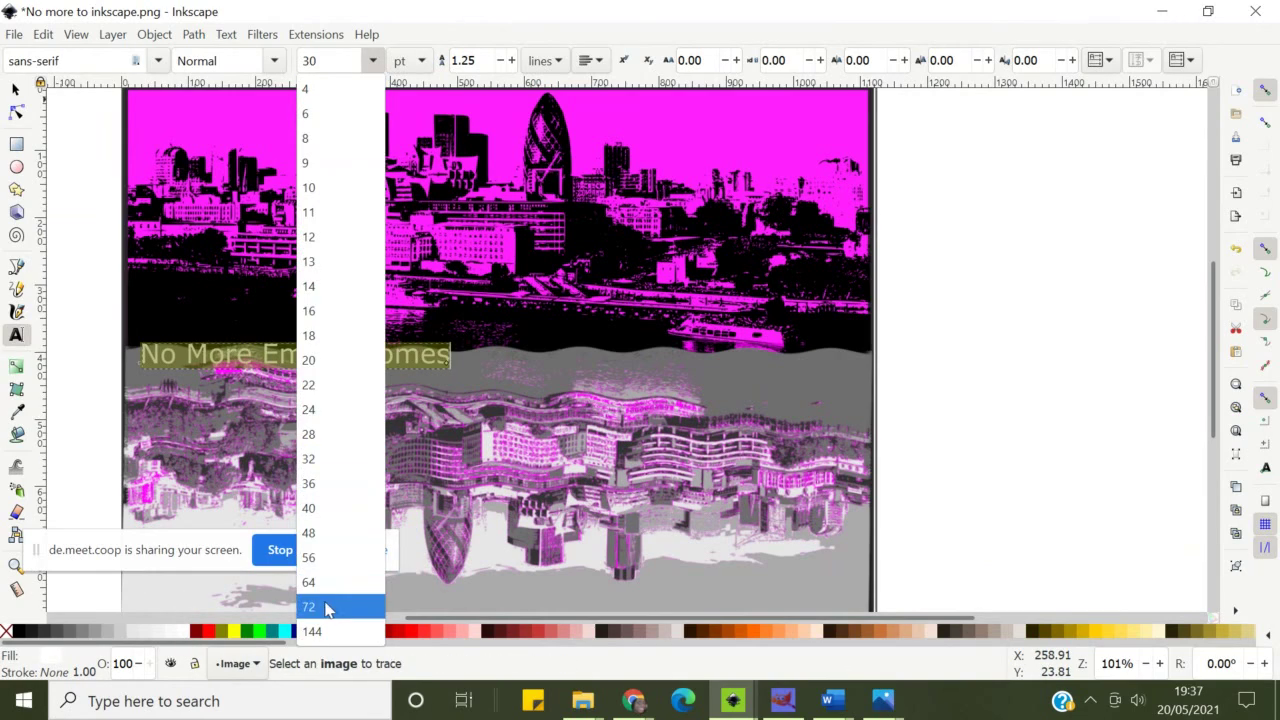 Last step, checking the font size and positioning for the best
readability. After this you save the file as an SVG or PDF or export
it as a PNG whichever suites your purpose the best. Congratulations,
you’ve made a poster or a flier using Inkscape and Gimp!
Last step, checking the font size and positioning for the best
readability. After this you save the file as an SVG or PDF or export
it as a PNG whichever suites your purpose the best. Congratulations,
you’ve made a poster or a flier using Inkscape and Gimp!