Claudia Jones poster
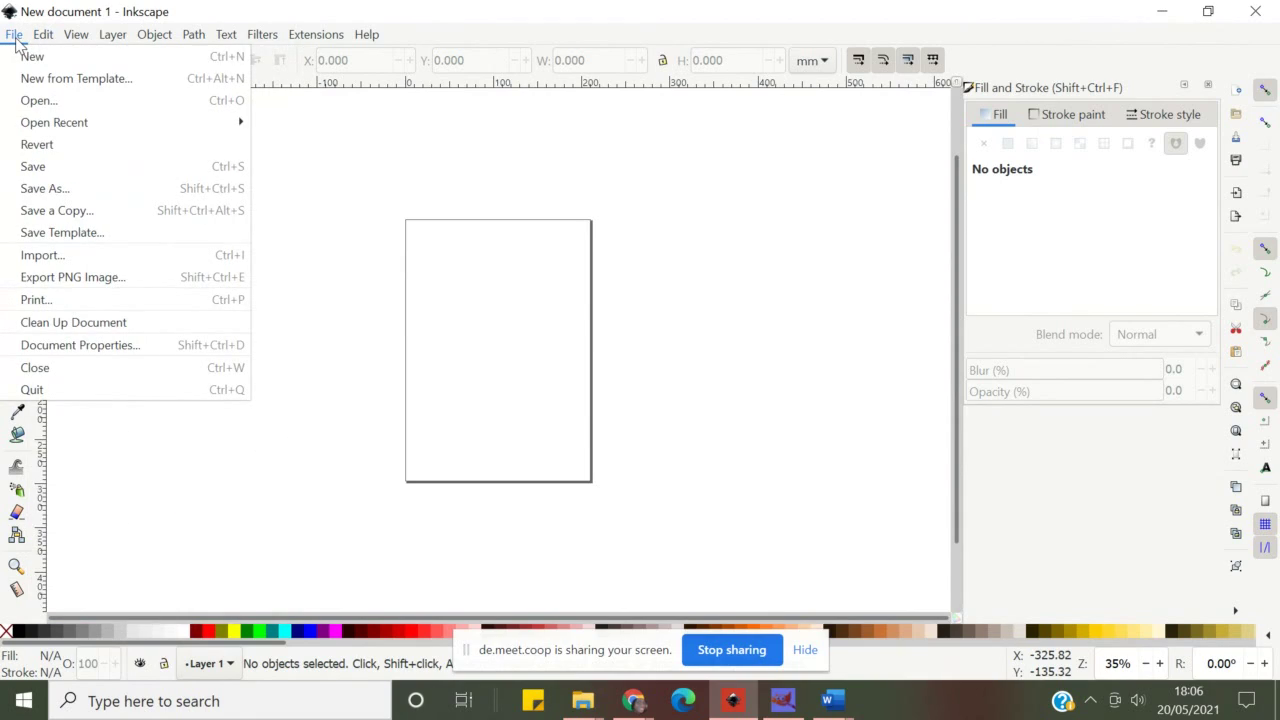 Open
file > Files to download here.
Open
file > Files to download here.
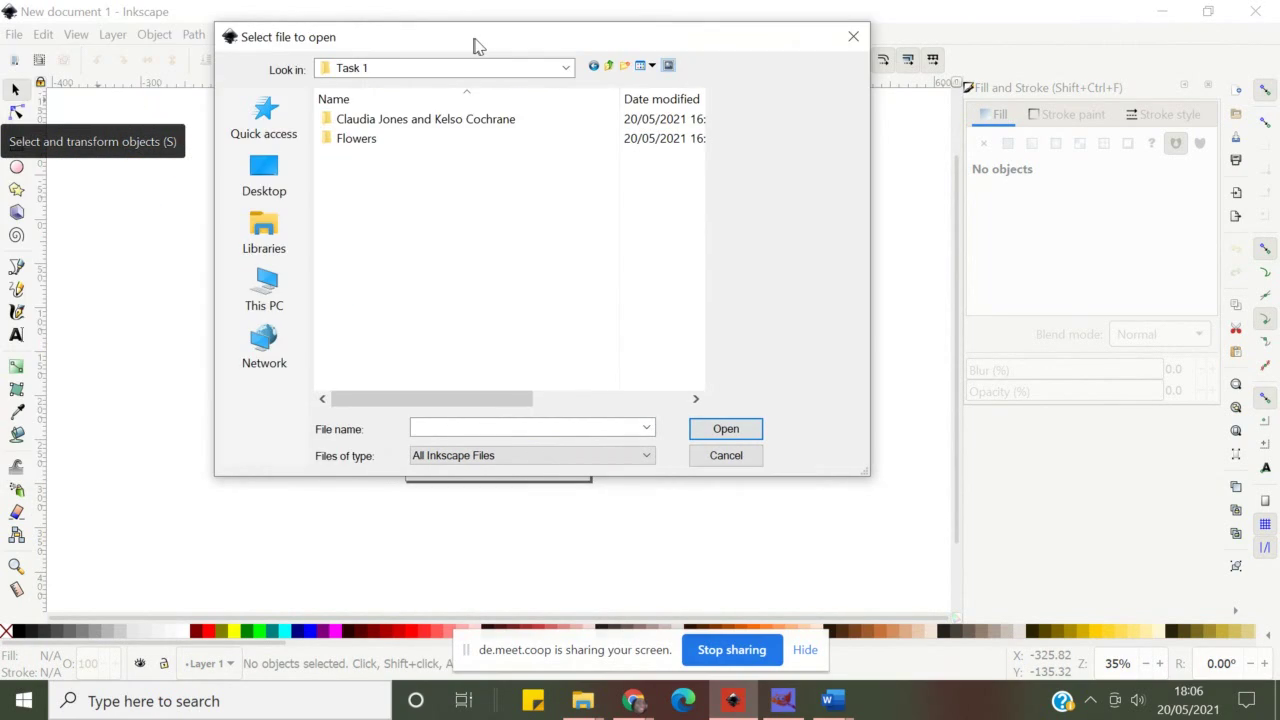 Select file to open
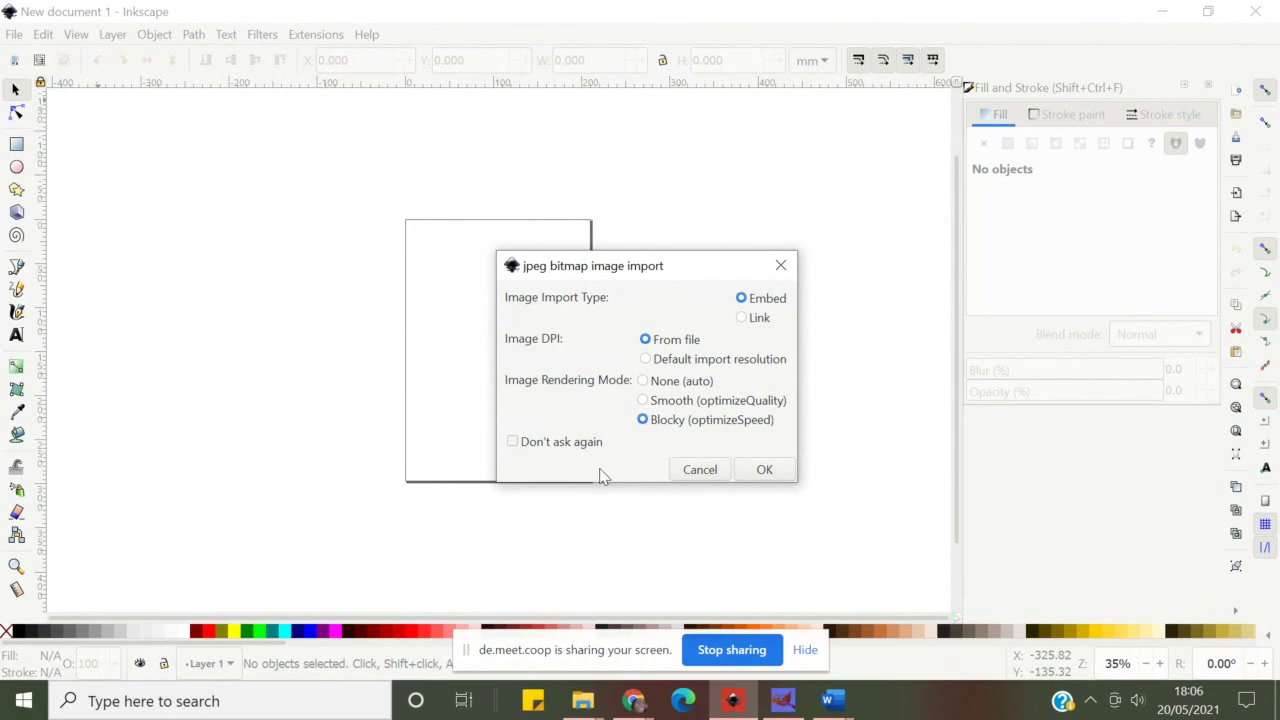 Embed image into Inkscape
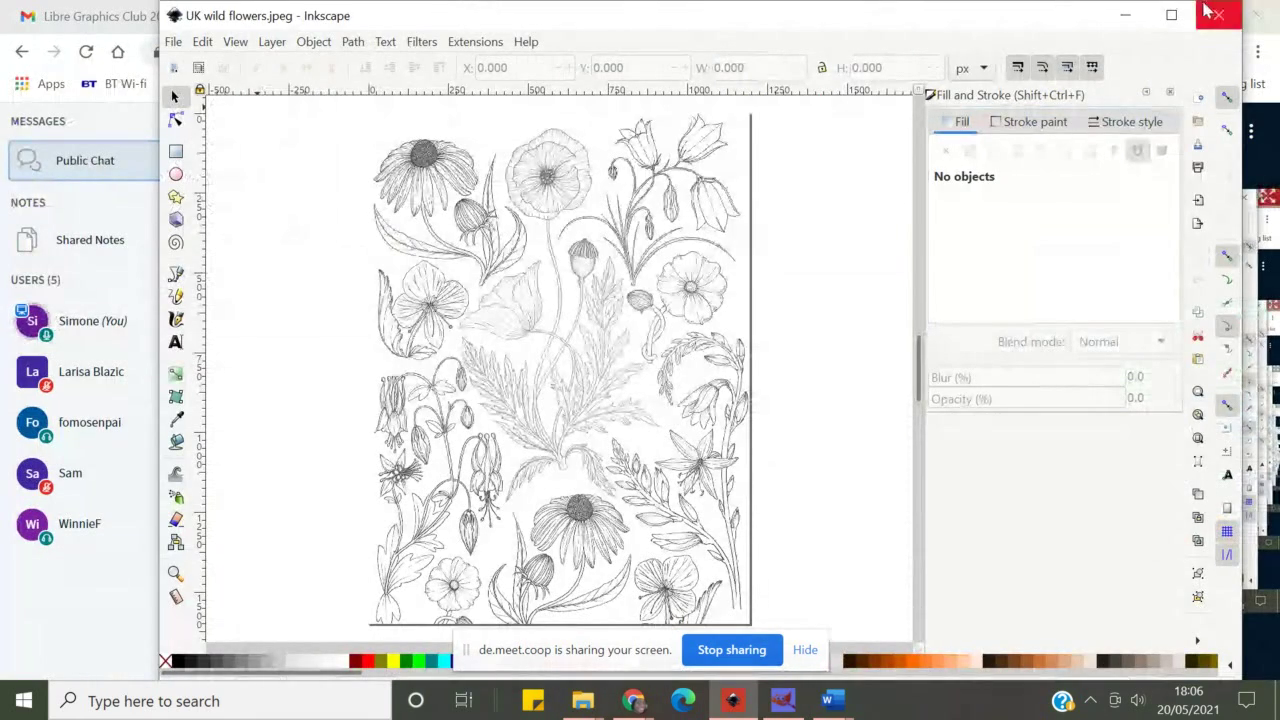 Here we are, pic is imported and automatically placed in the middle of the
page
Here we are, pic is imported and automatically placed in the middle of the
page
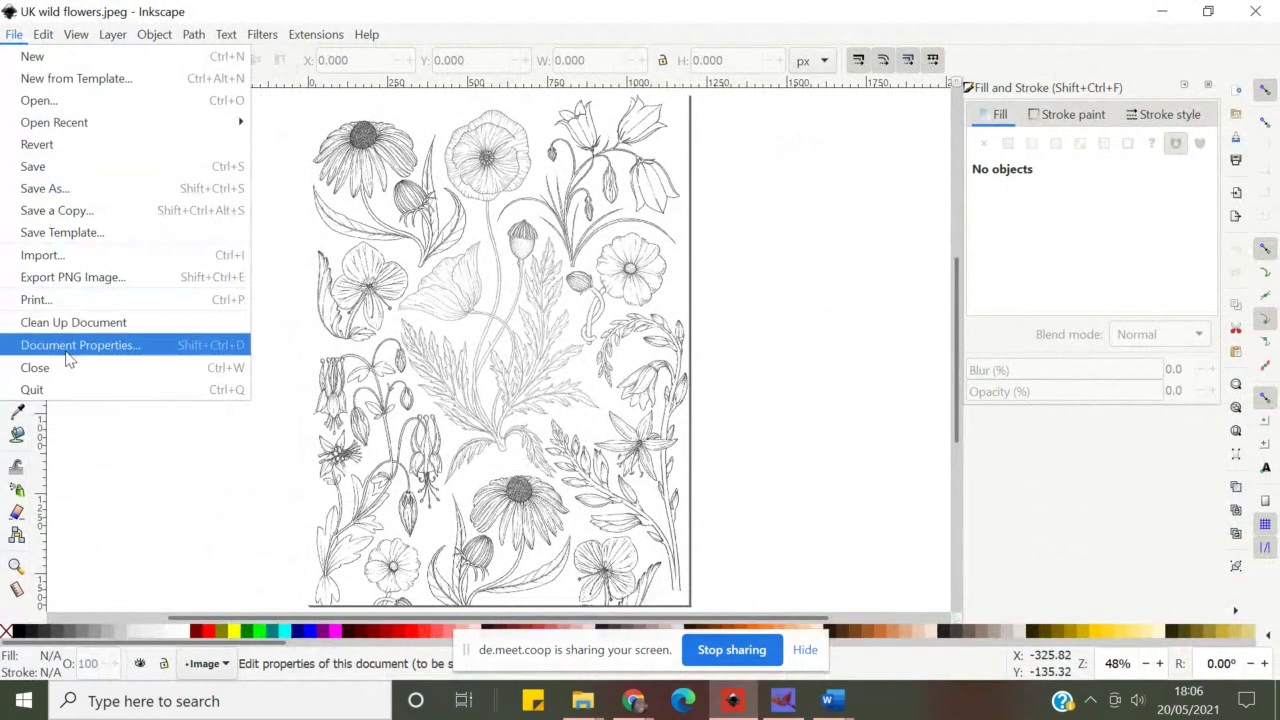 Now, to change document properties: File >Document Properties
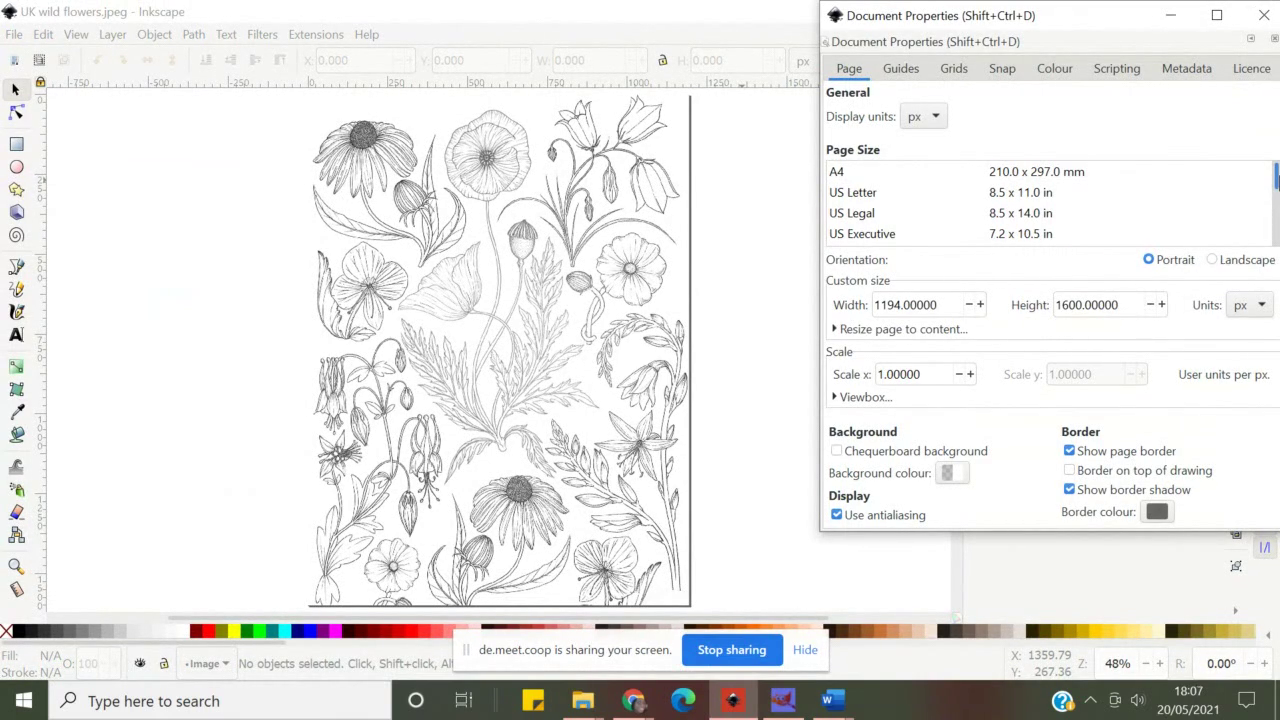 Change dimensions, background transparency, guides, grid, etc.
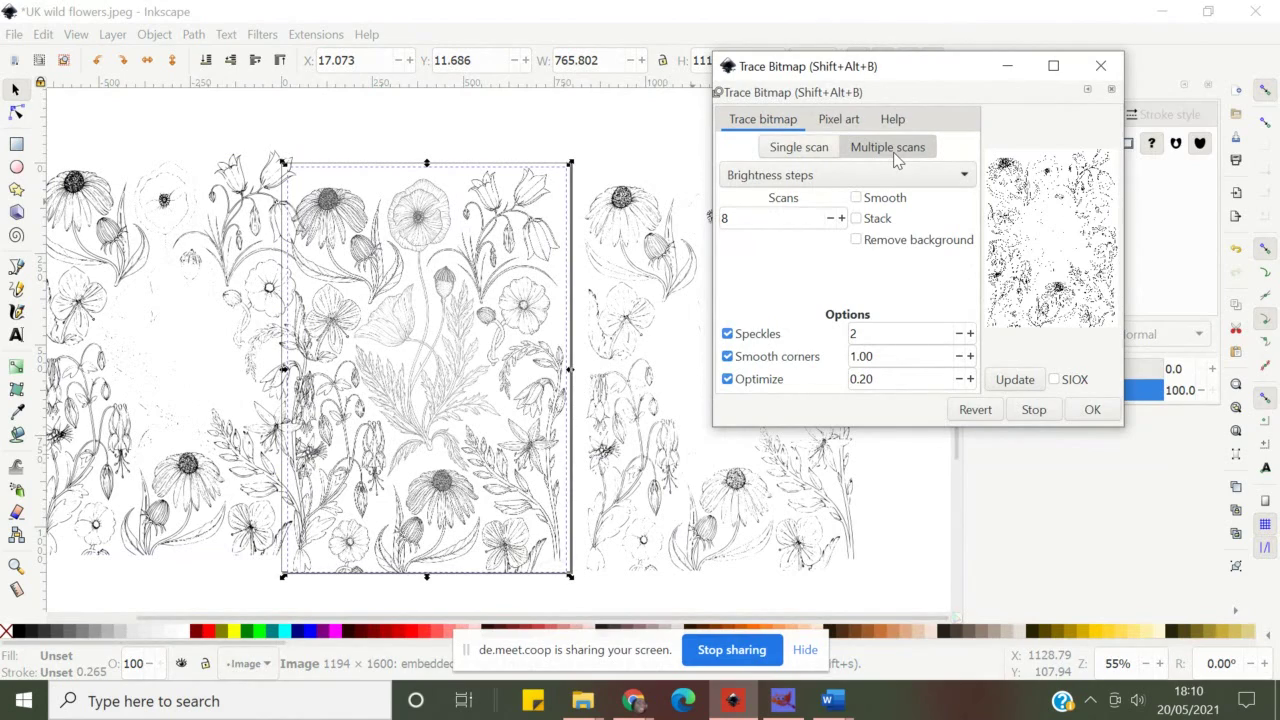
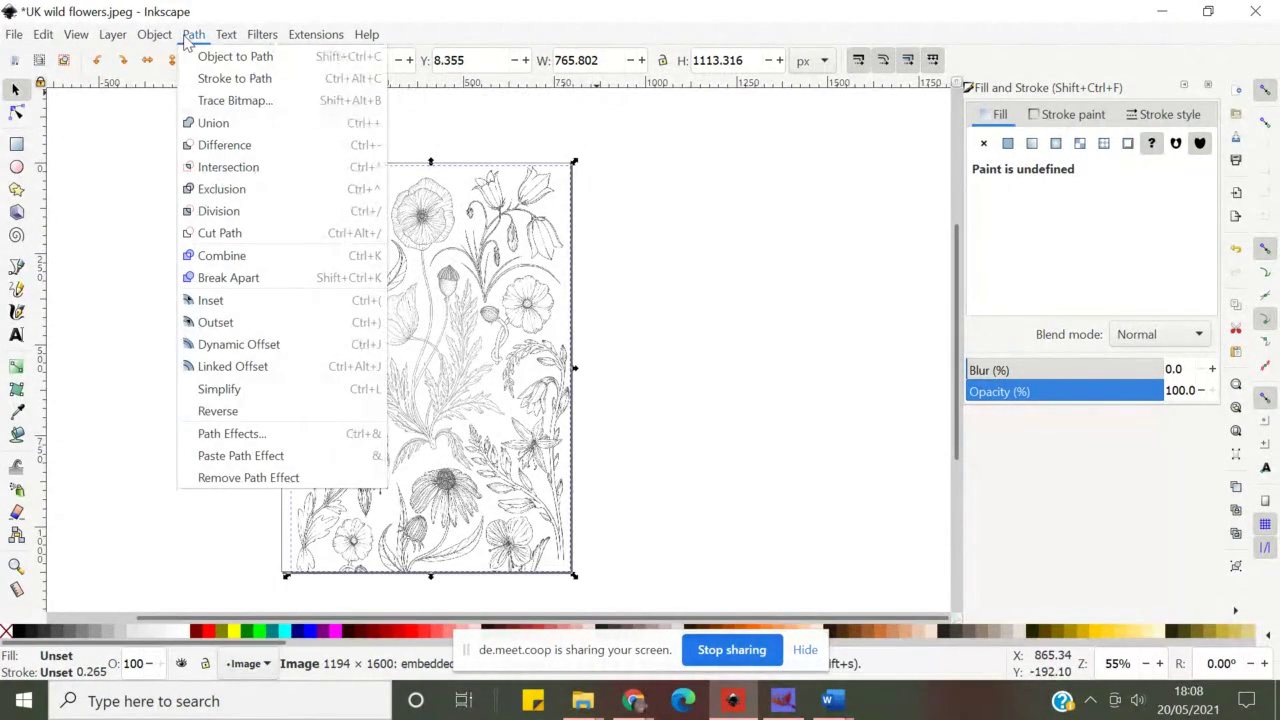 We’ll
now trace the bitmap image we imported in the previous steps. Go to
Path>Trace Bitmap in the main menu on the top of Inkscape.
We’ll
now trace the bitmap image we imported in the previous steps. Go to
Path>Trace Bitmap in the main menu on the top of Inkscape.
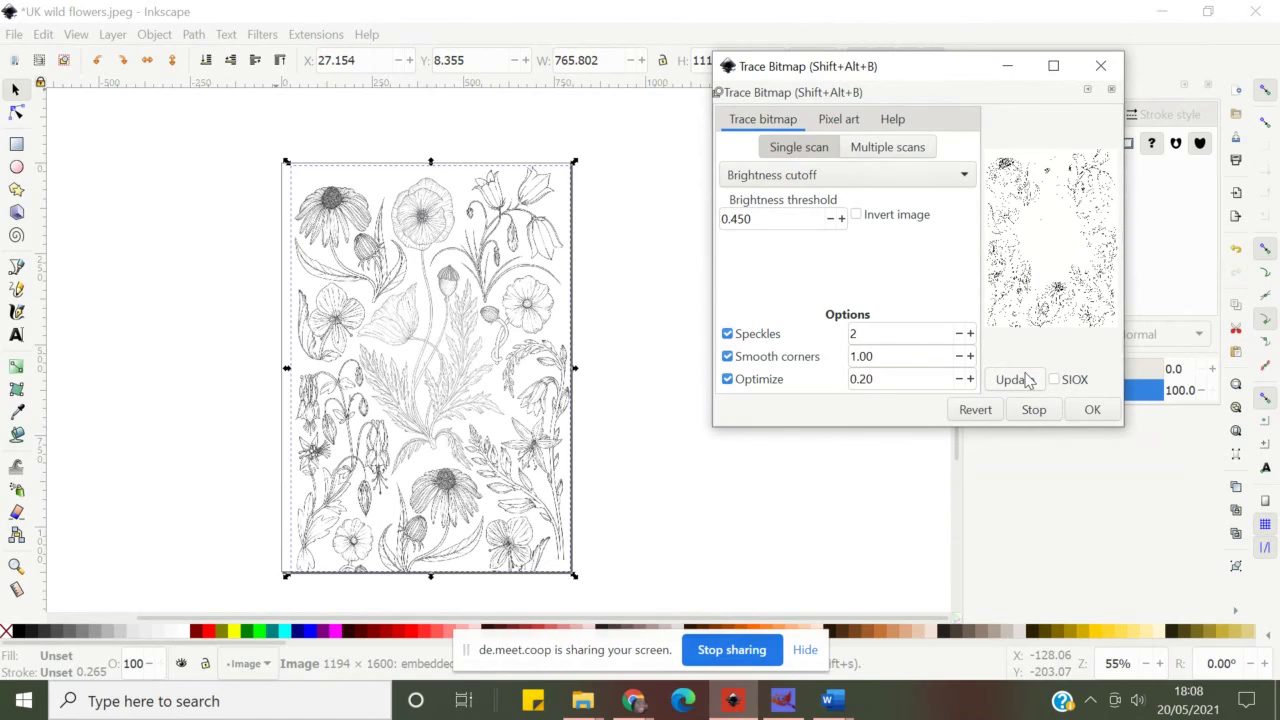 And then try as many options you like. Please note, you need to select
the bitmap image to be able to apply changes. Investigate
the pop up options and see whether single or multiple scans work
better for you, as well as Brightness threshold – just change
numbers and click on Update (Windows) or Preview (Linux) – the
interface is wee bit different between operating systems – so feel
free to click around until you work out which is which.
And then try as many options you like. Please note, you need to select
the bitmap image to be able to apply changes. Investigate
the pop up options and see whether single or multiple scans work
better for you, as well as Brightness threshold – just change
numbers and click on Update (Windows) or Preview (Linux) – the
interface is wee bit different between operating systems – so feel
free to click around until you work out which is which.
 Here we are, Simone played around with a few different options and had a
wee think about which traced image works best for her design.
Here we are, Simone played around with a few different options and had a
wee think about which traced image works best for her design.
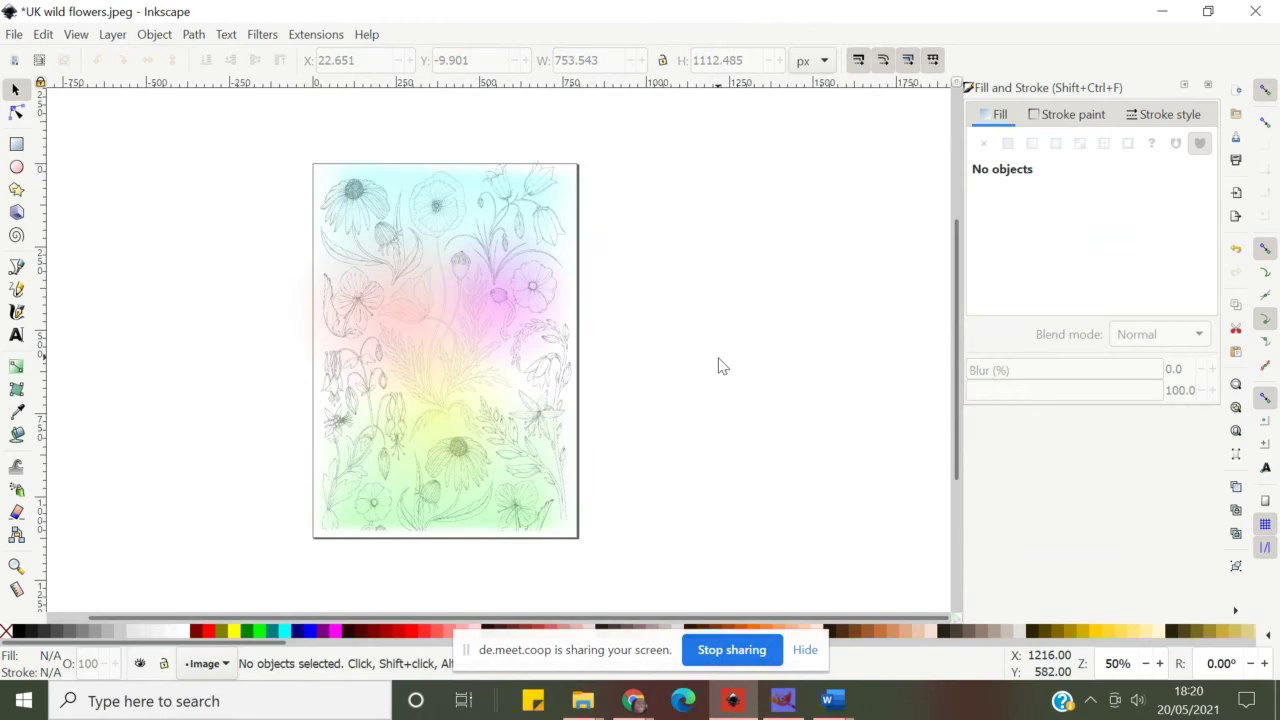
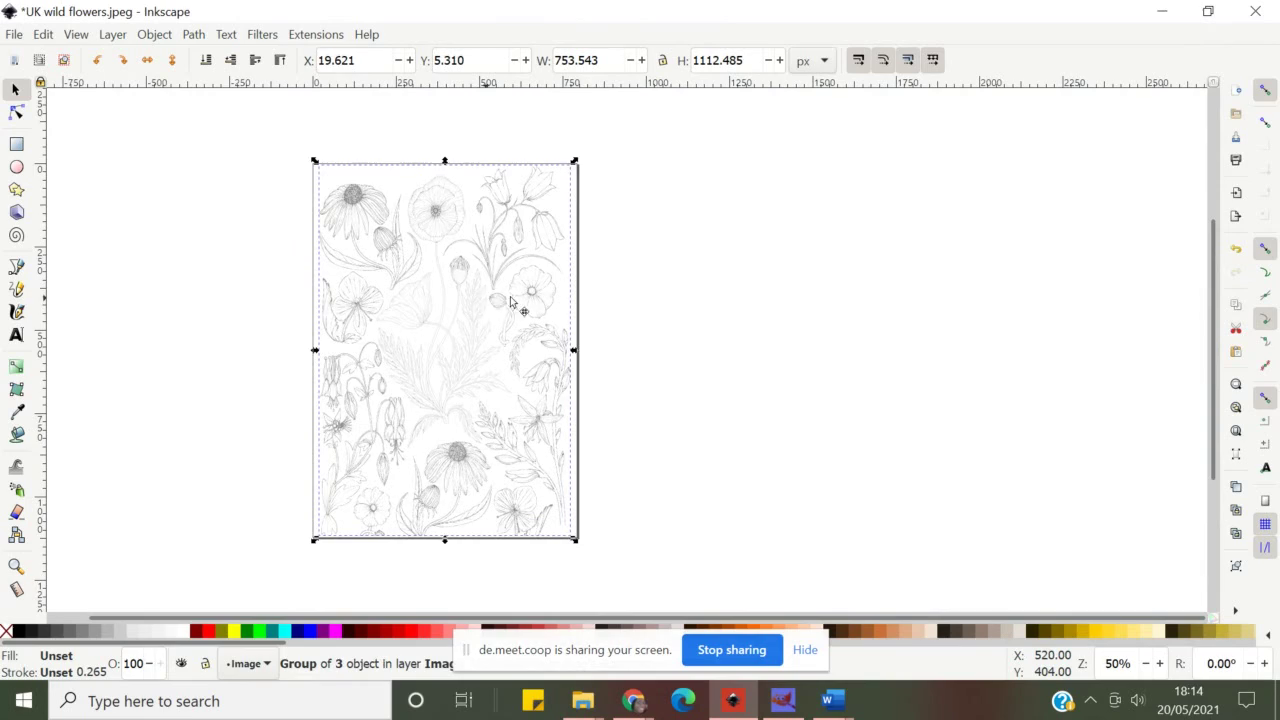 Et viola, here’s the one which passed Simone's cut. On to more
background work and preparation if the image which will soon be
edited in Gimp.
Et viola, here’s the one which passed Simone's cut. On to more
background work and preparation if the image which will soon be
edited in Gimp.
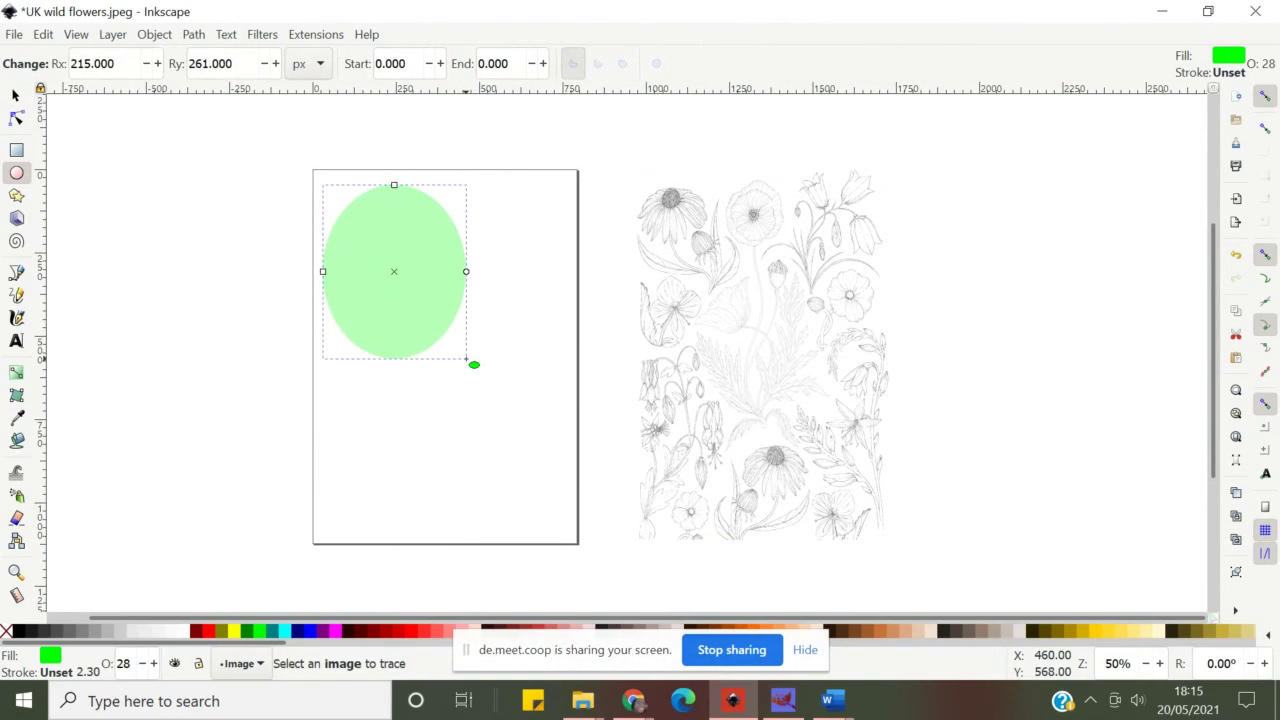 Simone
chose to experiment
with ellipsis tool. The tools is located on the left-hand side
toolbox – just hover over the icons and description will show up.
Simone
chose to experiment
with ellipsis tool. The tools is located on the left-hand side
toolbox – just hover over the icons and description will show up.
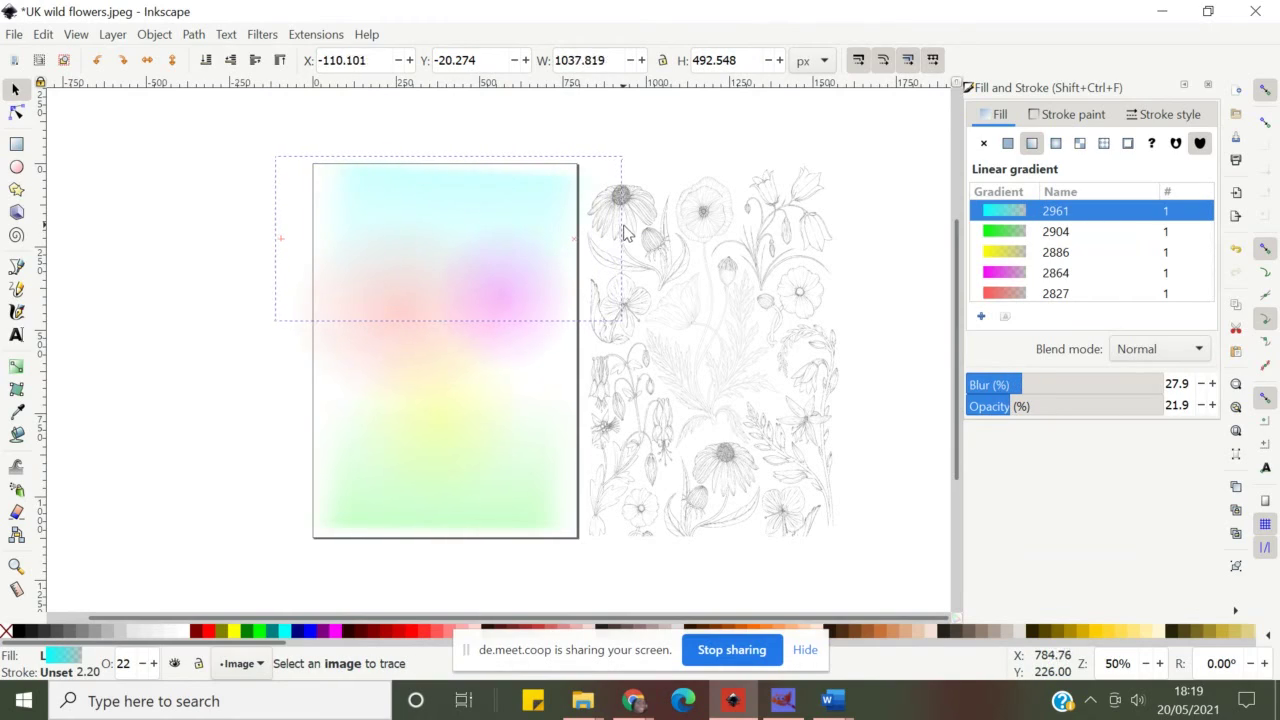 Simone
started with ellipsis and then moved to add a couple rectangles too.
She then experimented with colour through Fill & Stroke panel.
This is accessed by right clicking on the bottom-left corner of
Inkscape, then chose either edit Fill, or edit Stroke – in either
case the panel will open on the right-hand side with which you can
change colour to block, gradient, pattern, and change style and width
of strokes of any object you make.
Simone
started with ellipsis and then moved to add a couple rectangles too.
She then experimented with colour through Fill & Stroke panel.
This is accessed by right clicking on the bottom-left corner of
Inkscape, then chose either edit Fill, or edit Stroke – in either
case the panel will open on the right-hand side with which you can
change colour to block, gradient, pattern, and change style and width
of strokes of any object you make.
 In
this case Simone used gradient, blur and opacity to create
this effect in colour and when she was happy with the outcome she
moved the traced image on top of the colourful background.
In
this case Simone used gradient, blur and opacity to create
this effect in colour and when she was happy with the outcome she
moved the traced image on top of the colourful background.
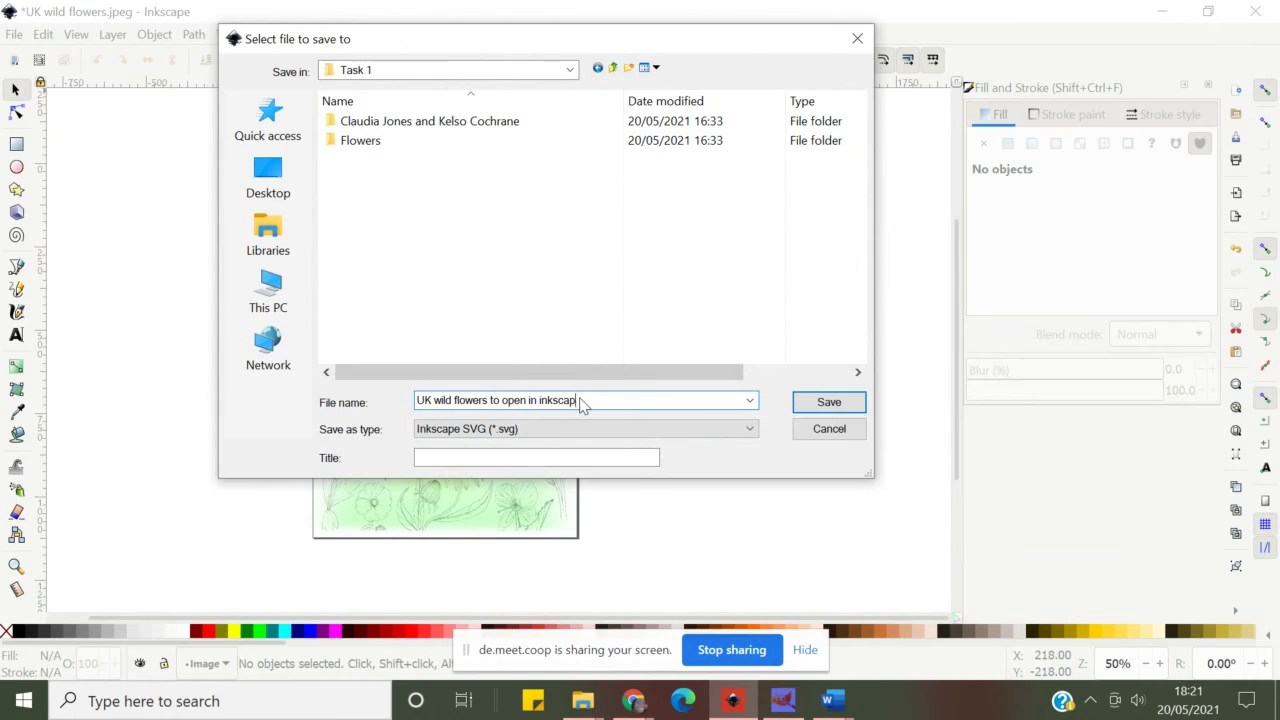 She
saved
the finished file > SVG is native Inkscape file, a vector graphics
suitable for all things print, but also useful for web-based
publishing.
She
saved
the finished file > SVG is native Inkscape file, a vector graphics
suitable for all things print, but also useful for web-based
publishing.
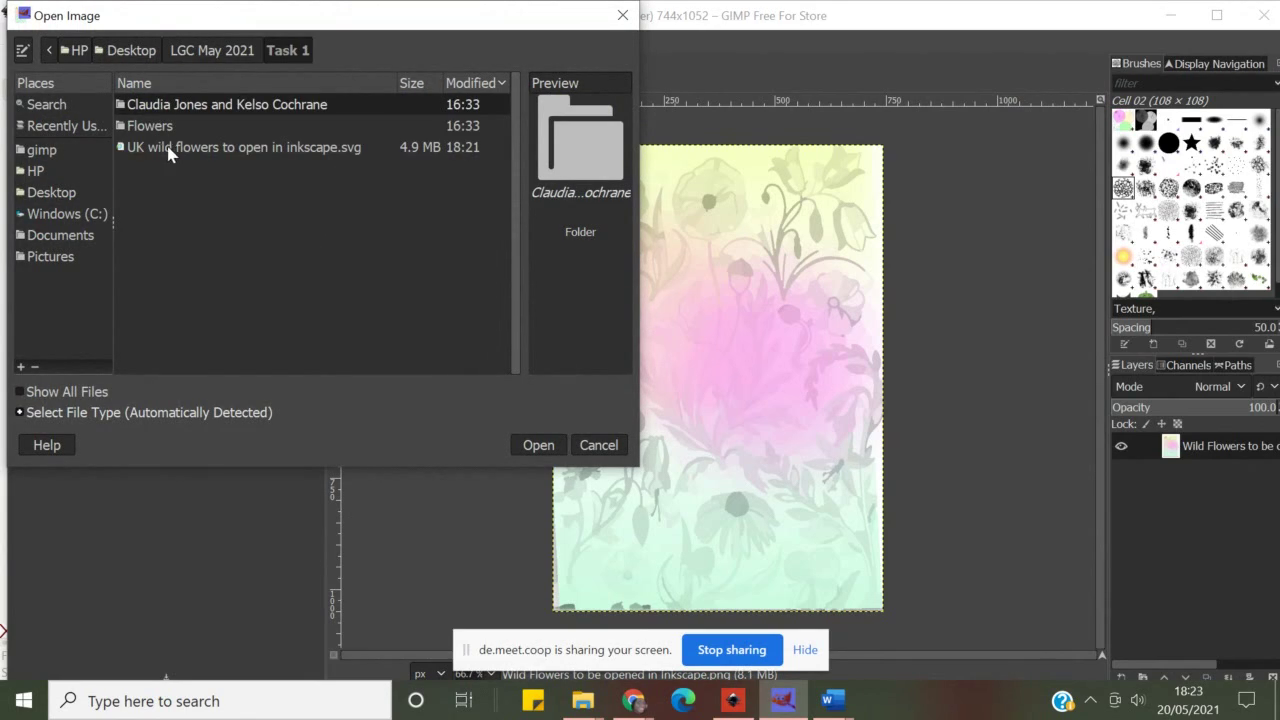 Now we move to Gimp.
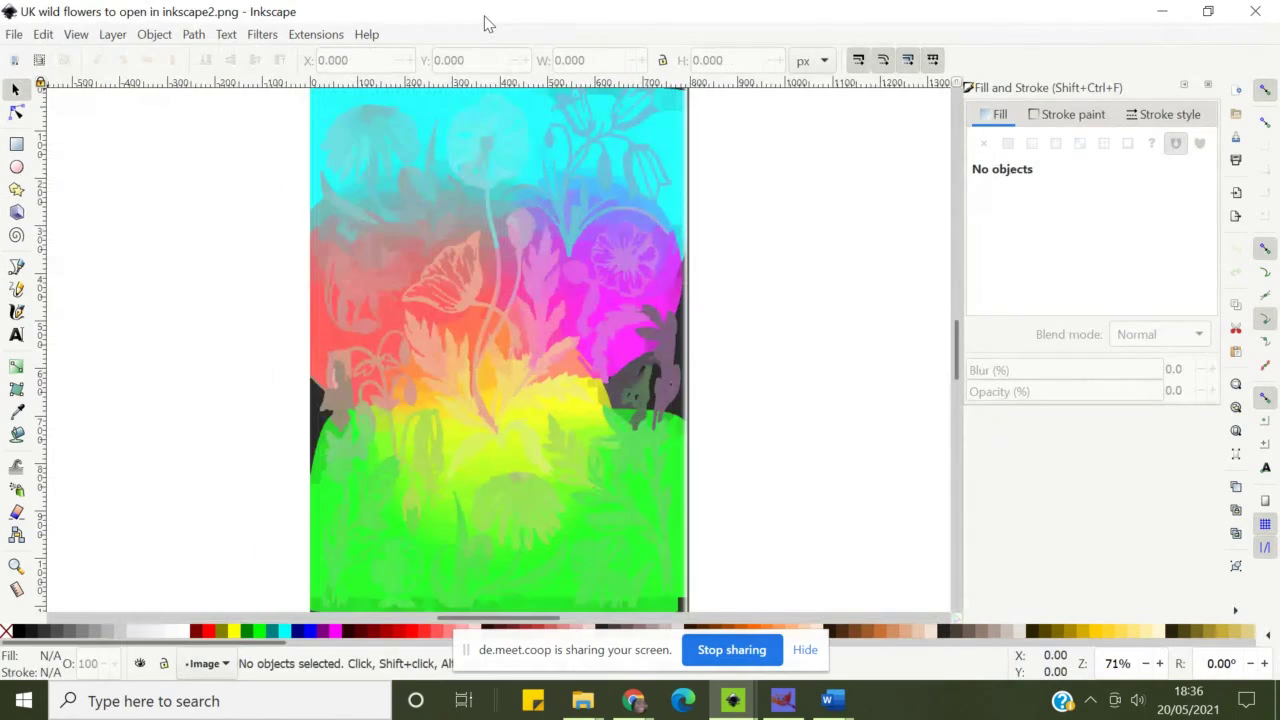
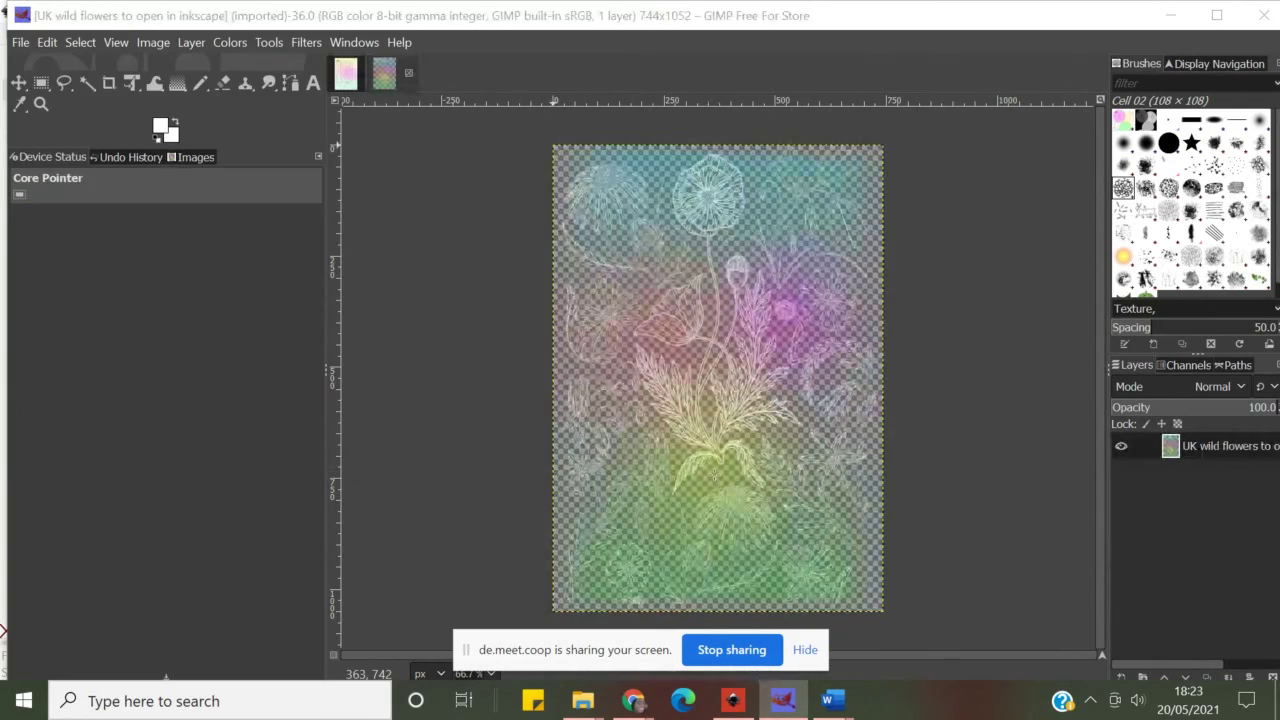 Inkscape by default has transparent background – unless you’ve modified it
through document properties. This is SVG file opened in Gimp.
Inkscape by default has transparent background – unless you’ve modified it
through document properties. This is SVG file opened in Gimp.
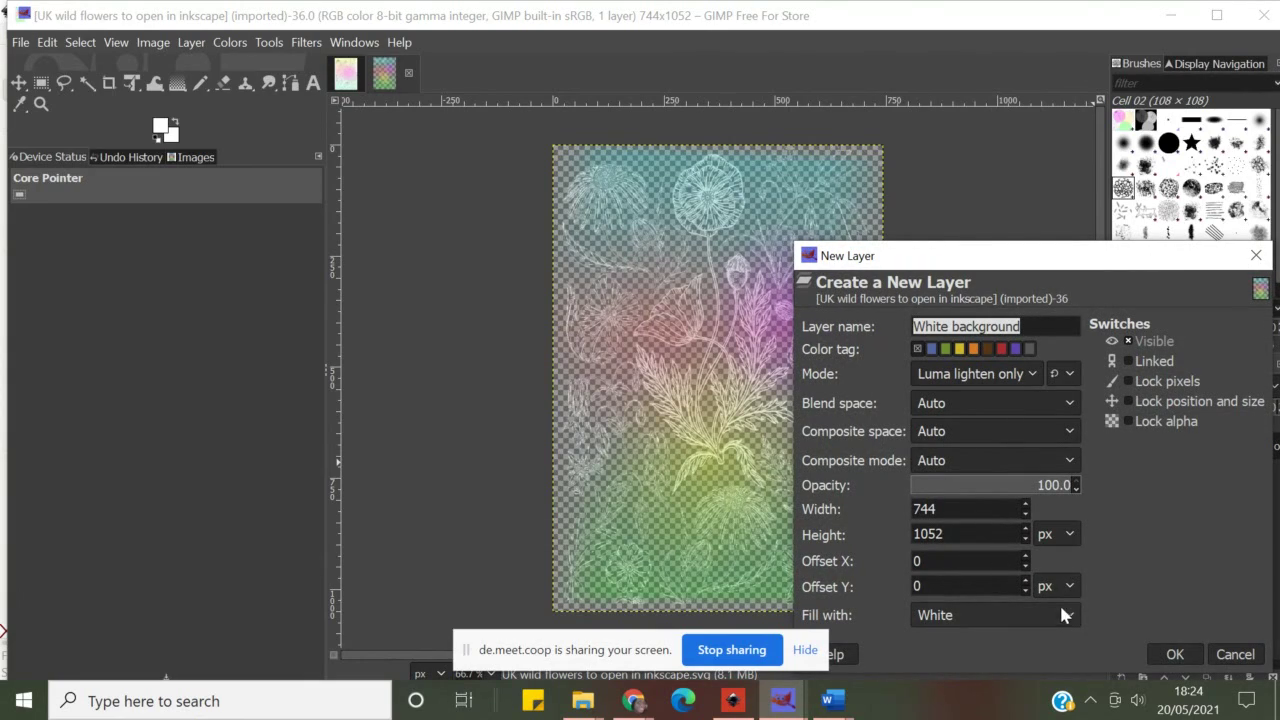 Adding
a new layer can be done in a few ways: either by clicking on
Layer>Add new from the main menu, or by clicking on the new layer
icon at the bottom right corner of Gimp interface (little rectangular
icon with a plus sign). On the New layer panel you can name the
layer, change background colour (Fill with > at the bottom), chose
size, Blend mode, etc.
Adding
a new layer can be done in a few ways: either by clicking on
Layer>Add new from the main menu, or by clicking on the new layer
icon at the bottom right corner of Gimp interface (little rectangular
icon with a plus sign). On the New layer panel you can name the
layer, change background colour (Fill with > at the bottom), chose
size, Blend mode, etc.
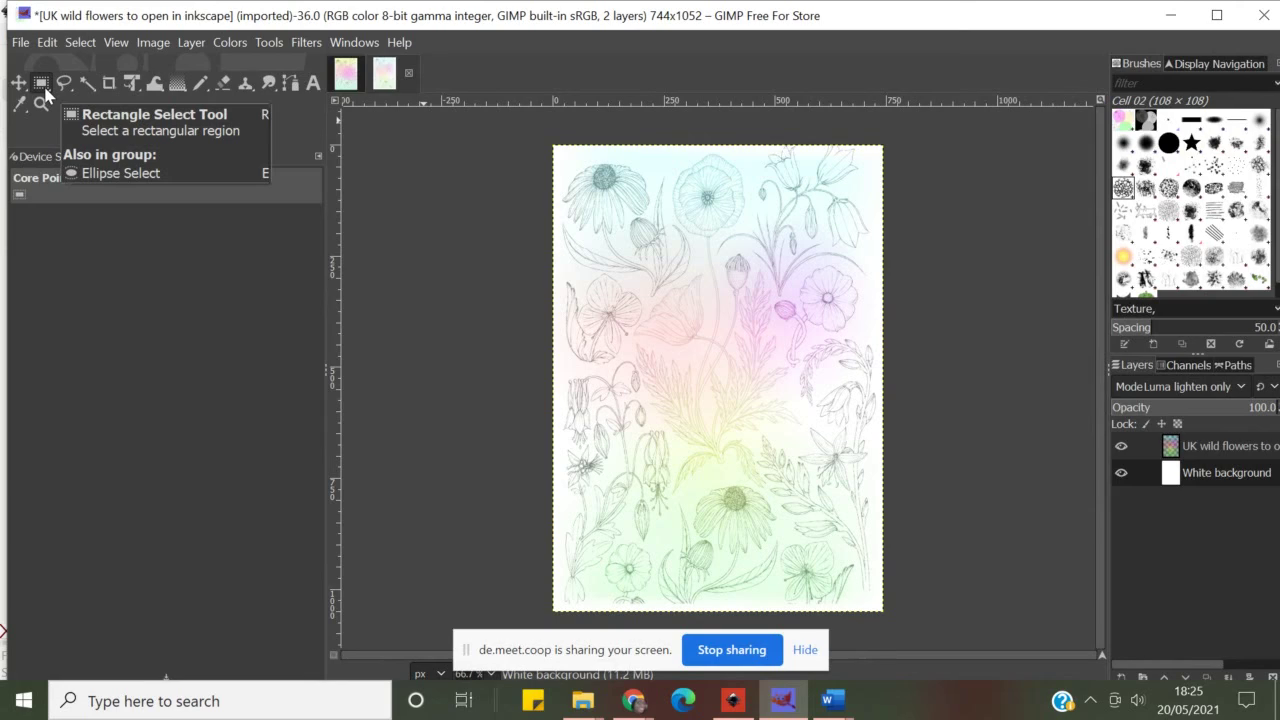 Simone
chose white background for her colourful flowery background image and
clicked to the layer to drag it to the bottom of the stack > see
the layer info box on the bottom-right side of this image. You can
also move your layers up & down by clicking little arrows at the
bottom of layer box.
Simone
chose white background for her colourful flowery background image and
clicked to the layer to drag it to the bottom of the stack > see
the layer info box on the bottom-right side of this image. You can
also move your layers up & down by clicking little arrows at the
bottom of layer box.
 The
main reason Simone mover from Inkscape to Gimp is to add a filter to
the image. Click on Filters on the main menu to access default
selection in Gimp. Please note, there are filters you can
download/install to Gimp separately. Check
here.
The
main reason Simone mover from Inkscape to Gimp is to add a filter to
the image. Click on Filters on the main menu to access default
selection in Gimp. Please note, there are filters you can
download/install to Gimp separately. Check
here.
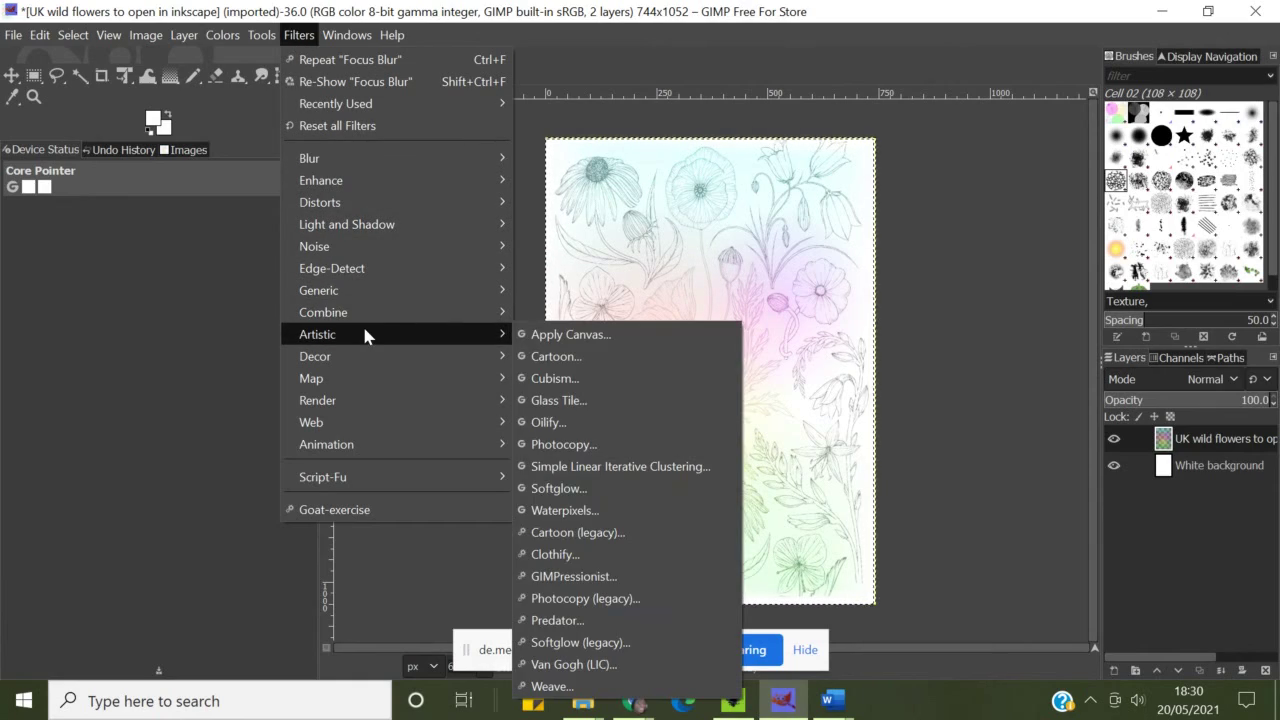
 To
access Waterpixels filter, go to Filters>Artistic>Waterpixels.
A pop-up panel will appear with a number of options to modify and
change – please try them all to see what effects you can produce.
This goes for all filters, if you like them, click OK, if not, cancel
or ctrl+z (Undo) and move on to the one which suits your work better.
To
access Waterpixels filter, go to Filters>Artistic>Waterpixels.
A pop-up panel will appear with a number of options to modify and
change – please try them all to see what effects you can produce.
This goes for all filters, if you like them, click OK, if not, cancel
or ctrl+z (Undo) and move on to the one which suits your work better.
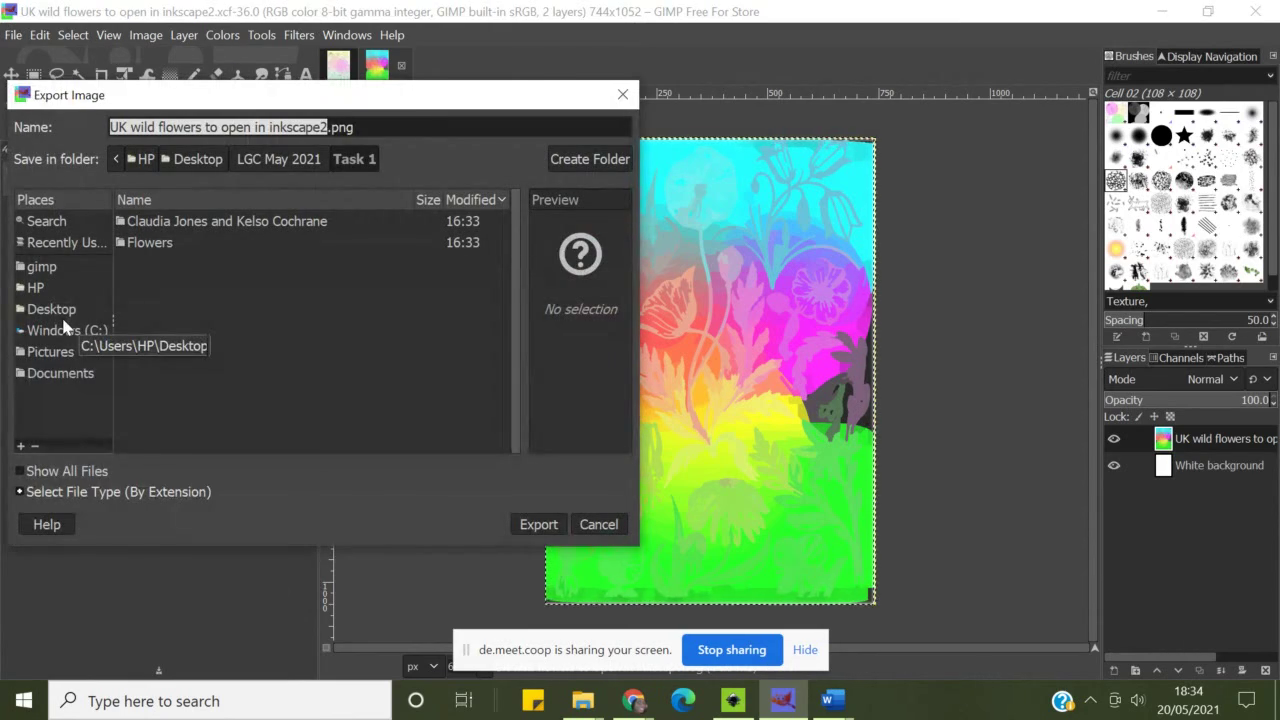 Once
the desired result is achieved, we export image for further editing
in Inkscape. Gimp’s default export file format is PNG but you can
chose File>Export as to select form a long list of file types and
then click Export. Some file types will offer additional step to
modify parameters before you save the file. For example GIF can be
saved as an image as well as an animation...
Once
the desired result is achieved, we export image for further editing
in Inkscape. Gimp’s default export file format is PNG but you can
chose File>Export as to select form a long list of file types and
then click Export. Some file types will offer additional step to
modify parameters before you save the file. For example GIF can be
saved as an image as well as an animation...
 Back
in Inkscape we open the file just exported from Gimp. As with all
bitmap images Inkscape will ask you if you’d like to embed or link
the image – both have their advantages, but for this time, we’ll
use embed method.
Back
in Inkscape we open the file just exported from Gimp. As with all
bitmap images Inkscape will ask you if you’d like to embed or link
the image – both have their advantages, but for this time, we’ll
use embed method.
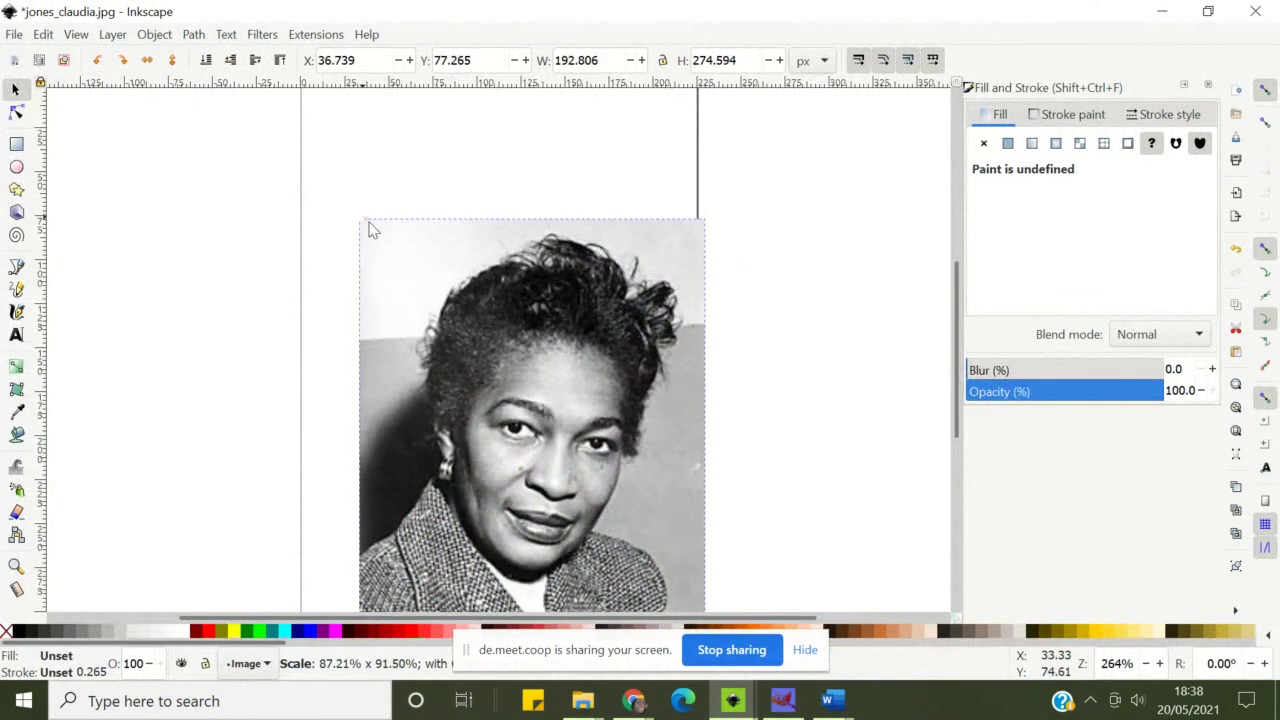 Create
a new image: File>New, then import Claudia Jones’ portrait. The
portrait is in the folder with all materials for this session you
downloaded at the begining.
Create
a new image: File>New, then import Claudia Jones’ portrait. The
portrait is in the folder with all materials for this session you
downloaded at the begining.
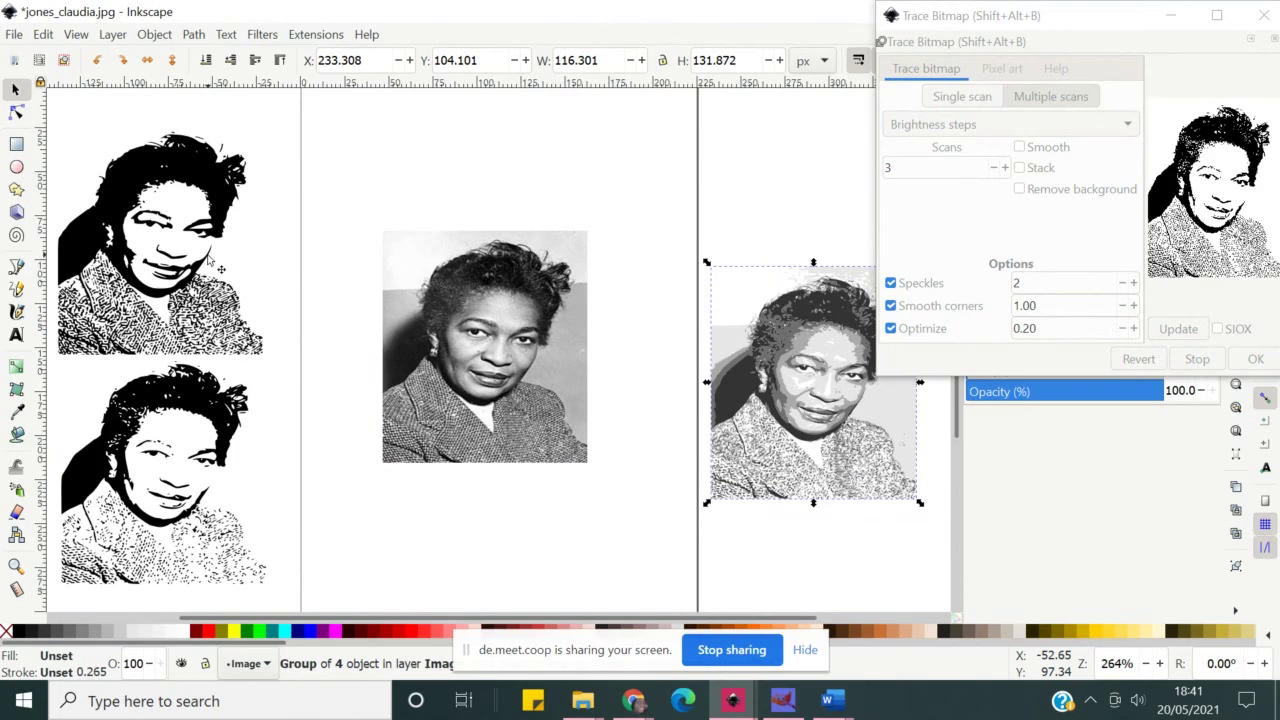 Trace
bitmap encore: Select the bitmap image you’re tracing, then go to
Path>Trace bitmap to access the panel with options. In this
picture, Simone experimented with multiple traces of the same image
by selecting the image and then applying different parameters for
scanning, etc, until she found the one that works best for the
poster.
Trace
bitmap encore: Select the bitmap image you’re tracing, then go to
Path>Trace bitmap to access the panel with options. In this
picture, Simone experimented with multiple traces of the same image
by selecting the image and then applying different parameters for
scanning, etc, until she found the one that works best for the
poster.
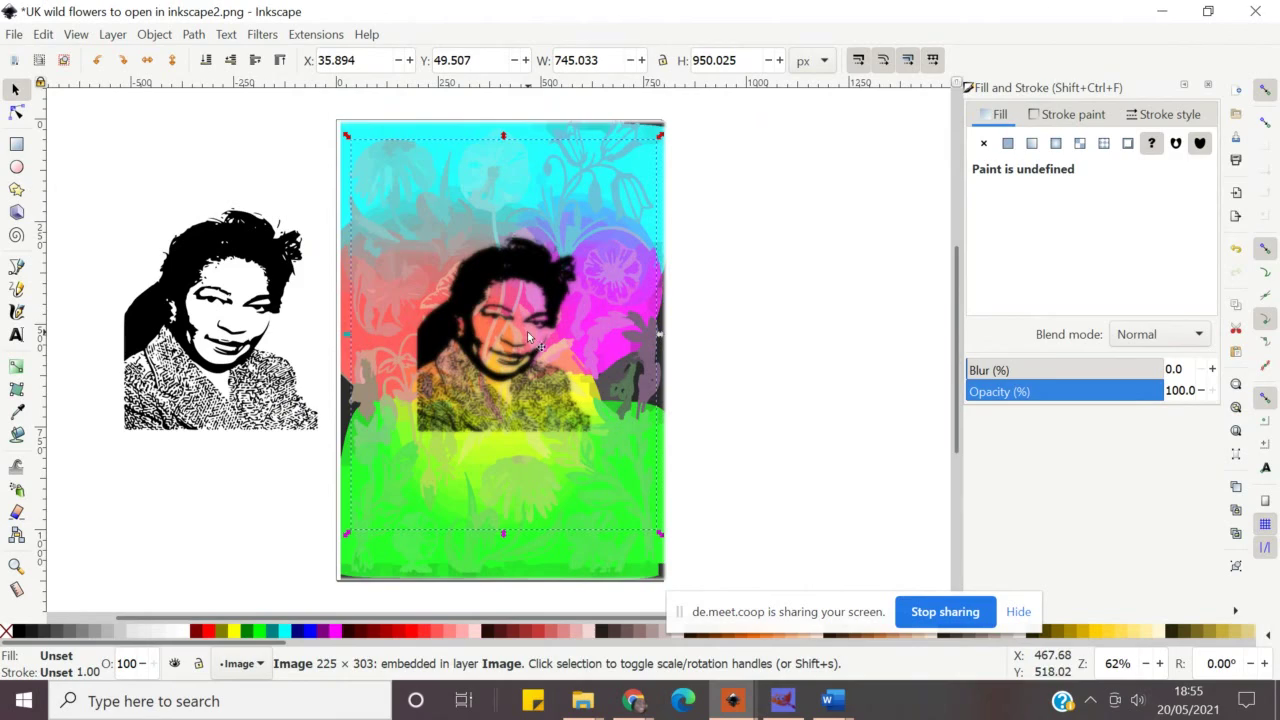
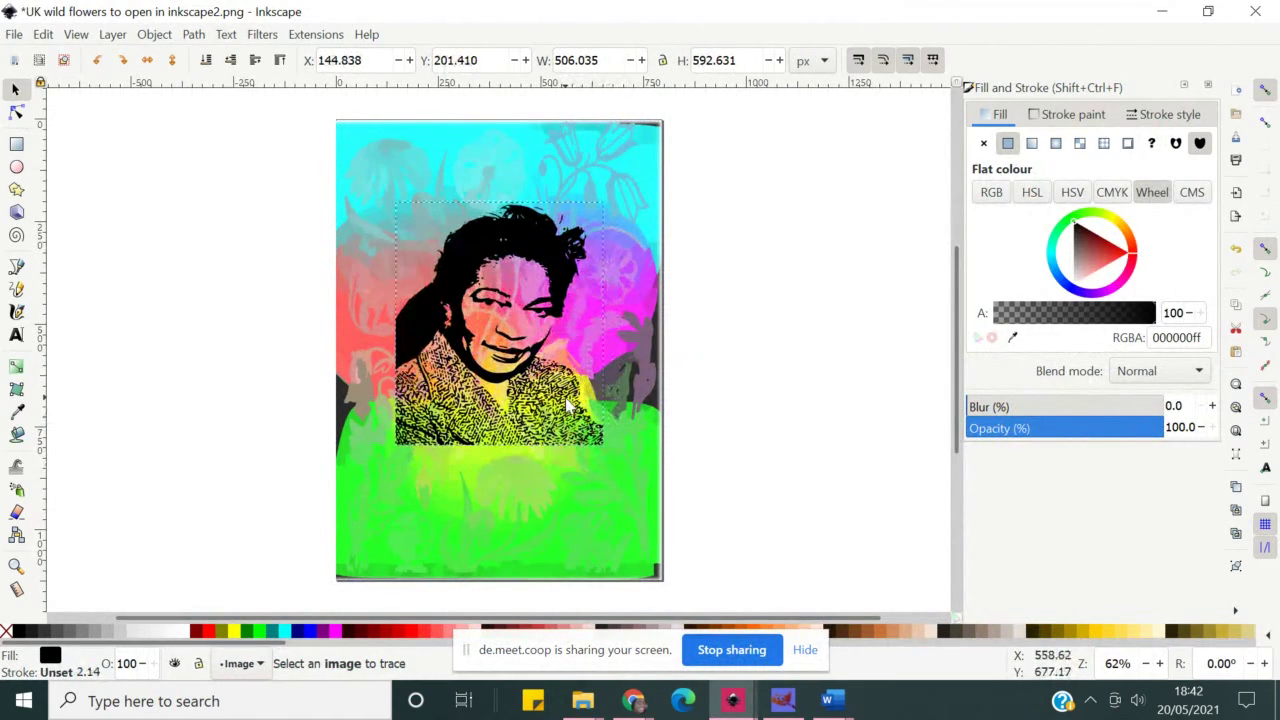 Check
how it looks when added on top of flowery background we just made in
Gimp. When done with tracing portrait bitmap image, you can select
the trace and copy/paste it to the background image. You can paste it
directly to the page, or add a layer and then paste as a separate
layer element.
Check
how it looks when added on top of flowery background we just made in
Gimp. When done with tracing portrait bitmap image, you can select
the trace and copy/paste it to the background image. You can paste it
directly to the page, or add a layer and then paste as a separate
layer element.
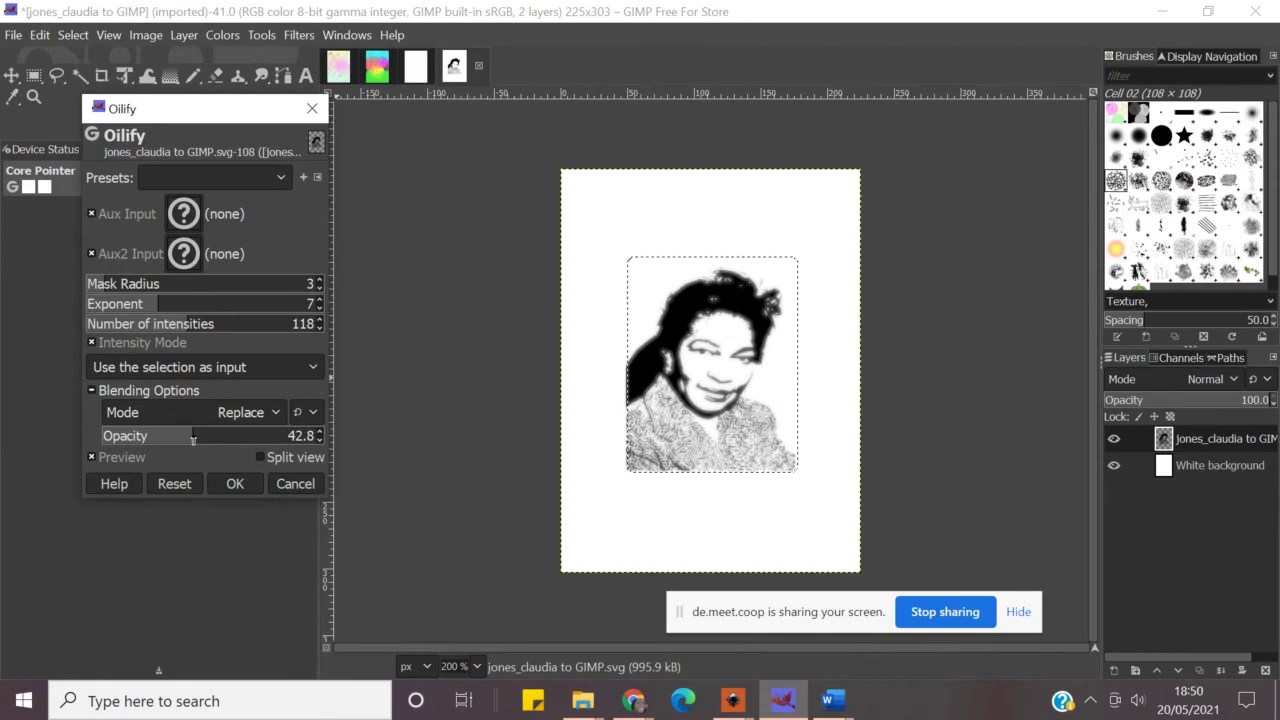 Back
in Gimp, Simone is exploring Oilify effect to see whether the traced
image of Claudia Jones may look better that way. Export as a
transparent png and moving back to Inkscape.
Back
in Gimp, Simone is exploring Oilify effect to see whether the traced
image of Claudia Jones may look better that way. Export as a
transparent png and moving back to Inkscape.
 Back
in Inkscape, checking which traced portrait works best.
Back
in Inkscape, checking which traced portrait works best.
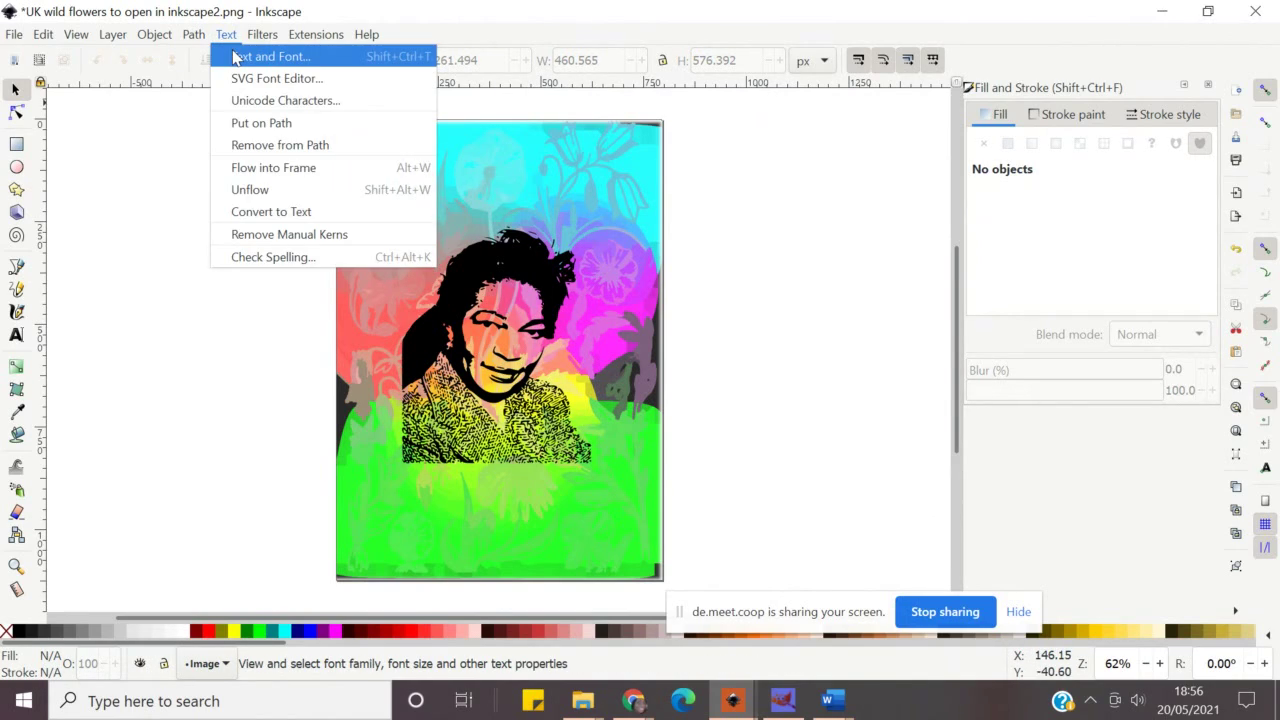 Time
to add text. Add text in Inkscape by clicking ‘A’ icon in the
toolbox on the left and clicking or clicking and dragging to make
text box on the page. To fine tune your text you can go to Text>
text and Font option which will open a panel on the right-hand side
of Inkscape which will allow for changes in font type, size, style,
alignment and direction of text. Spacing between lines (linespace),
spacing between letters, character position, rotation, etc can be
accessed whilst ‘in’ type tool in the horizontal toolbar just
below the main menu.
Time
to add text. Add text in Inkscape by clicking ‘A’ icon in the
toolbox on the left and clicking or clicking and dragging to make
text box on the page. To fine tune your text you can go to Text>
text and Font option which will open a panel on the right-hand side
of Inkscape which will allow for changes in font type, size, style,
alignment and direction of text. Spacing between lines (linespace),
spacing between letters, character position, rotation, etc can be
accessed whilst ‘in’ type tool in the horizontal toolbar just
below the main menu.
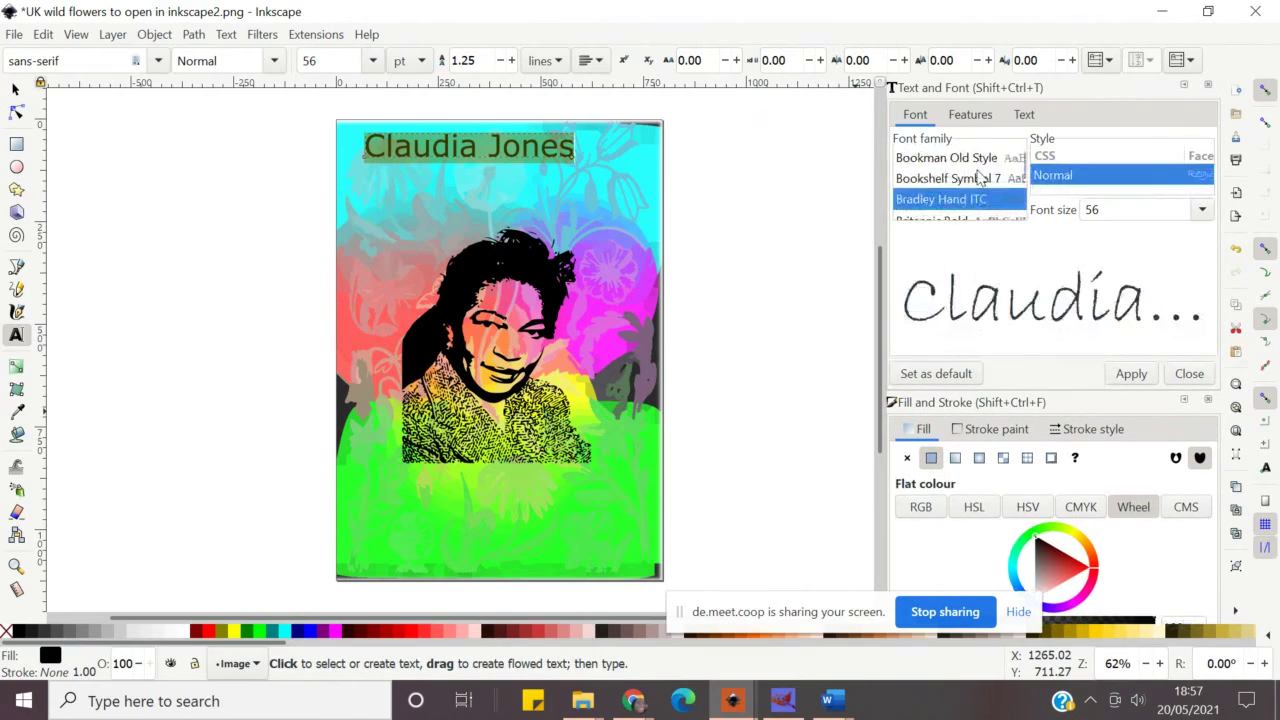 Here we see the right-side panel described above after Simone added title
text.
Here we see the right-side panel described above after Simone added title
text.
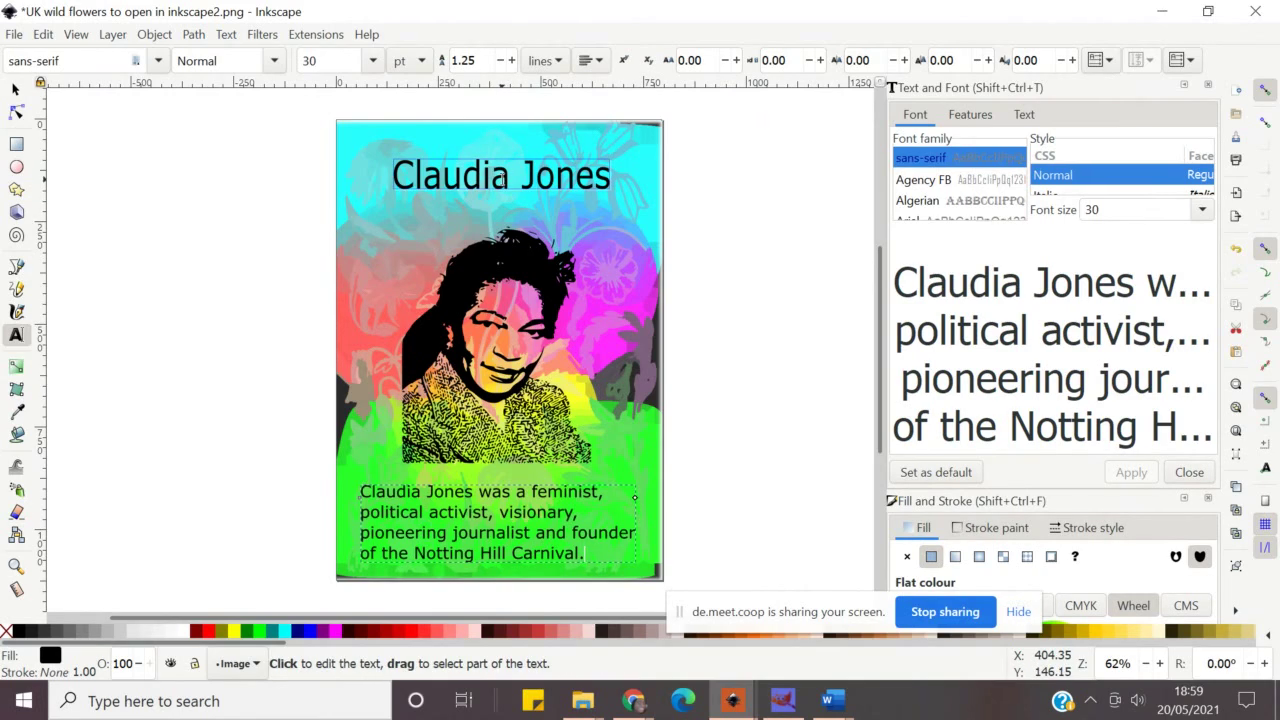 Last step here is to add the remaining text for office document describing
Claudia Jones. The procedure is the same: first select and copy
prepared text, paste in Inkscape (either directly into image, or
adding layer first and then pasting), lastly, align the text so it
forms a harmonious composition – which you can play with before you
save the file. Native Inkscape files are SVGs, but you can export
them as PNG or ‘save as a copy’ which gives a wide range of file
formats to chose from.
Last step here is to add the remaining text for office document describing
Claudia Jones. The procedure is the same: first select and copy
prepared text, paste in Inkscape (either directly into image, or
adding layer first and then pasting), lastly, align the text so it
forms a harmonious composition – which you can play with before you
save the file. Native Inkscape files are SVGs, but you can export
them as PNG or ‘save as a copy’ which gives a wide range of file
formats to chose from.