Task 2
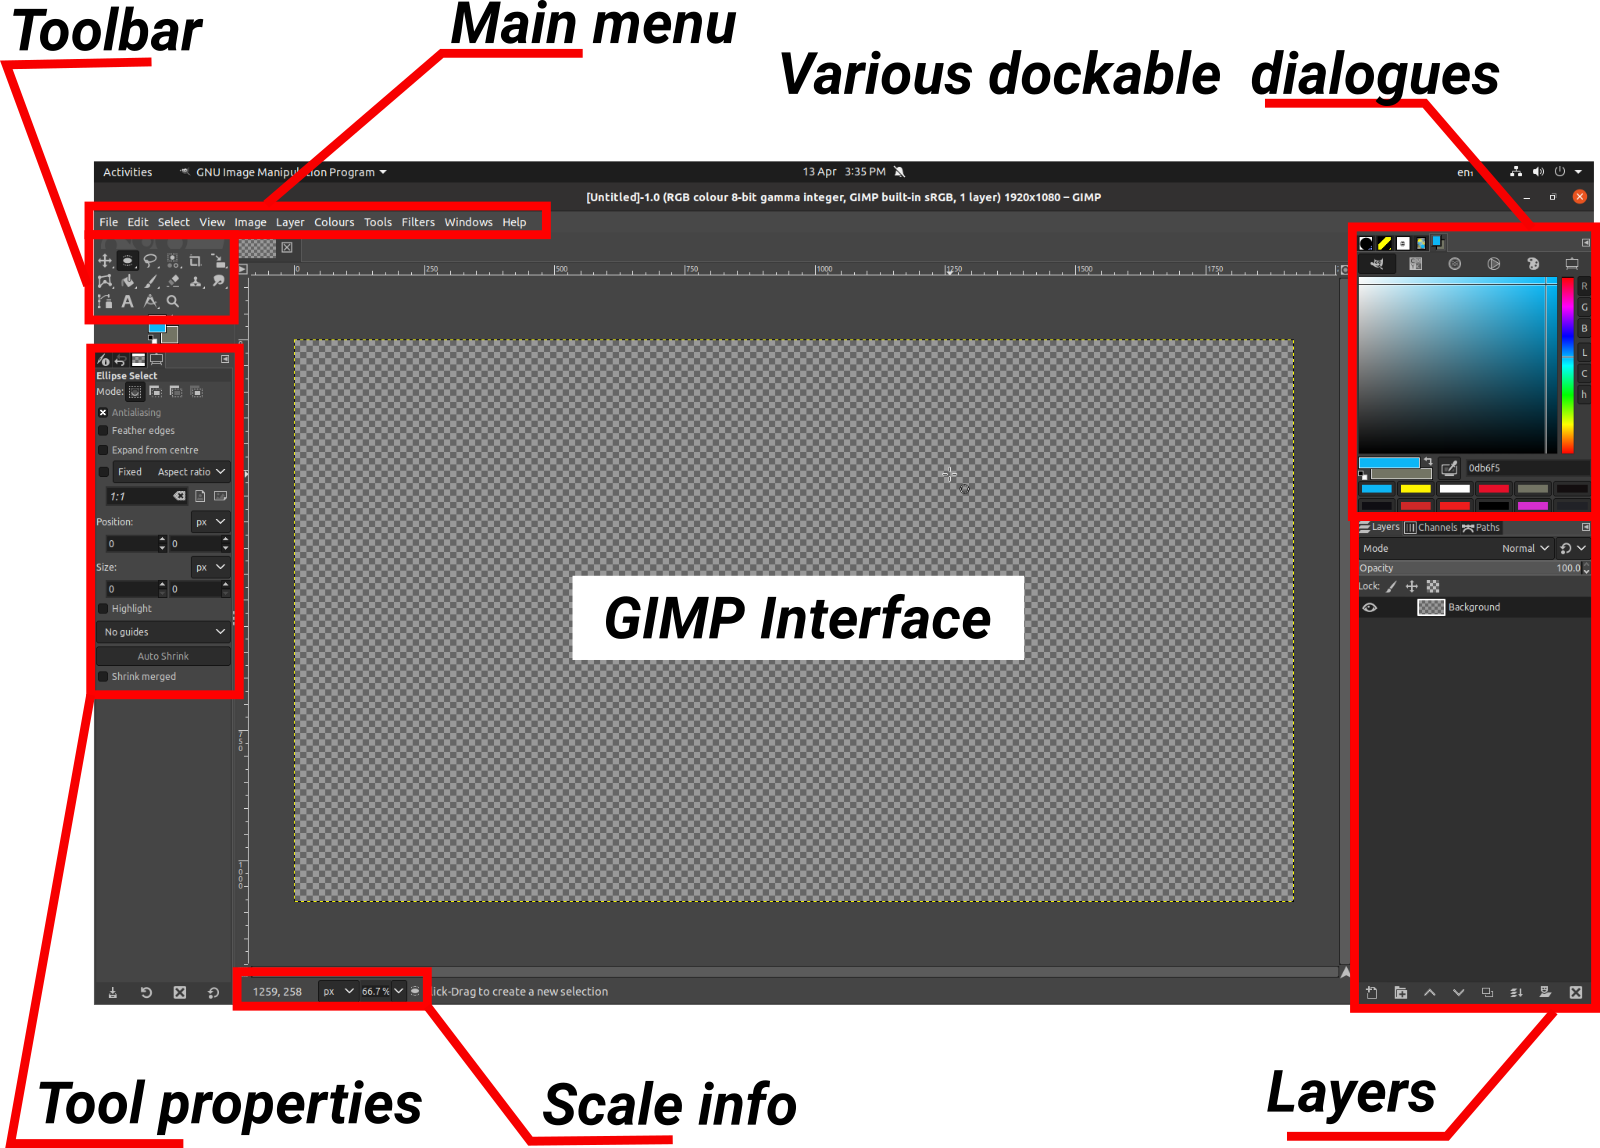 GIMP Interface
 Task 2
 Open images Sam prepared for you. Download the files from here.
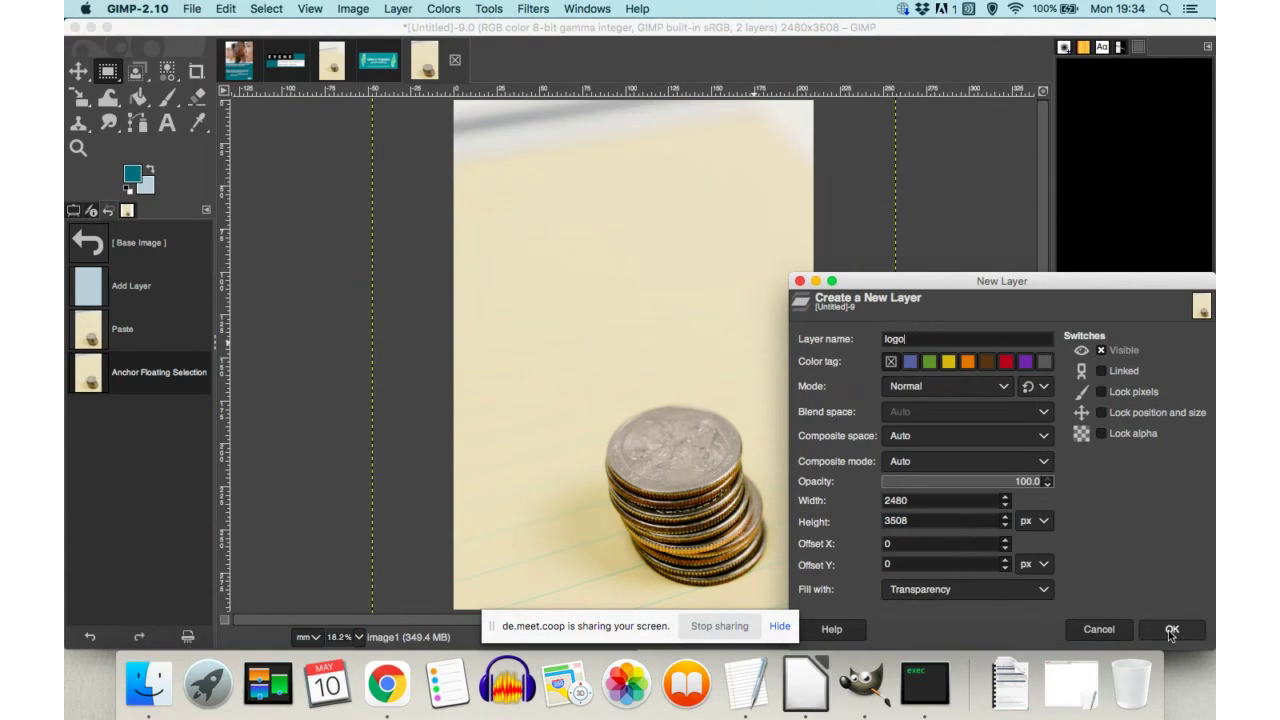
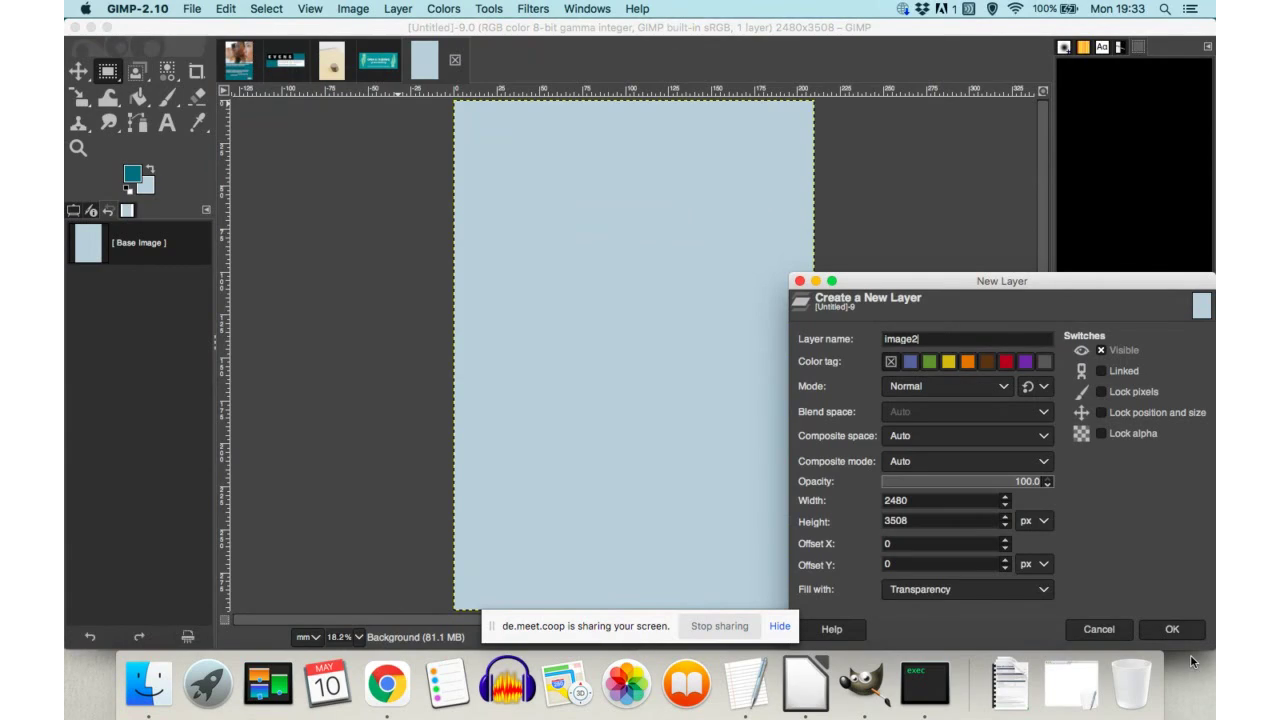 We start by creating a new
file (File>New
or ctrl+N), then adding a new
layer (Layer>New
layer or via the interface by clicking on a new layer icon at the
bottom-right end. Name the layer in a way that can remind you of
content and chose transparent background colour (Fill with; last drop
down menu on the pop-up panel).
We start by creating a new
file (File>New
or ctrl+N), then adding a new
layer (Layer>New
layer or via the interface by clicking on a new layer icon at the
bottom-right end. Name the layer in a way that can remind you of
content and chose transparent background colour (Fill with; last drop
down menu on the pop-up panel).
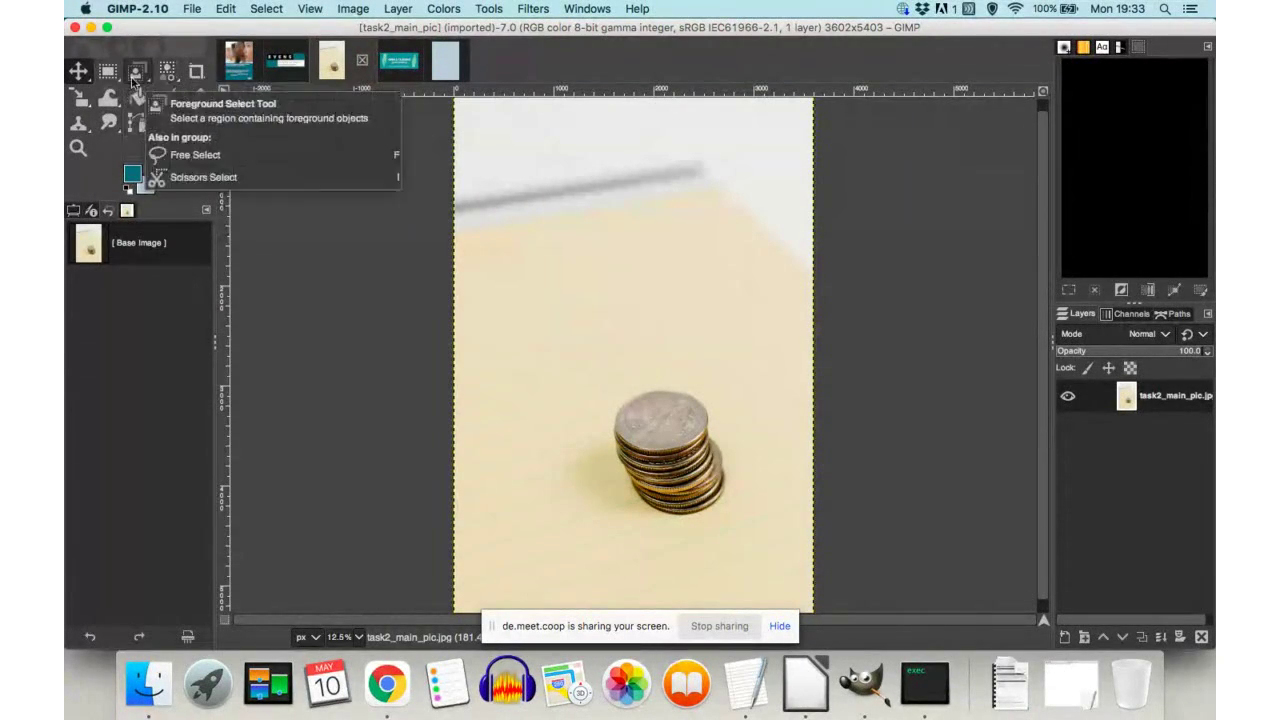
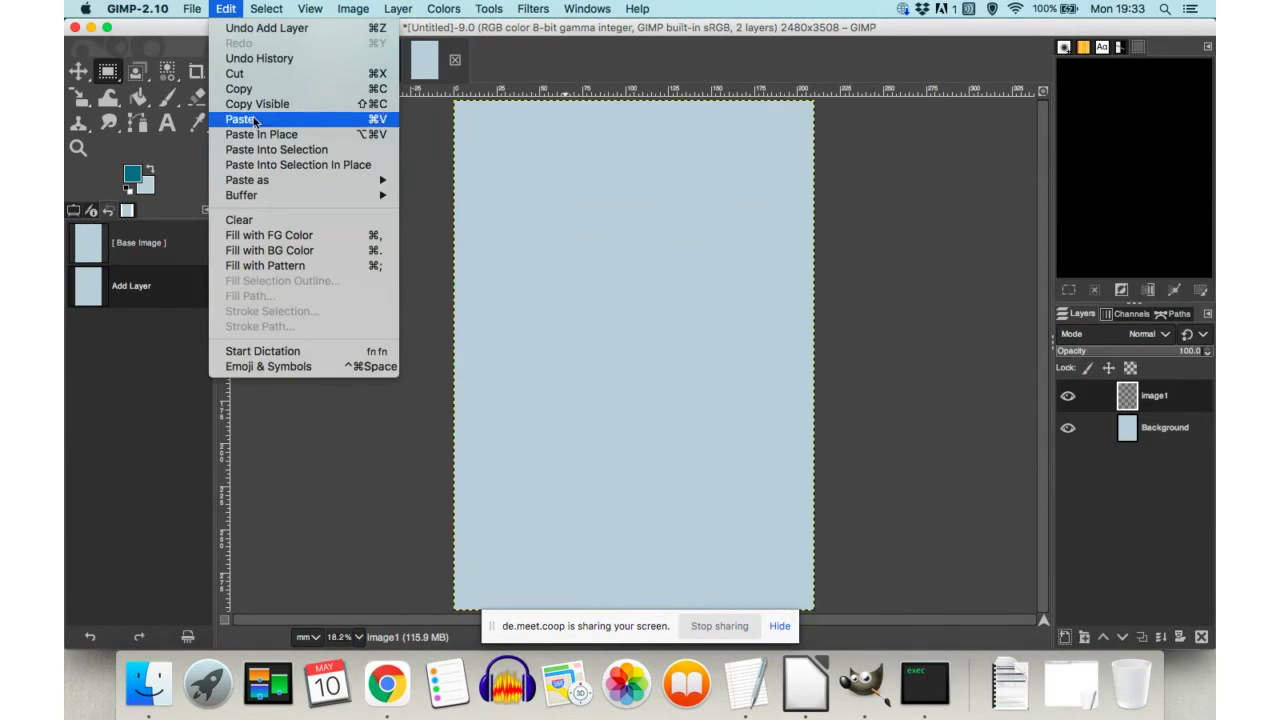 Copy/paste images to new file. Select all (press ctrl+a), then press ctrl+c on
your keyboard & move to the new file and then press ctrl+p.
Another way to do this is to go to main menu and chose Select>Select
all, then right click on the image select Edit>Copy, then move to
the new file, right click and chose Edit>Paste. Please remember to
check layers and see if you need to add layer for all pasted
elements.
Copy/paste images to new file. Select all (press ctrl+a), then press ctrl+c on
your keyboard & move to the new file and then press ctrl+p.
Another way to do this is to go to main menu and chose Select>Select
all, then right click on the image select Edit>Copy, then move to
the new file, right click and chose Edit>Paste. Please remember to
check layers and see if you need to add layer for all pasted
elements.
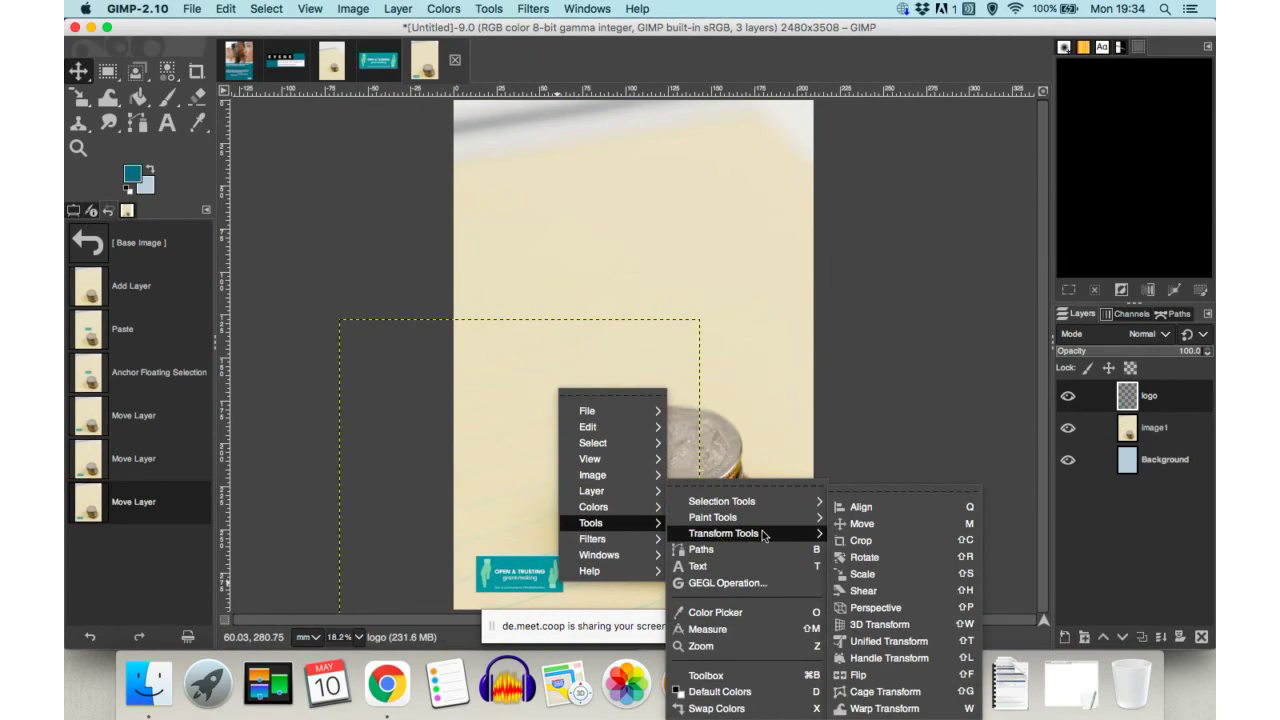 Paste logo, move, rescale if needed.
 Then check if image and logo are in the place where it works for the size
of the document. If you need to move it around or resize it, chose
move or scale tools form the toolbox. The next thing to do is to
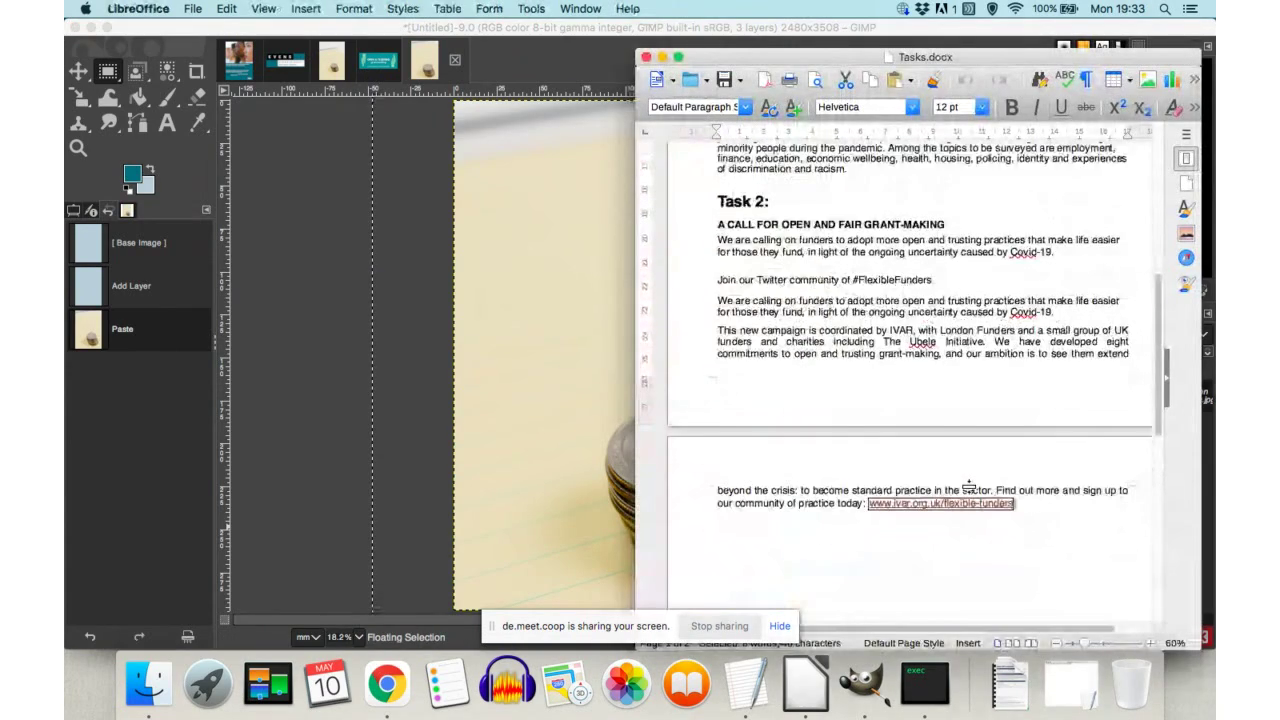
insert text into the image. Go to task document, select the text and
copy parts that you need.
Then check if image and logo are in the place where it works for the size
of the document. If you need to move it around or resize it, chose
move or scale tools form the toolbox. The next thing to do is to
insert text into the image. Go to task document, select the text and
copy parts that you need.
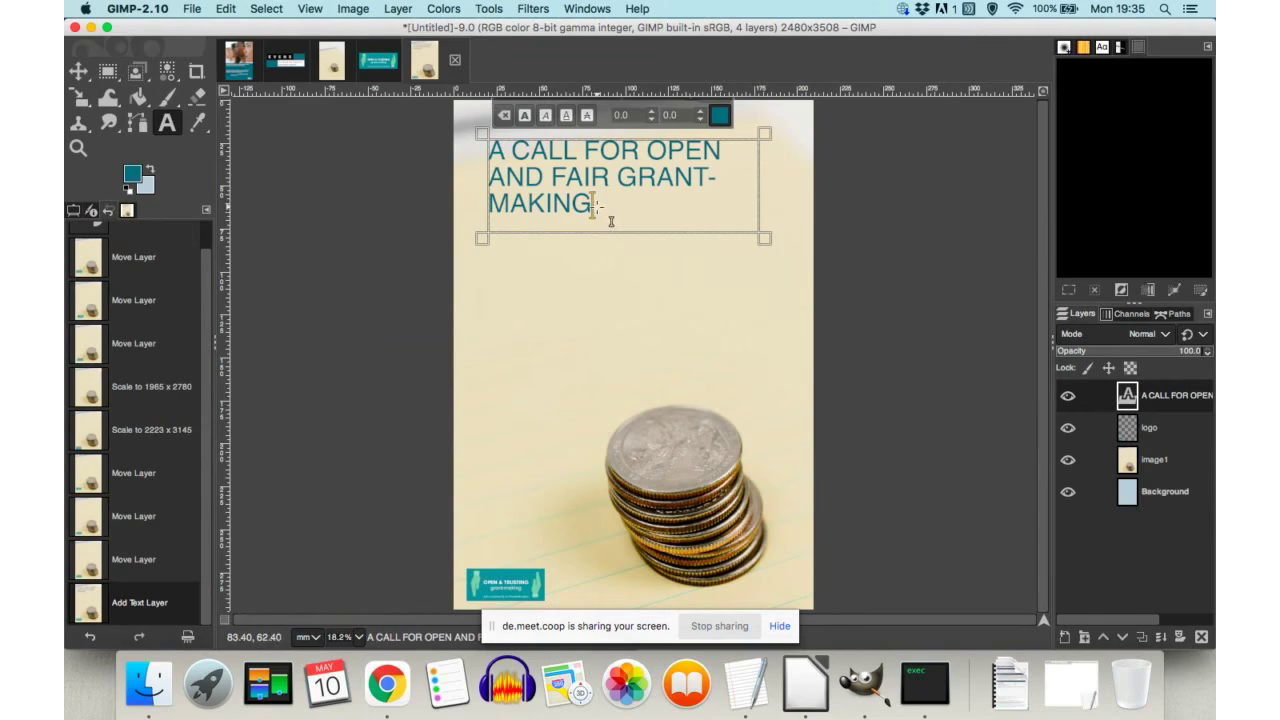
 To insert text in Gimp you need to add a new layer first.
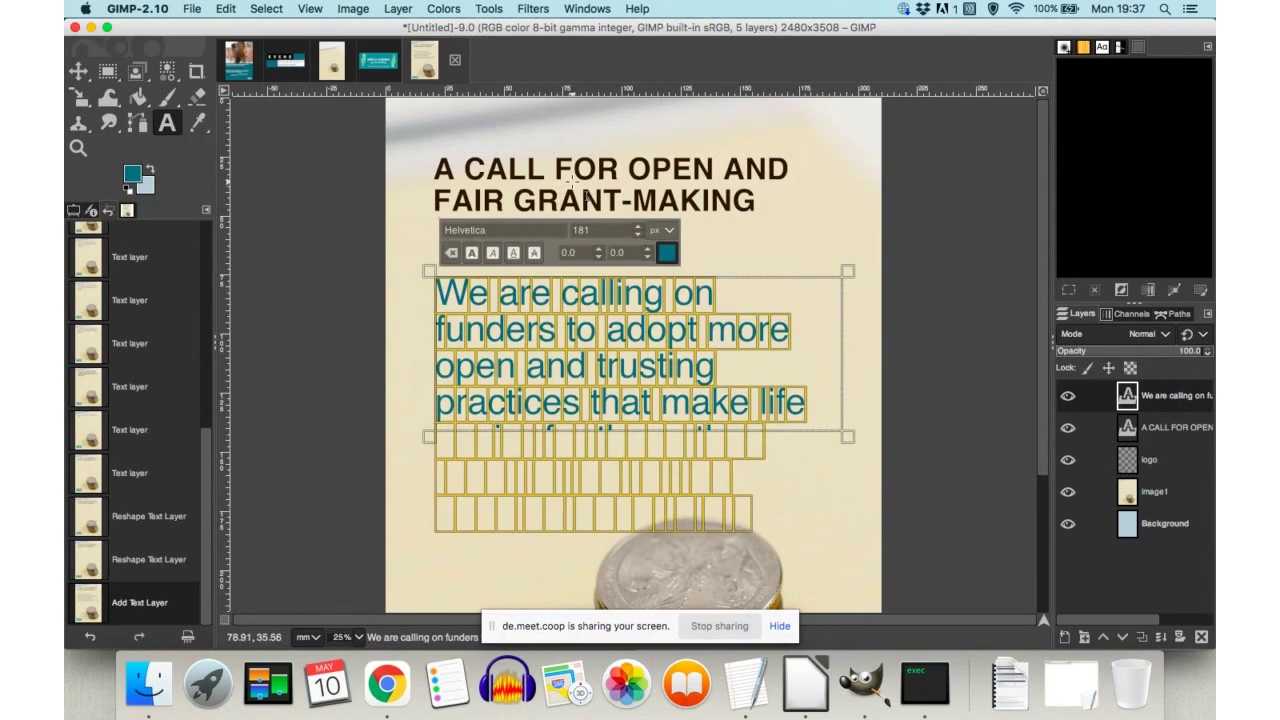
 Select layer you intended for text, select Text tool (‘A’ icon in the
toolbox) and paste the text you copied from the office document.
Select layer you intended for text, select Text tool (‘A’ icon in the
toolbox) and paste the text you copied from the office document.
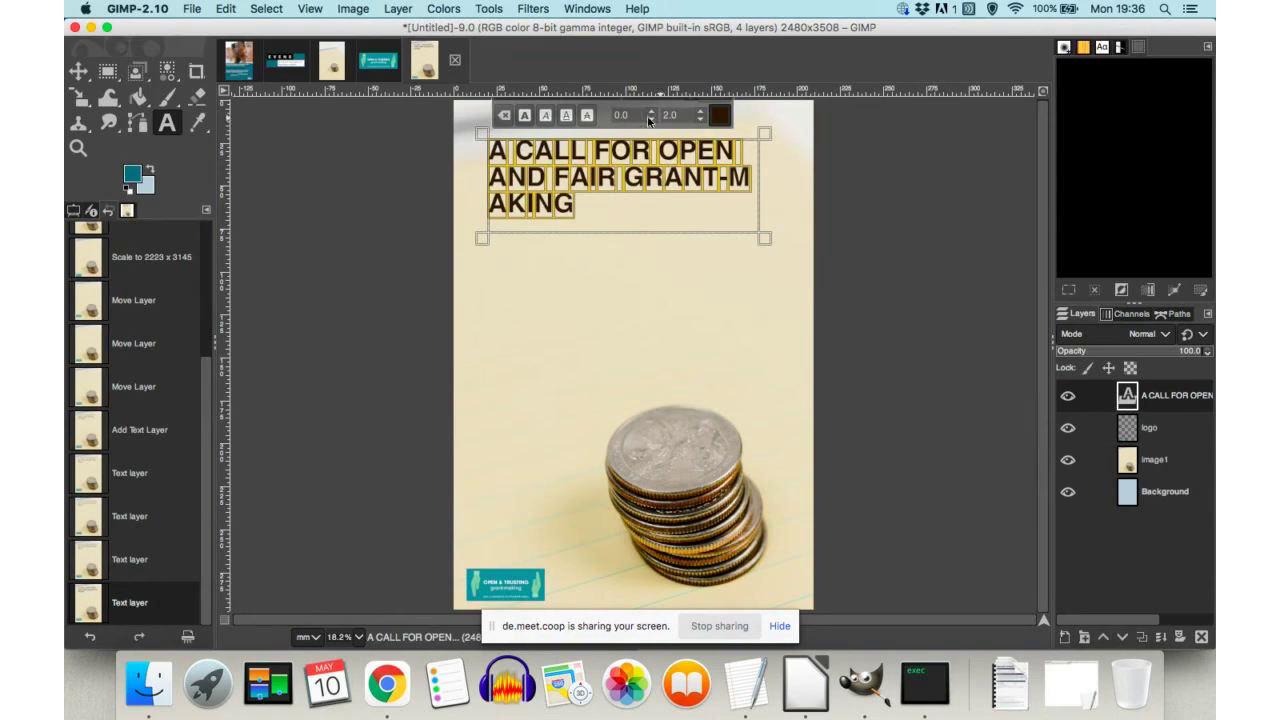
 Fine tuning the text to insure good colour contrast and readability >
the text box allows to change type, colour, size and style of the
font.
Fine tuning the text to insure good colour contrast and readability >
the text box allows to change type, colour, size and style of the
font.
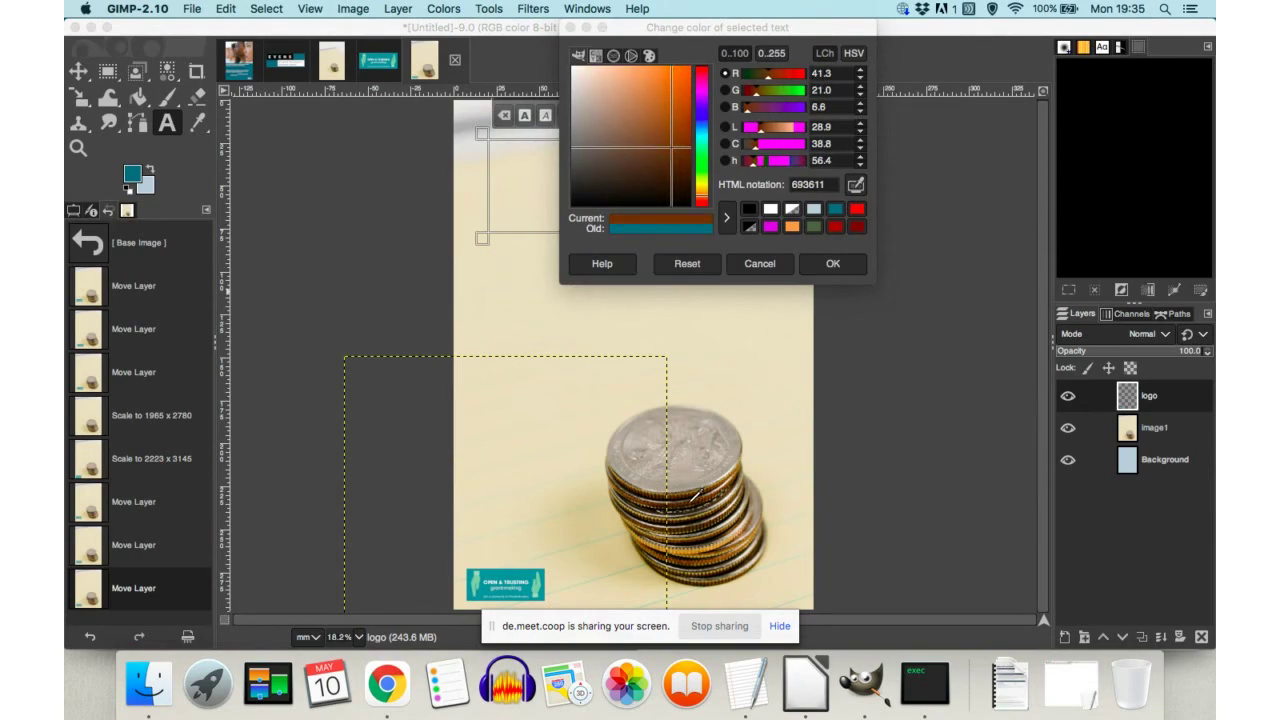
 Text colour testing.
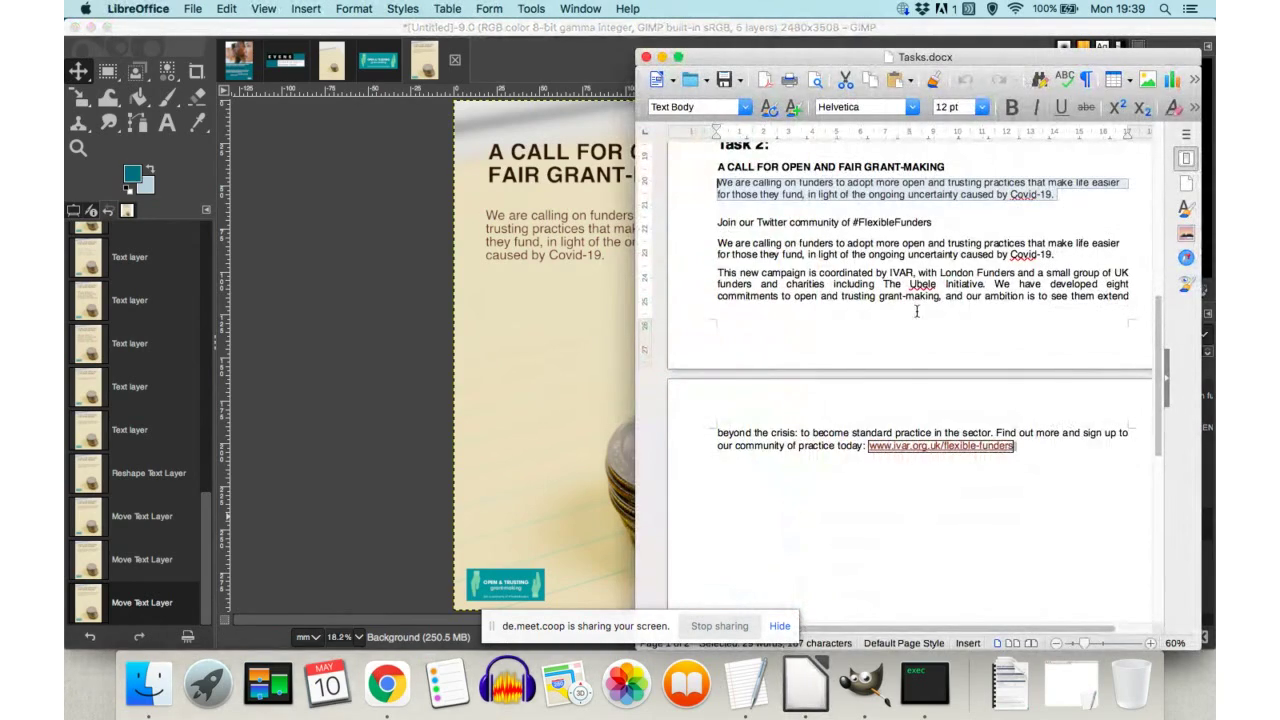 Add remaining text doe the document > repeat copy/paste, add layer,
chose Type tool click on the image to activate the tool and then
paste the text.
Add remaining text doe the document > repeat copy/paste, add layer,
chose Type tool click on the image to activate the tool and then
paste the text.
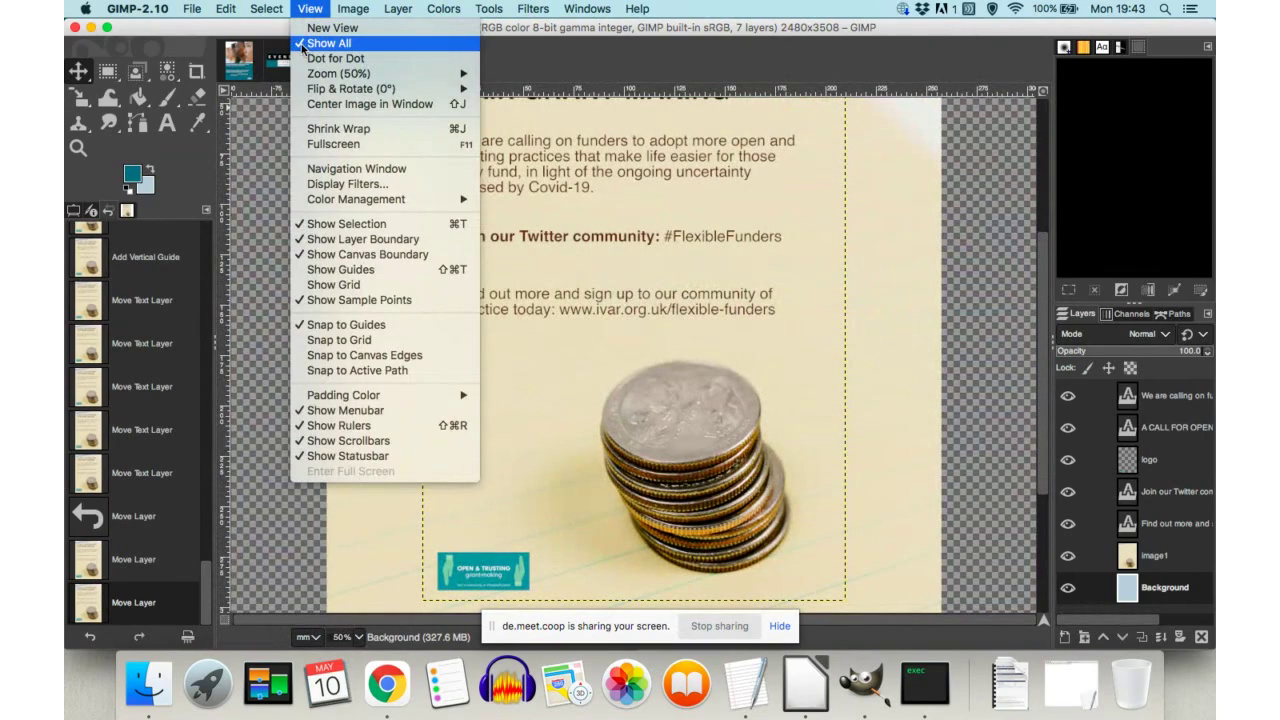
 Edit and align the text. This can be done in a number of ways, either by
using move tool, dragging the text boxes till you’re happy with the
position, or by using guides (click on the rulers on the left and tom
of the image and drag the guide to where you’d like the text to
start/finish) or use align too which is in the same place as move
tool. It is activated by clicking on a small triangle on the bottom
right of the move tool icon.
Edit and align the text. This can be done in a number of ways, either by
using move tool, dragging the text boxes till you’re happy with the
position, or by using guides (click on the rulers on the left and tom
of the image and drag the guide to where you’d like the text to
start/finish) or use align too which is in the same place as move
tool. It is activated by clicking on a small triangle on the bottom
right of the move tool icon.
 Check all and prepare for print or screen. Go to Image>Image size, check
resolution and size. 300dpi is suitable for print, 72dpi is suitable
for screen based images.
Check all and prepare for print or screen. Go to Image>Image size, check
resolution and size. 300dpi is suitable for print, 72dpi is suitable
for screen based images.
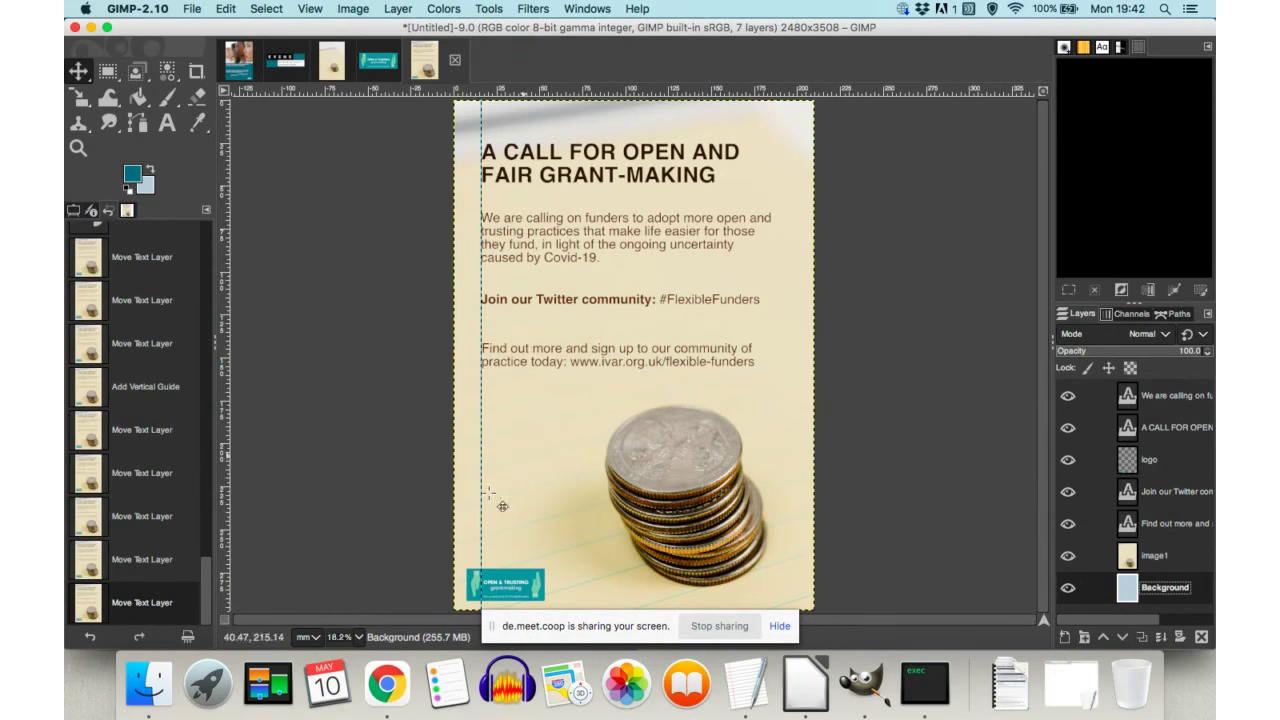 Et
voila! You’ve made a little flyer for a call to join
a community.
Et
voila! You’ve made a little flyer for a call to join
a community.