Artists' Union poster with Inkscape
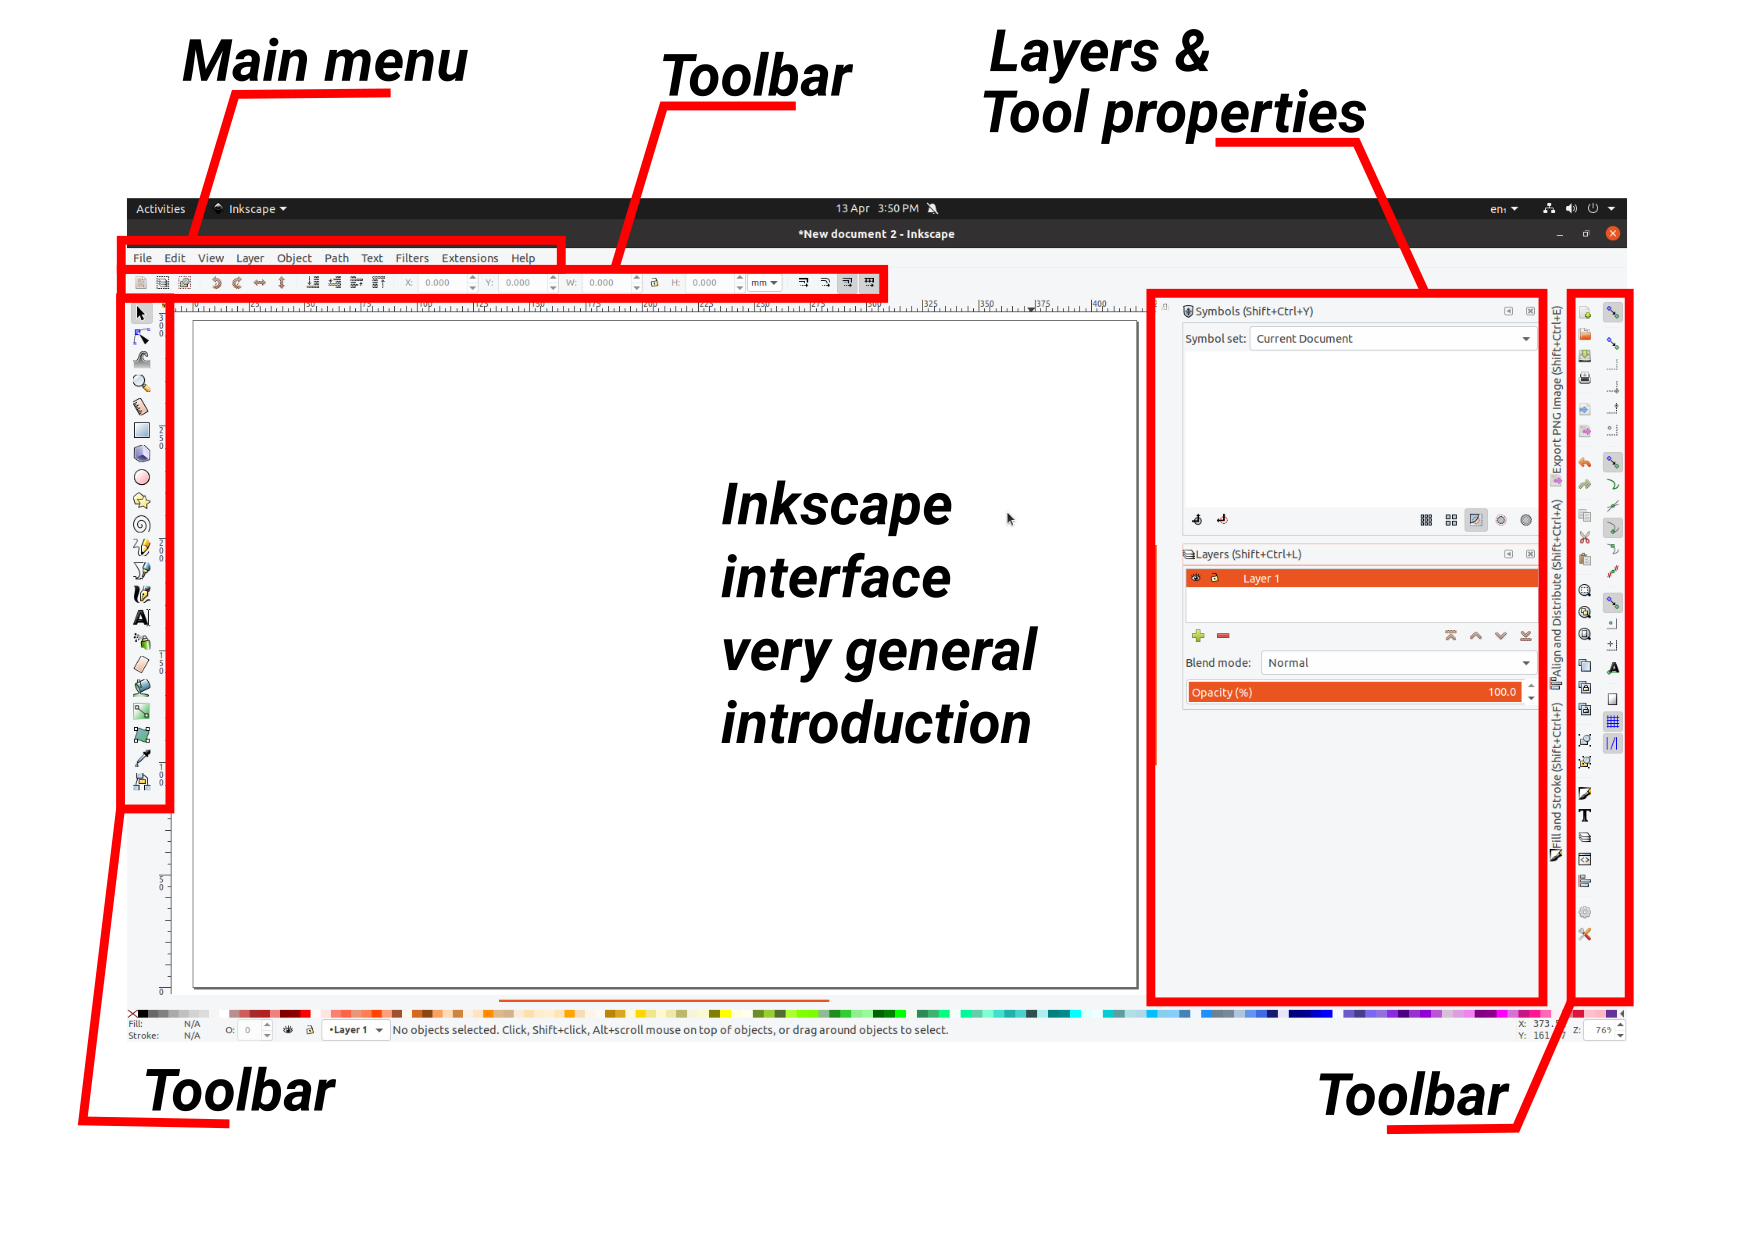 Inkscape
interface
Inkscape
interface
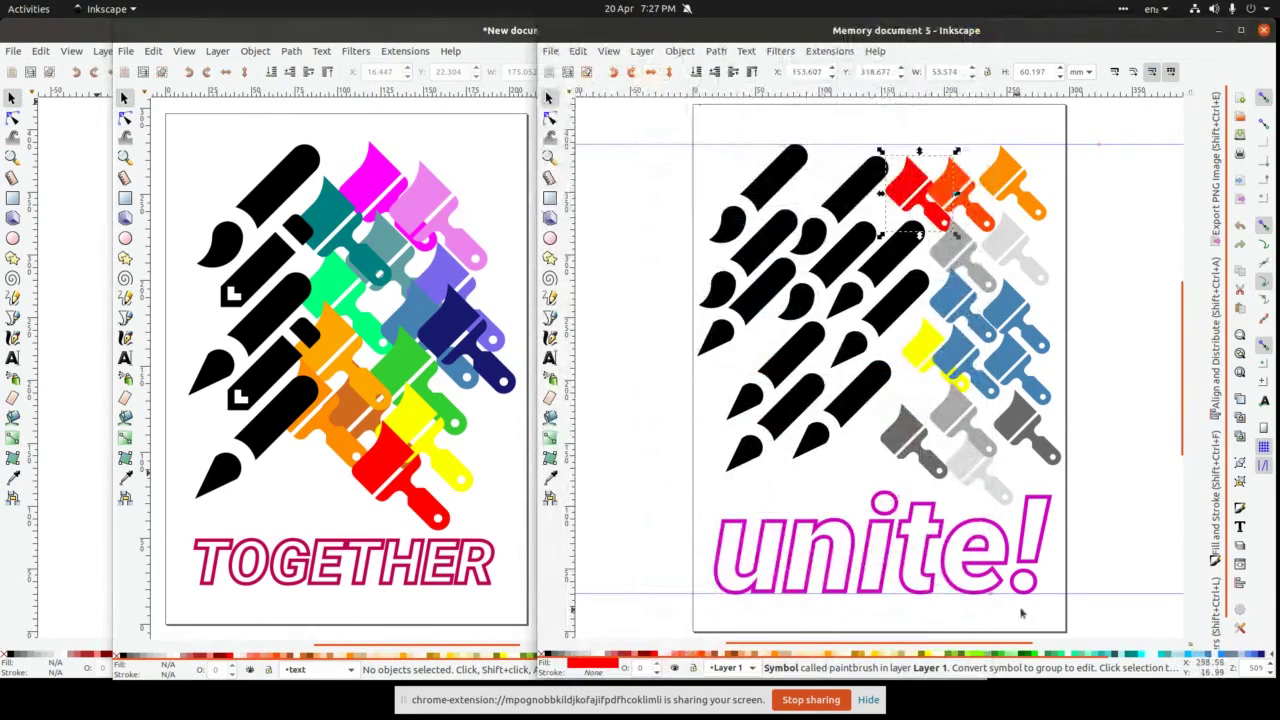 Finished
poster
Finished
poster
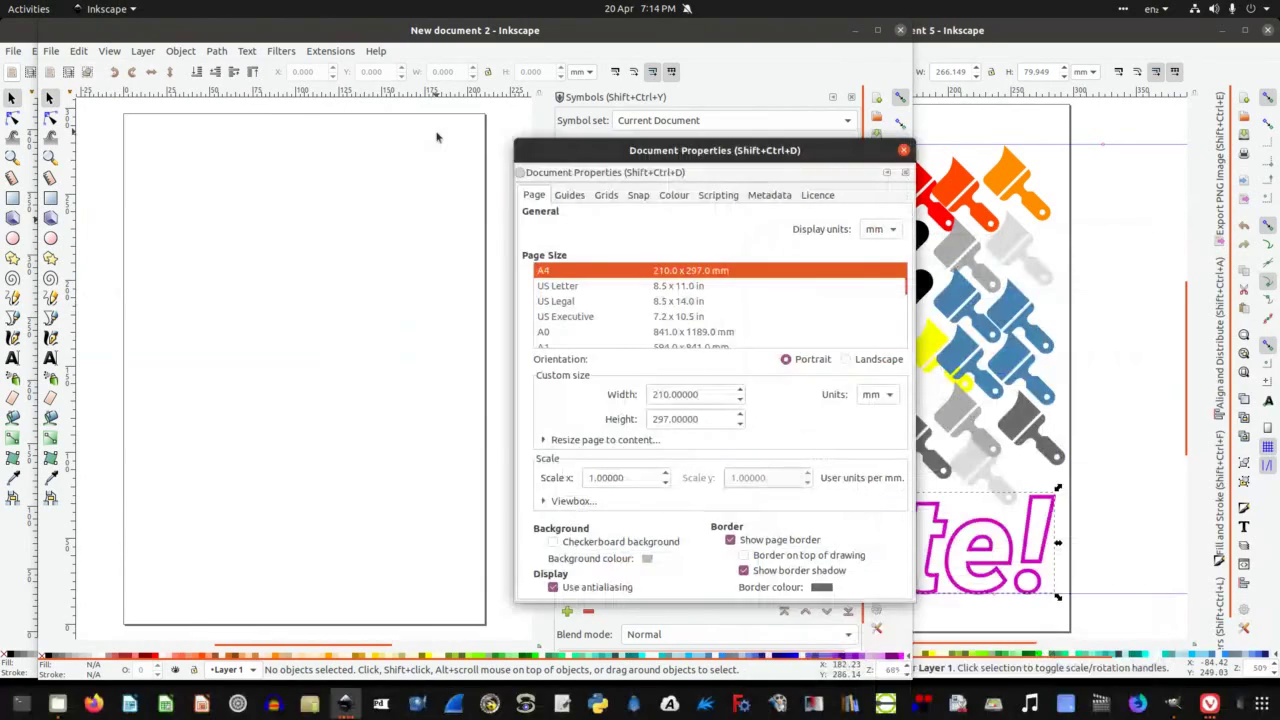 Once
we open a new file, as Inkscape creates documents with a transparent
background by default, we can open preferences (File>Document
preferences) and change the colour of the background, size, as well
as add&modify
guides & grid, select license for our work, etc.
Once
we open a new file, as Inkscape creates documents with a transparent
background by default, we can open preferences (File>Document
preferences) and change the colour of the background, size, as well
as add&modify
guides & grid, select license for our work, etc.
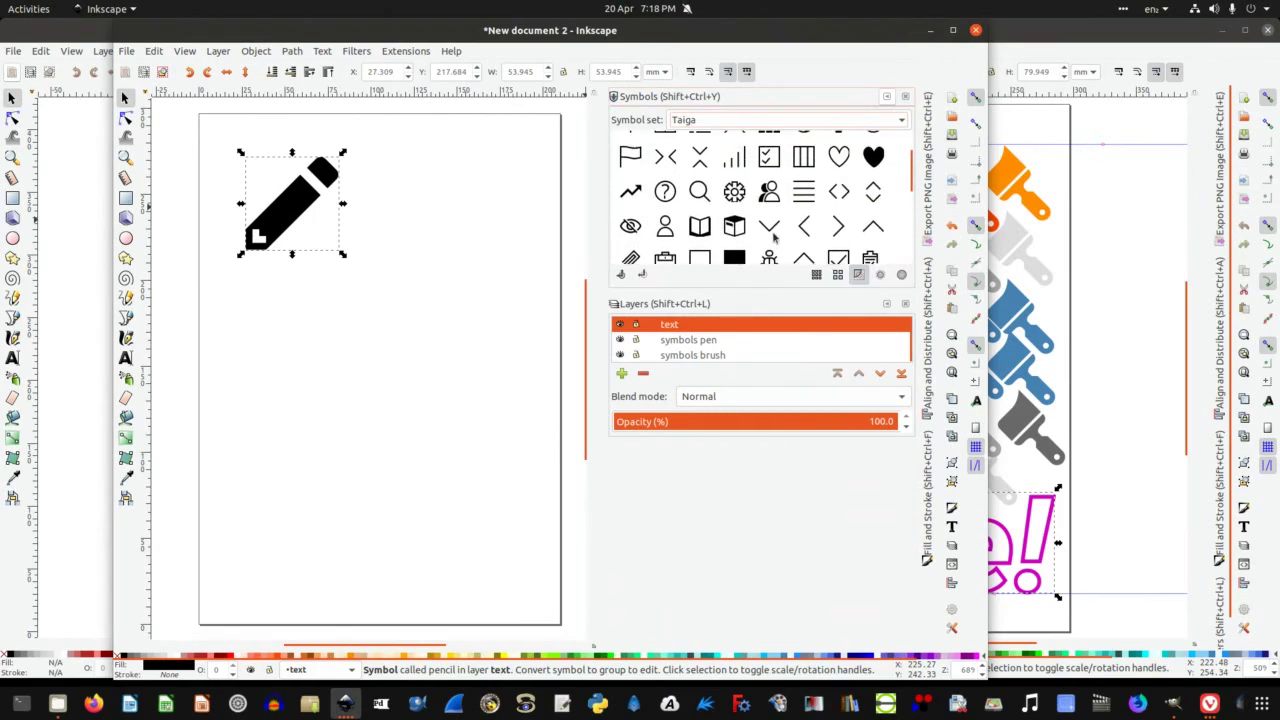 For
this poster we are using Symbols. You can access them by clicking on
Objects in the main menu and select Symbols palette form drop-down
menu.
For
this poster we are using Symbols. You can access them by clicking on
Objects in the main menu and select Symbols palette form drop-down
menu.
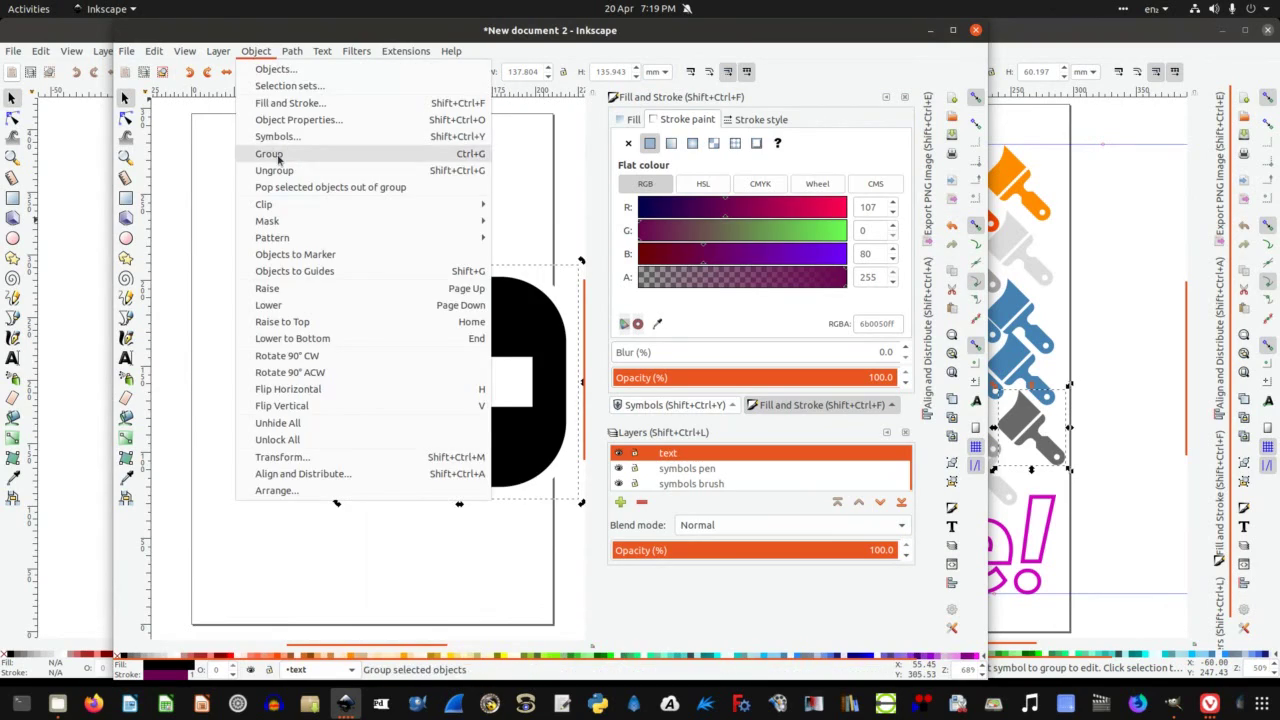 Symbols
can be modified if you select them and then go to Object>Group.
This allows you to change colour and style of stroke (the outline
line) and colour of the fill.
Symbols
can be modified if you select them and then go to Object>Group.
This allows you to change colour and style of stroke (the outline
line) and colour of the fill.
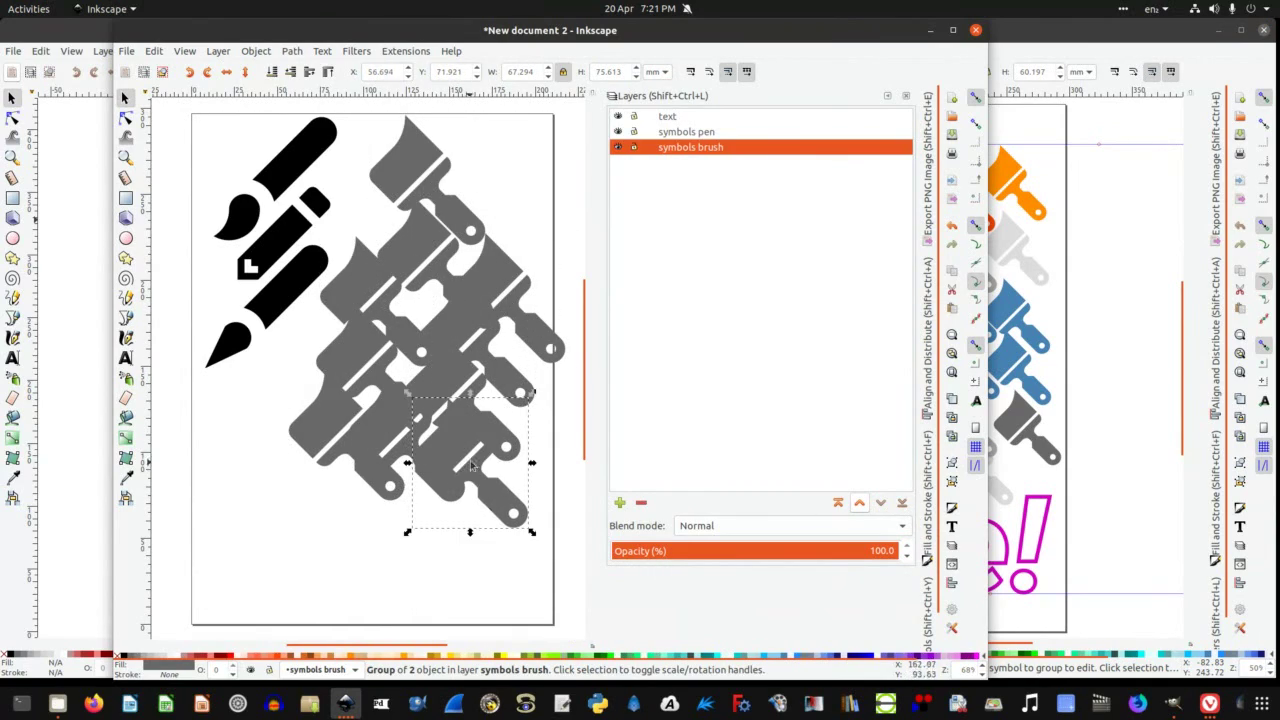 When
we choose symbols that work for the message our poster needs to
convey, we can move them around by using Select tool (top-left in
vertical left hand side menu), this tool also enables scaling
(changing the size). There is also a very useful set of alignment
tools accessible through Object>Align
& distribute (bottom of drop down menu).
When
we choose symbols that work for the message our poster needs to
convey, we can move them around by using Select tool (top-left in
vertical left hand side menu), this tool also enables scaling
(changing the size). There is also a very useful set of alignment
tools accessible through Object>Align
& distribute (bottom of drop down menu).
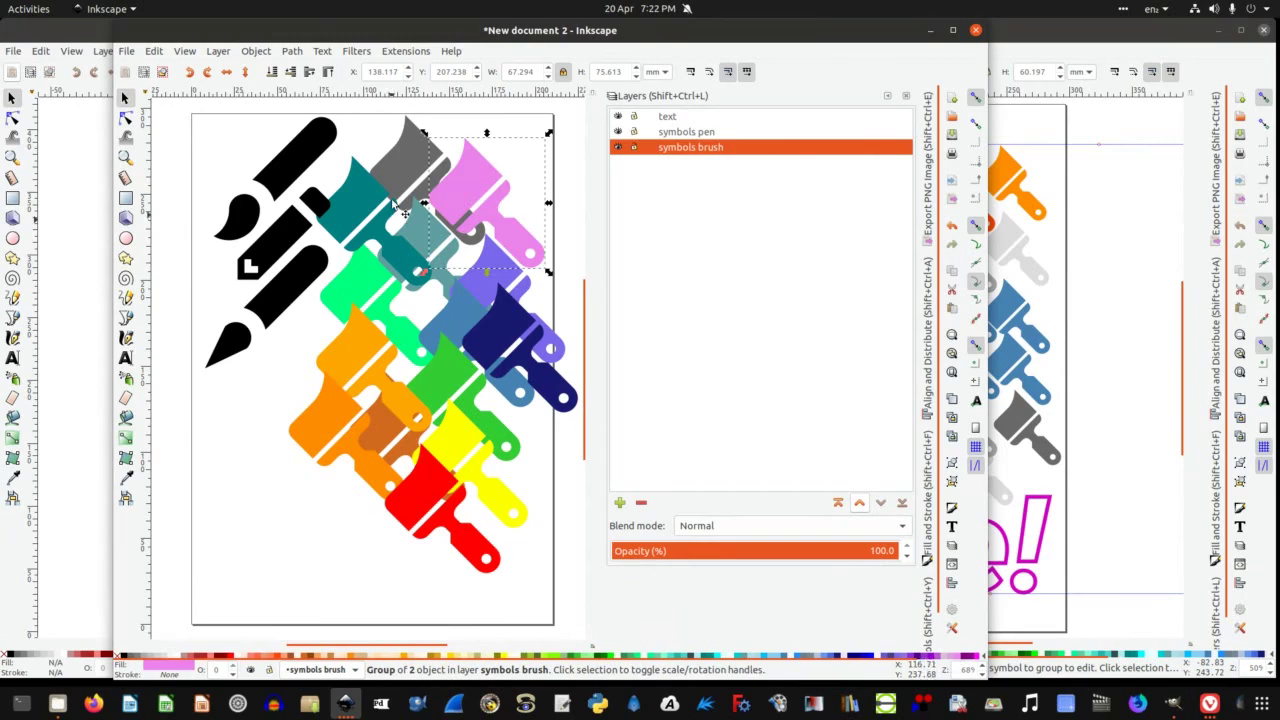 Once you’ve arranged your symbols, you can change the colour by clicking
on individual symbol and convert symbol to group to edit if you have
not done it already and then right click at the bottom left boxes
called fill & Stroke to edit. This will open a property box on
the right-hand side where you’ll be able to make changes.
Once you’ve arranged your symbols, you can change the colour by clicking
on individual symbol and convert symbol to group to edit if you have
not done it already and then right click at the bottom left boxes
called fill & Stroke to edit. This will open a property box on
the right-hand side where you’ll be able to make changes.
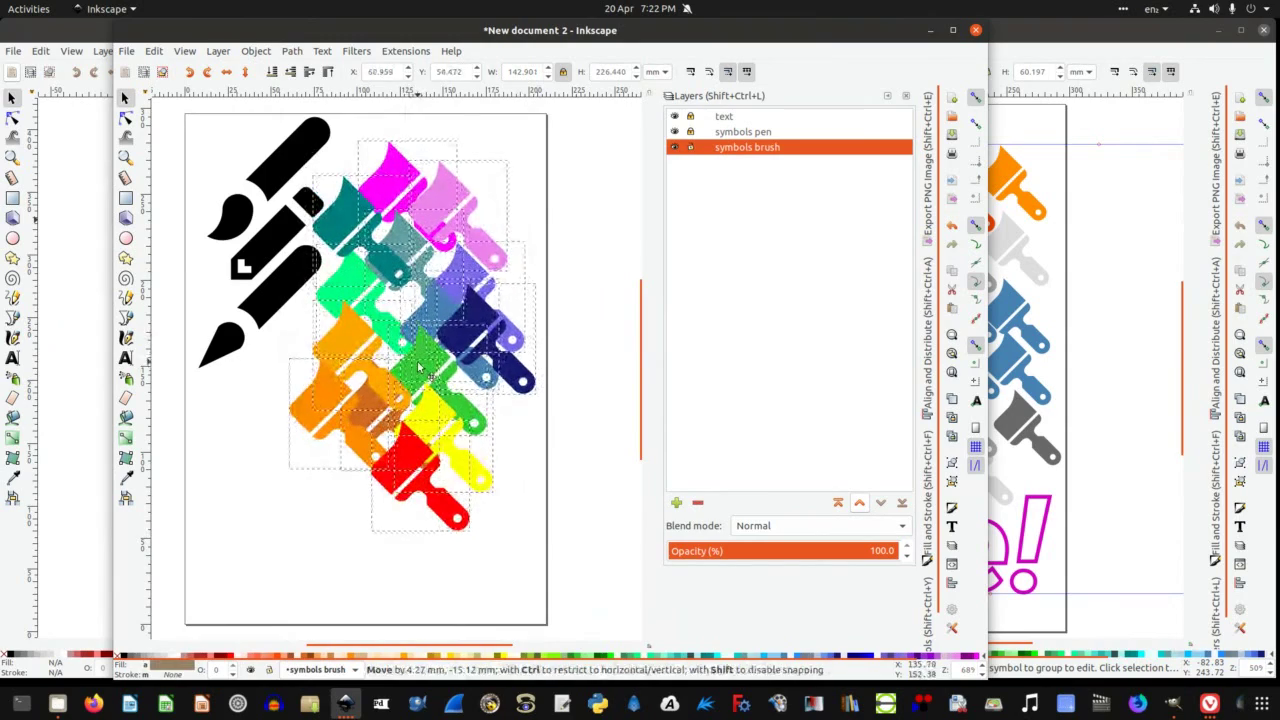 To
change size, place or angle of all elements together, either
Shift+click on one by one until you select all or, click and drag
around the objects to select them.
To
change size, place or angle of all elements together, either
Shift+click on one by one until you select all or, click and drag
around the objects to select them.
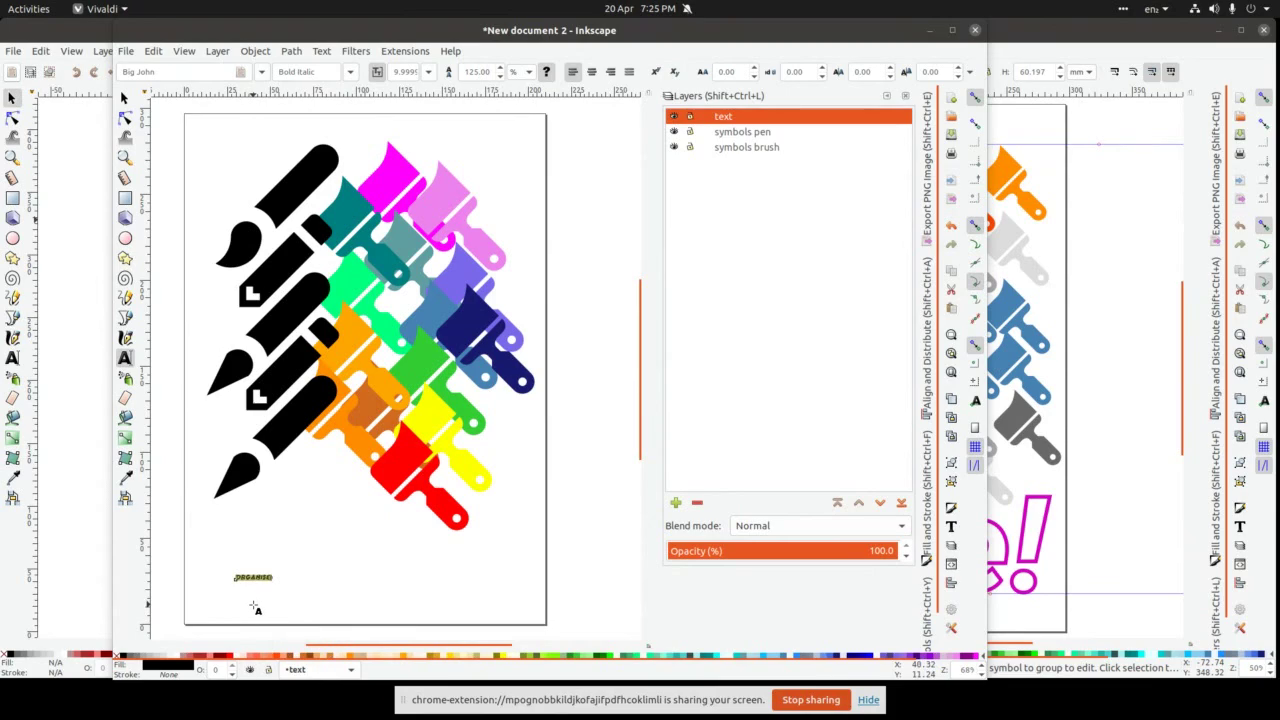 Now
we add text. The tool can be found in
the left-hand side toolbox, icon A. Once
you select the Text tool, you can click anywhere within the document
area and start typing. Otherwise you can click and drag rectangular
shape representing an text box if your text is more of a paragraph
than one line such as a title.
Now
we add text. The tool can be found in
the left-hand side toolbox, icon A. Once
you select the Text tool, you can click anywhere within the document
area and start typing. Otherwise you can click and drag rectangular
shape representing an text box if your text is more of a paragraph
than one line such as a title.
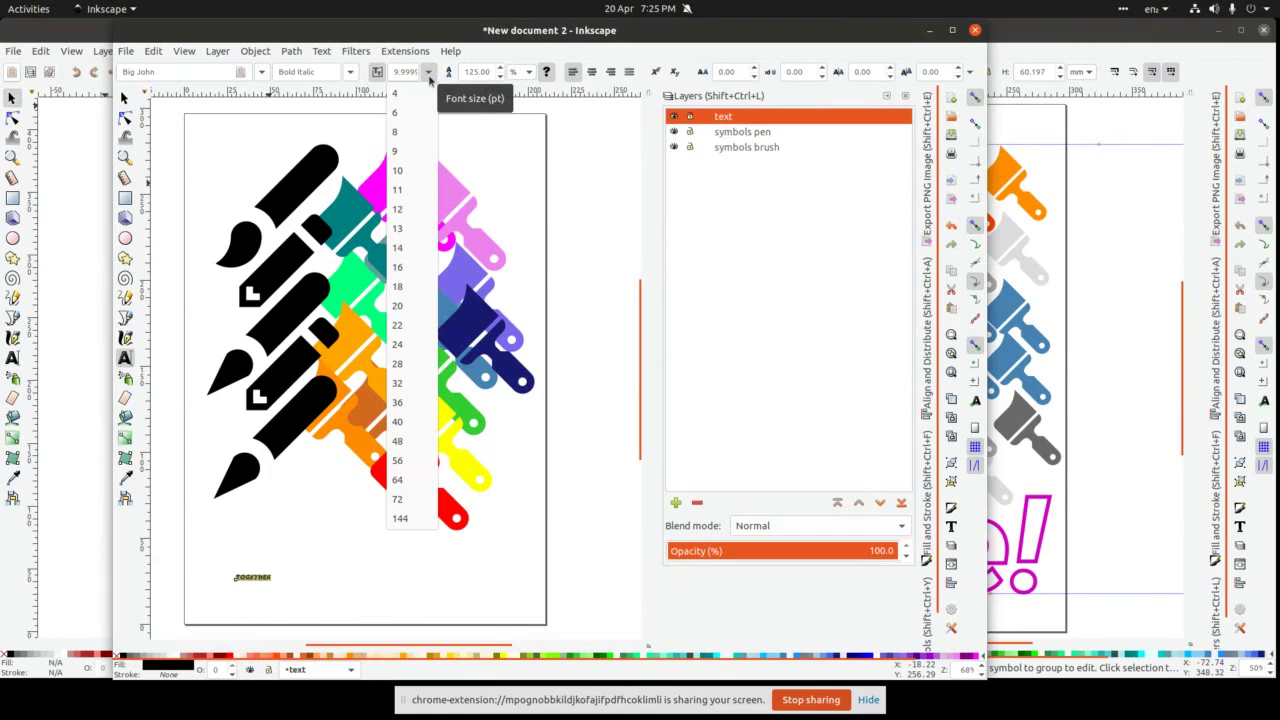 Whilst
still with selected Text tool, you can change font type, font family,
size of the font as well as chose text alignment, line space and
space between letters.
Whilst
still with selected Text tool, you can change font type, font family,
size of the font as well as chose text alignment, line space and
space between letters.
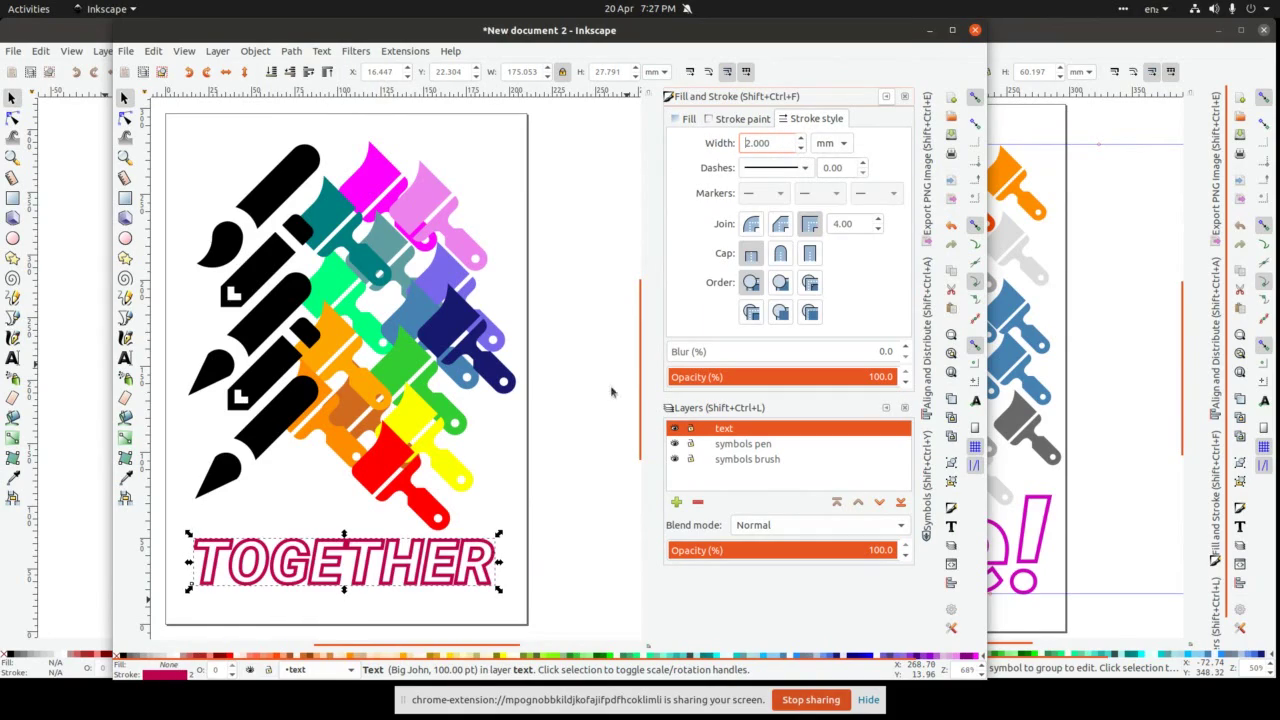 Lastly,
when happy with the whole composition, you can also change font fill
& stroke colour by selecting it and repeating colour editing via
Fill & Stoke (bottom-left) right click.
Lastly,
when happy with the whole composition, you can also change font fill
& stroke colour by selecting it and repeating colour editing via
Fill & Stoke (bottom-left) right click.
That's
it. Now you can either save the file in Inkscape
native SVG, save
a copy as a PDF file
or
export it in a range of bitmap formats, with PNG by default.